Six Mountain Bike Maintenance Tasks You Can Do Yourself

As your growing family makes more mountain bikers and acquires more mountain bikes, you’ll soon notice that you inherently acquire more bike maintenance duties. Learn how to take care of minor tasks on your own. Once you acquire a base set of tools and skills, you can save a little money and keep your bikes rolling without waiting on a bike shop for service. Sure, there are infinitely more maintenance tasks you can do on your own – but we’ll start with these six basics.

Bike Repair Stand
Shop at Competitive Cyclist

Nitrile Gloves
Shop at Amazon

Shop Towels
Shop at Amazon
Bleeding Hydraulic Mountain Bike Brakes
One of dad’s goals in life is to have everyone in the family run the same brand brakes and model – just so we only have to stock one type of fluid and pads. Until then, we have to use the right tools for the job. SRAM even went above-and-beyond and created an additional $20 proprietary tool for some of their brakes called the “Bleeding Edge Brake Bleed Tool”.
When you bleed brakes, be sure to wear gloves and have the lint-free shop towels handy. Brake fluid is nasty stuff and it can stain anything. Also be sure to avoid getting brake fluid on the brake pads or rotors. Parts contaminated with fluid can be cleaned up, but that’s for another article.
Shimano Brakes
SRAM Brakes
SRAM Bleeding Edge

SRAM Bleed Kit
Shop at Competitive Cyclist

SRAM Bleeding Edge Tool
Shop at Competitive Cyclist

Shimano Bleed Kit
Shop at Amazon

SRAM DOT Fluid
Shop at Competitive Cyclist

Shimano Mineral Oil
Shop at Competitive Cyclist

Plastic Tire Levers
Shop at Competitive Cyclist
Changing Mountain Bike Brake Pads
This task only takes a few minutes and it really helps if you keep a spare set of pads on hand so if you really need them, you’re ready to go. Some pads require a set of pliers to remove a cotter-pin that helps keep the pads in the caliper. Some require a small hex key to remove the retaining bolt that keeps the pads in the caliper.

SRAM Brake Pads
Shop at Competitive Cyclist

Shimano Brake Pads
Shop at Competitive Cyclist

Hex Key Sets
Shop at Competitive Cyclist

Needle Nose Pliers
Shop at Competitive Cyclist
Centering or Aligning Disc Brakes
This is one of the first things we taught ourselves because it was necessary and not that difficult. Over time, your rotor may get just tiny bit warped or bent and you hear that steady chime whenever the out-of-whack portion of the brake rotor passes across the brake pads. In some instances, you may have to replace your rotor – but a lot of the time you can fix this yourself.
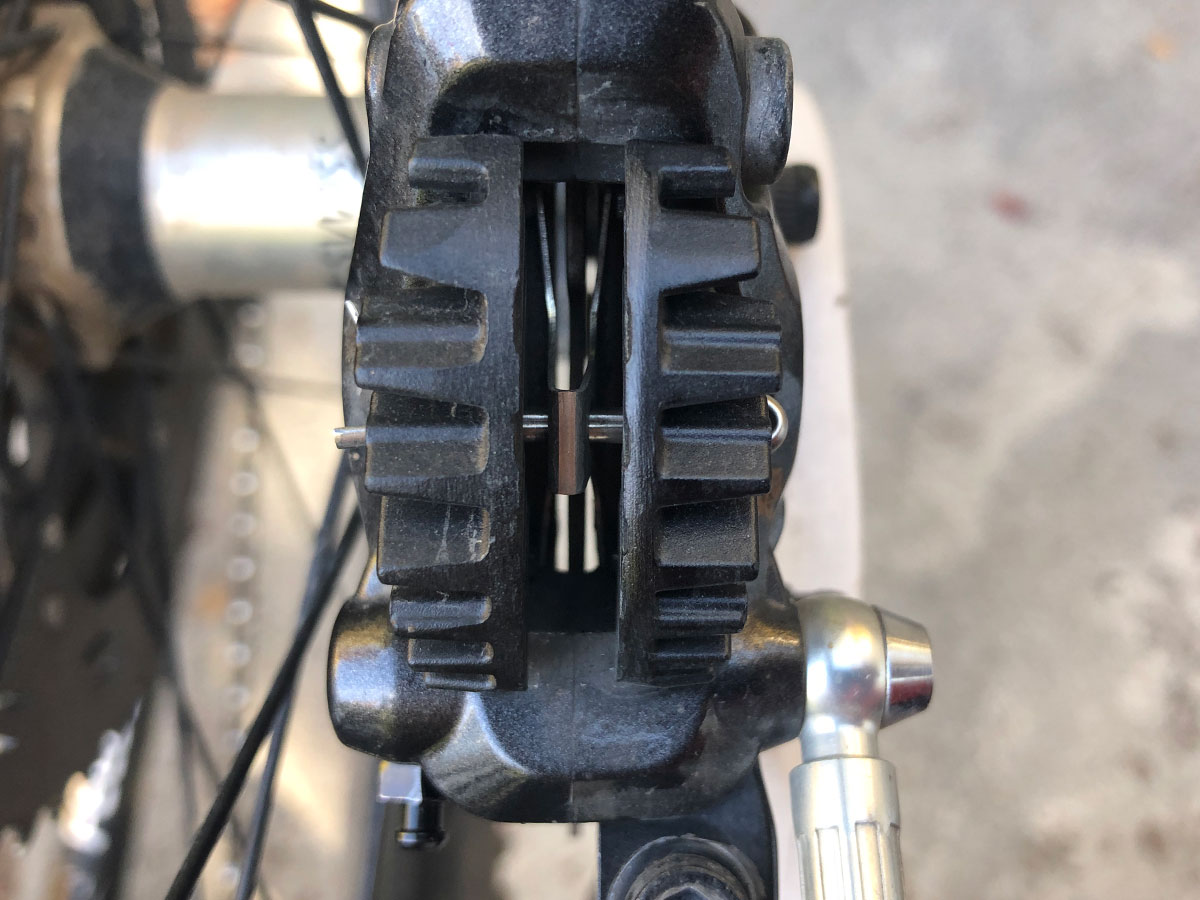
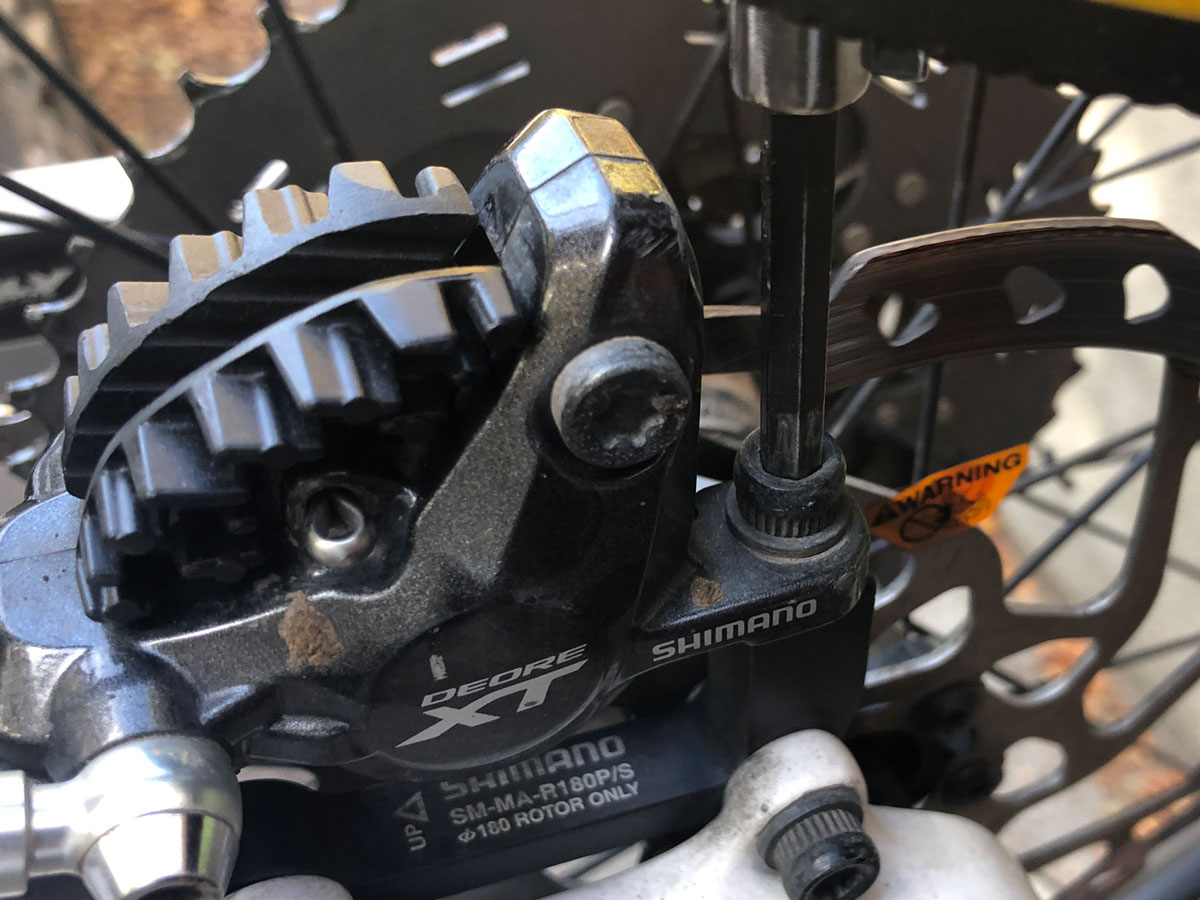
Put your bike in a repair stand. Then, lightly loosen the bolts that attach the caliper to the brake mount adapter. Notice that these fastening points are not an exact round hole. There is a little bit of wiggle room or tolerance for the caliper to float on the brake mount adapter. Next, squeeze the brake lever. You may need another person to help. This will align the caliper on the rotor. Then, tighten the mounting bolts. Release the brake lever and spin your wheel. You may have to do a bit of fine tuning if you still have some rubbing.
Lightly loosen the mounting bolts, and one at a time – carefully pivot the caliper so the rotor spins without contacting the pads. Mind your fingers so they don’t get bit by an spinning wheel. Go through this with each caliper mounting bolt until your rotor spins without making a noise and the bolts are tightened.
You may be surprised by just how small an adjustment needs to be made so the noise is eliminated. If you still have rubbing noises, try spreading the pads in the brake the same way you would when your replacing your brake pads as explained above. This may get you the fraction of a millimeter you need to get your caliper aligned and end the brake rub.
Aligning Brake Calipers
Swapping Out Bike Pedals
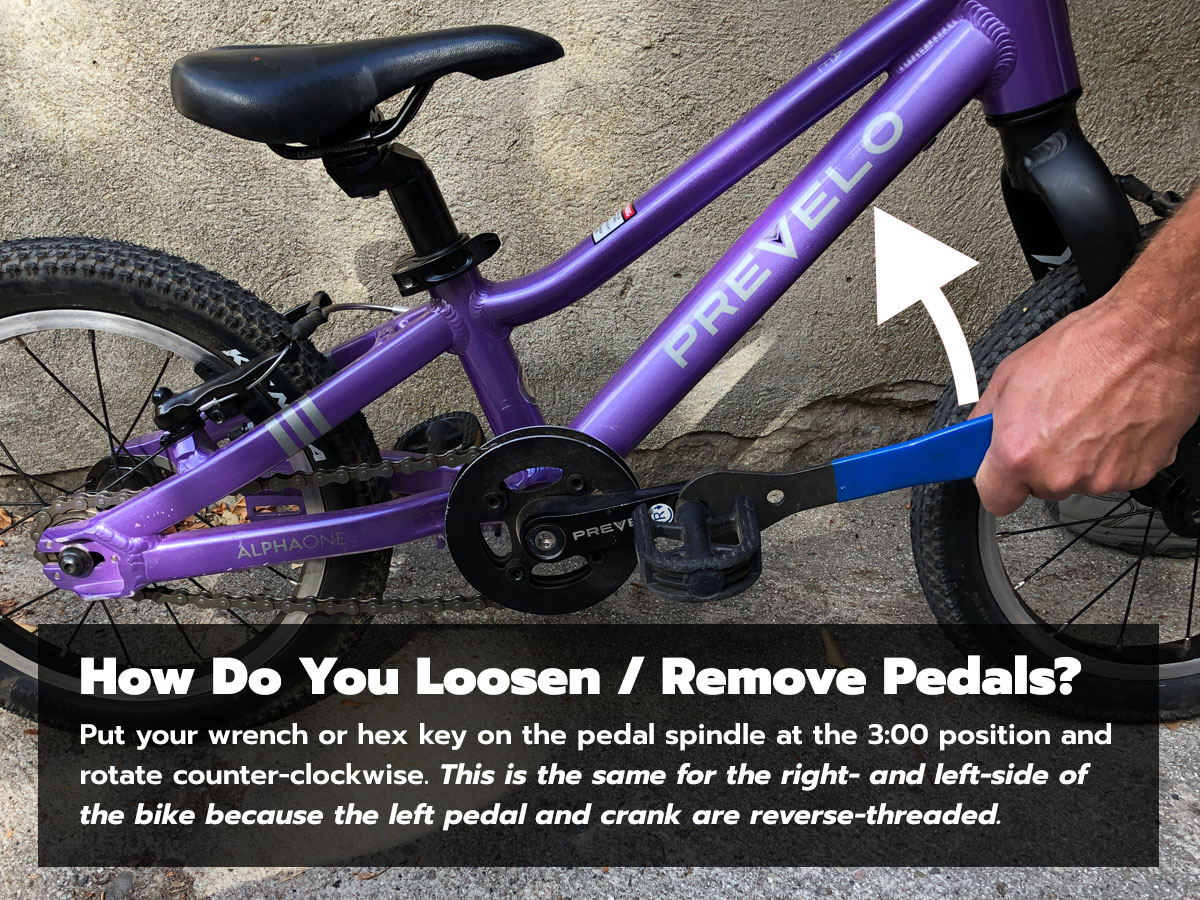
Some pedals require a hex key, others require a pedal wrench. Regardless of what tool you use, it’s important to know which way you have to rotate the wrench to remove and install pedals from the cranks. If you attach the tool facing the front of the bike, parallel to the ground, the tool always has to rotate up [counter-clockwise] to loosen the pedal. This is same on both the drive side and non-drive side of the bike because the non-drive side is reverse threaded. Be sure to keep the proper-sized hex keys or wrench in your tool kit.

Pedal Wrenches
Shop at Competitive Cyclist
Installing And Maintaining Tubeless Tires
Although setting them up for the first time can be tough, the pros of going tubeless far outweigh the cons. Save time. Save money. And once again – save time. Just as early as last spring when we demoed a bike, we got 2 tube flats on the same ride. It was rotten. Yes – proper air pressure with tubes makes a difference, but we have had no problems with our tubeless set ups for for years.
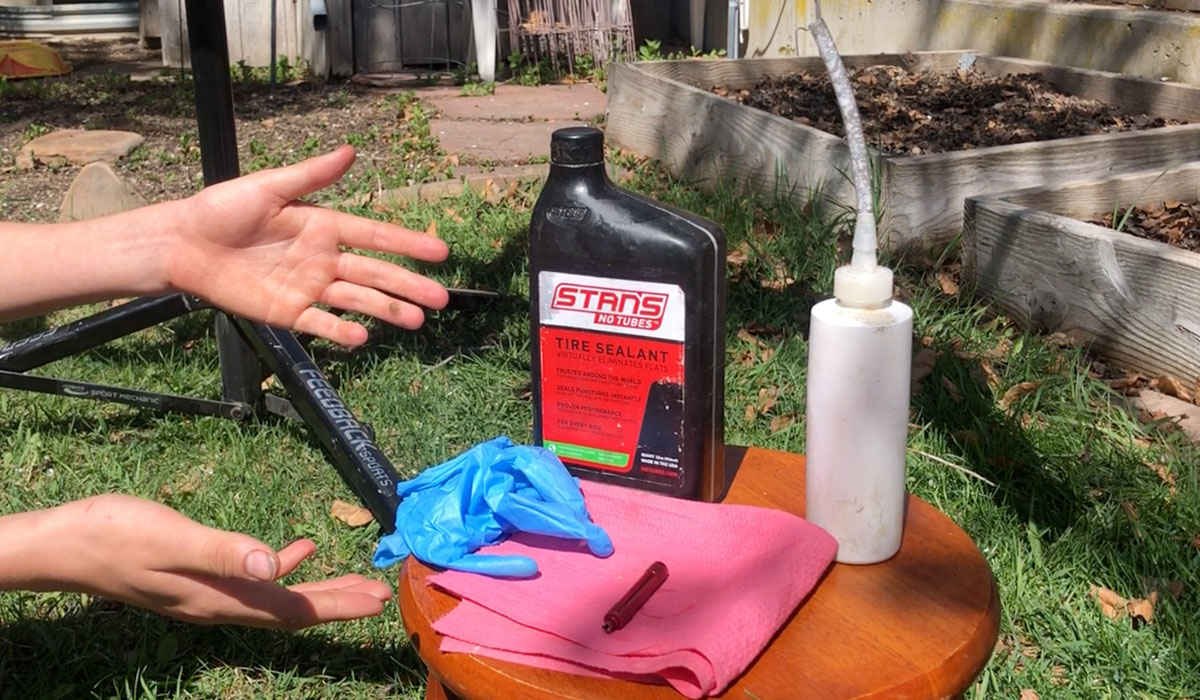
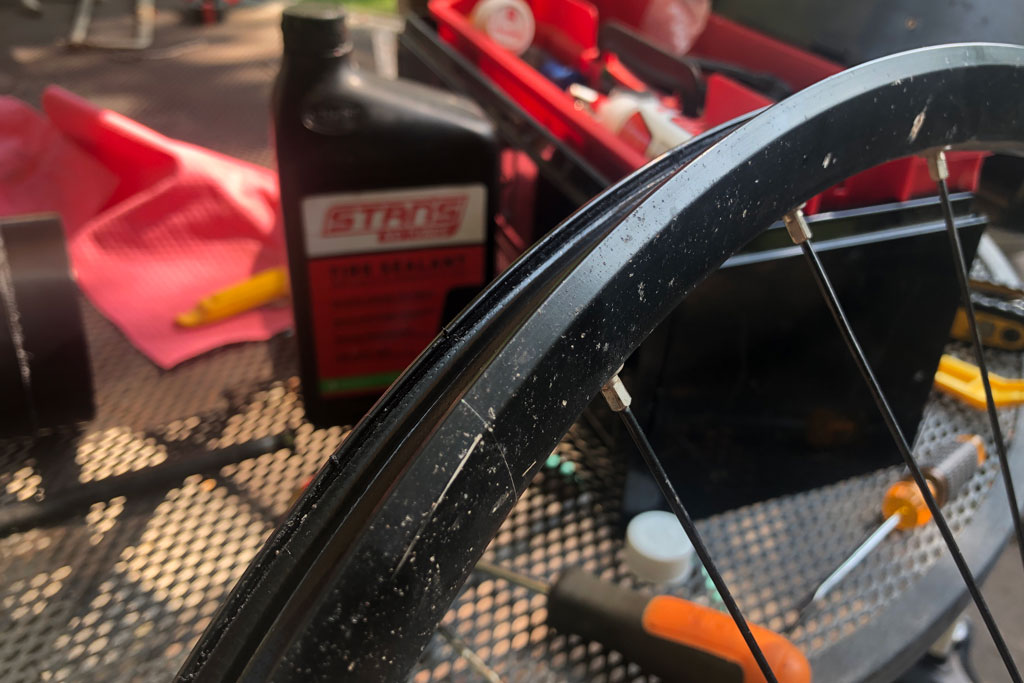
In order to go tubeless, you need a combination of tubeless compatible rims, tires, valves, and sealant. A lot of rims come tubeless-ready with rim strips. For some, you will need to tape yourself. What does taping a rim ensue? It helps create the air-tight seal required. Every couple of months or so, depending on how often you ride or how much wear-and-tear you’ve put your tires through; you have to keep sealant in the tires. Seating a tire on a rim without a compressor can be a bit tricky, too. We just went to the neighborhood gas station with a Presta compressor valve adapter.

SRAM Bleed Kit
Shop at Competitive Cyclist

Tire Sealant
Shop at Competitive Cyclist

Tubeless Valve Stems
Shop at Competitive Cyclist

Pump With Air Chamber
Shop at Competitive Cyclist

Valve Core Remover
Shop at Jenson USA

Presta Compressor Adaptor
Shop at Amazon
Installing Internal Housing For Brake Cables, Shifting Cables, And Dropper Posts
We needed to build up a our son’s mountain bike from the bare frame last year for the first time and it was quite a learning experience. In order to get the internal housing through the frame we used the Park Tools Internal Cable Routing Kit. Be cautious! This kit will drastically reduce the coinage in dad’s swear jar.
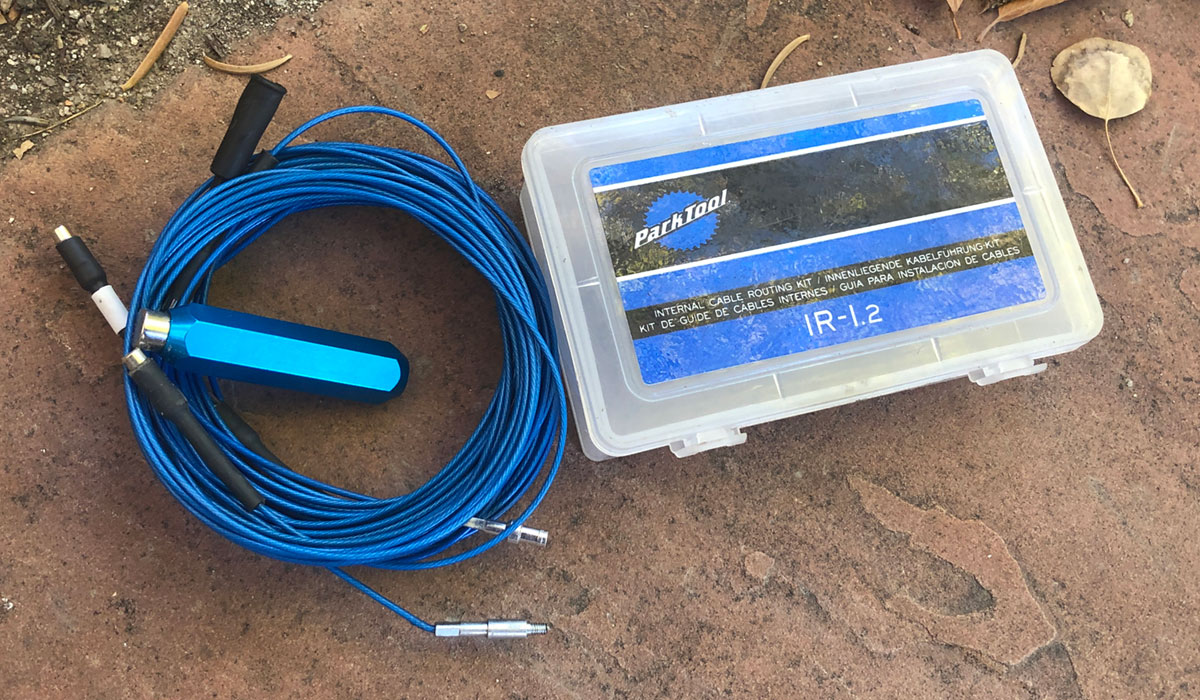
The kit comes with a set of cables composed of magnets and other adapters that allow you to quickly get a lead cable through the bike. Once you have the lead cable running through the bike, you can pull the housing you need through the frame. It took a bit of practice and coordination to gently use the external guide magnet, but the overall performance of this tool is five out of five stars.

Internal Cable Routing Kit
Shop at Competitive Cyclist
Have Your Kids Help You Maintain the Family Mountain Bikes!
When our kids were younger, we would have them help us maintain the bikes as much as they could. For instance, they can play the role of assistant mechanic by organizing and handing off tools when doing a repair. They can operate a floor pump, help tighten bolts, etc. As the years have gone by – the kids have learned how to build up demo bikes, bleed their dropper posts, adjust derailleurs, replace derailleur cables, adjust their suspension, and so on. You can even watch a video of our youngest as he converts his bike to a 1x drivetrain.

