Yakima Hangover 6 Bike Rack Review

When I first learned the Yakima Hangover Bike Rack was being produced, I was eager to get a hold of one. I wanted to compare it against the other vertical hang style racks we have come across including the North Shore NSR 6-Bike and the Alta Racks GPR.
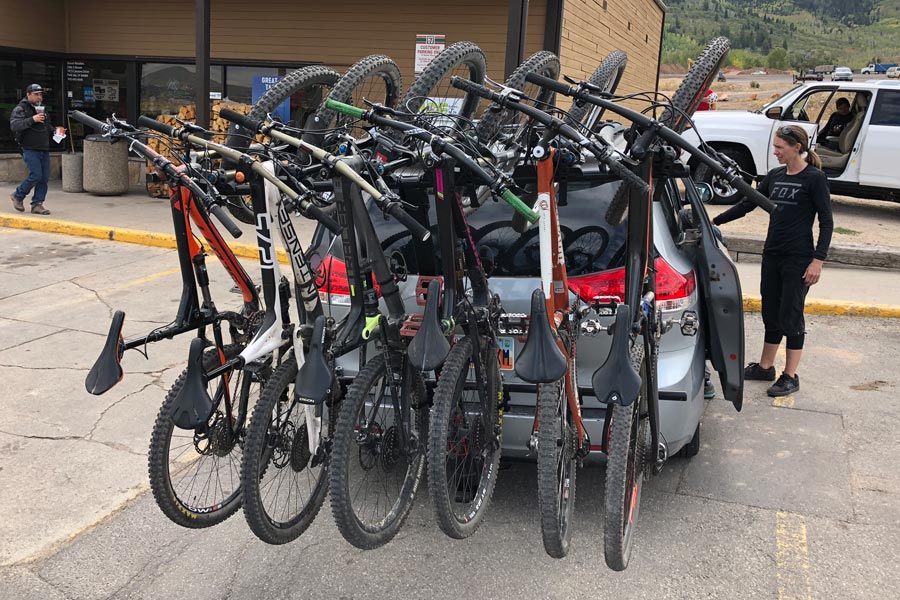
NOTE: Our review is for the Yakima Hangover 6 Bike Rack , which of course holds up to 6 bikes. The Hangover 4 is also available from: Amazon | Backcountry | Jenson USA
The Design Concept Behind The Yakima Hangover 6
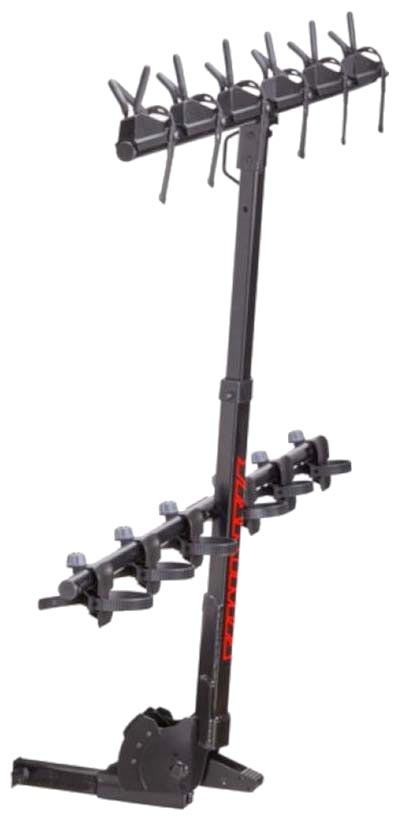
The Yakima Hangover 6 follows a similar approach as other vertical racks. A mast extends vertically from your vehicle’s hitch and 2 perpendicular bars span the width of your car.
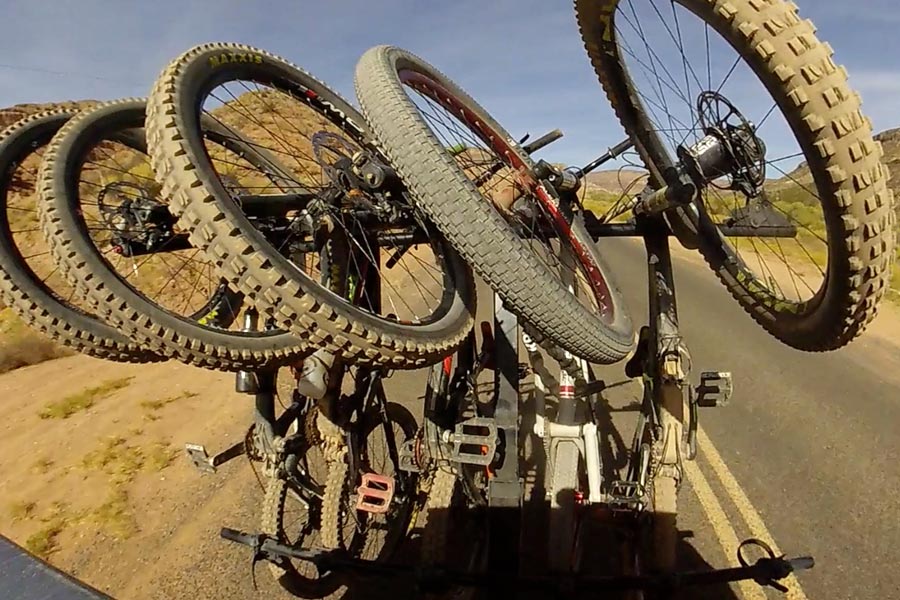
These 2 perpendicular bars (horizontal with the ground), are the base for attaching the crown of your bike and its rear wheel. Rotate a “H” 90º and you’ll get the picture.
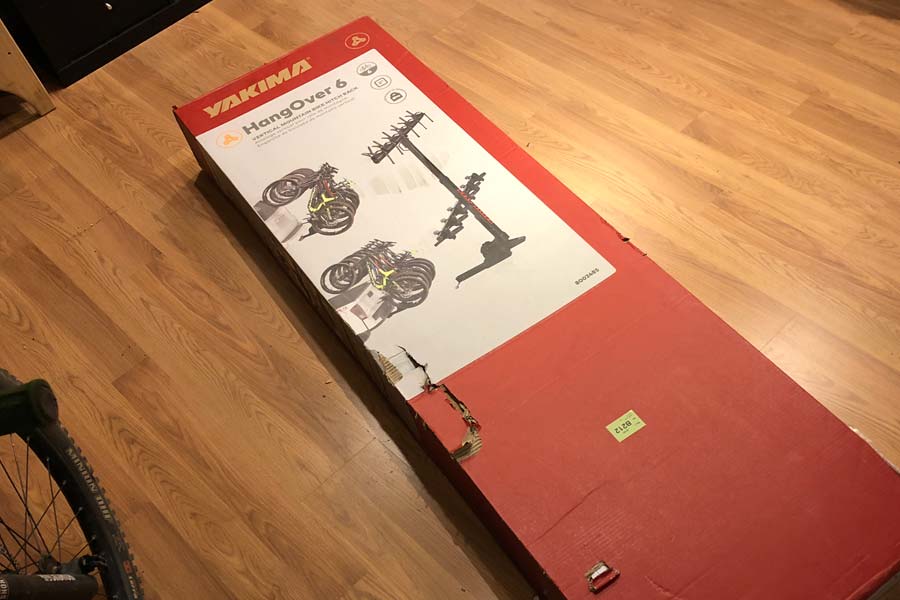
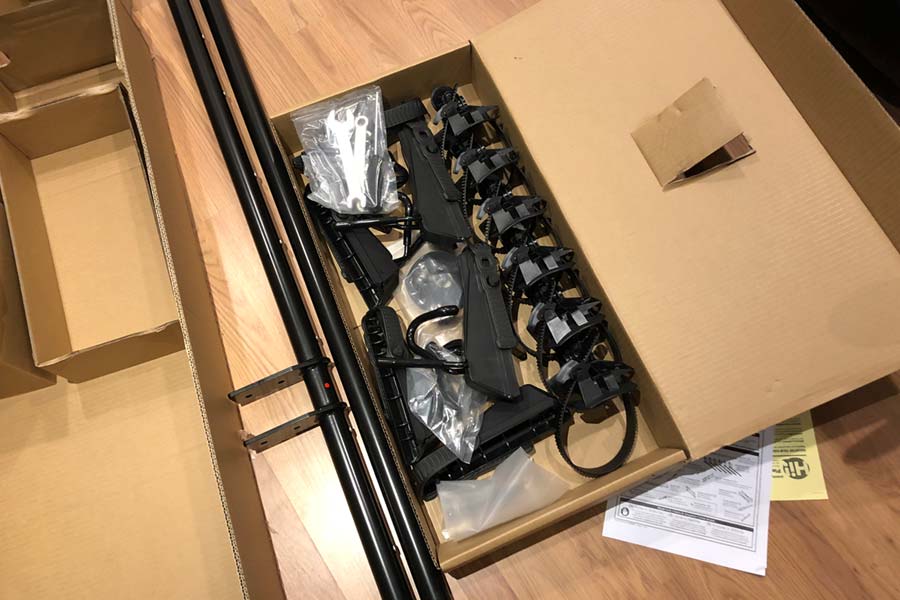
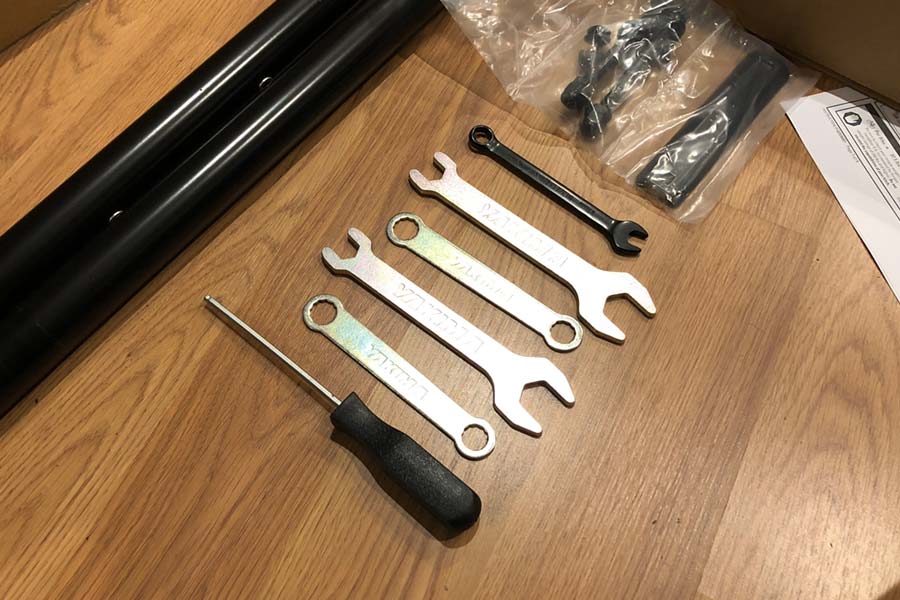
Unboxing the rack revealed a set of tools necessary for installation. There was also a hitch lock, and a set of well written and easy to understand instructions. In short, my wife and I were able to get everything put together in just under 20 minutes.
Yakima Hangover 6 Mountain Bike Rack Specifications
| Weight: | 73.00 lbs |
| Dimensions: | L 22.00in x W 69.50in x H 60.00in |
| Mast Height Positions: | 2, for improved ground clearance and ease of loading |
| Mast Angles: | 2, to avoid bike-tire contact with your vehicle |
| Max Weight Per Bike (lbs): | 37.5 pounds |
| Live Price | Backcountry | Jenson USA |
How The Yakima Hangover 6 Works
Here are the steps to load bikes onto the Yakima Hangover Bike Rack.
Step 1 – secure the fork
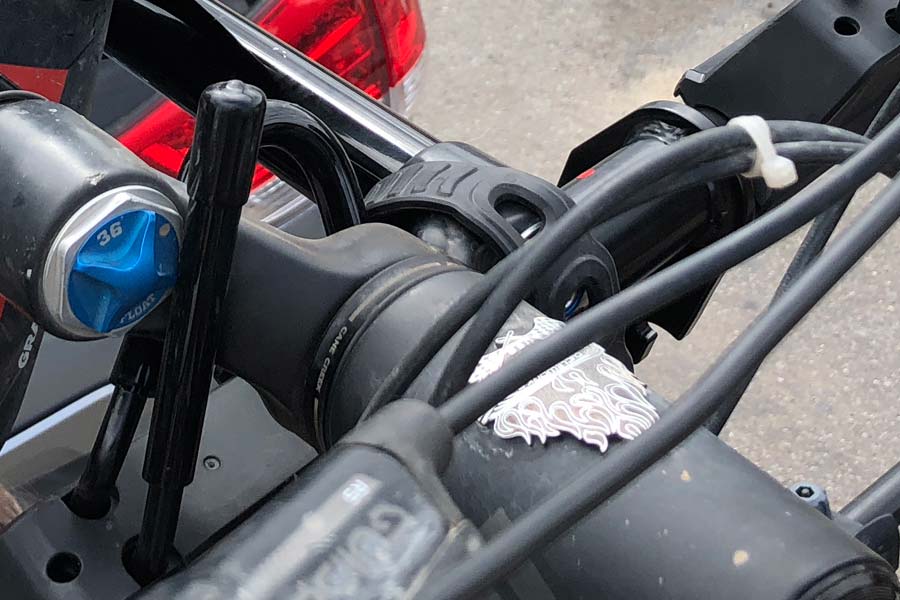
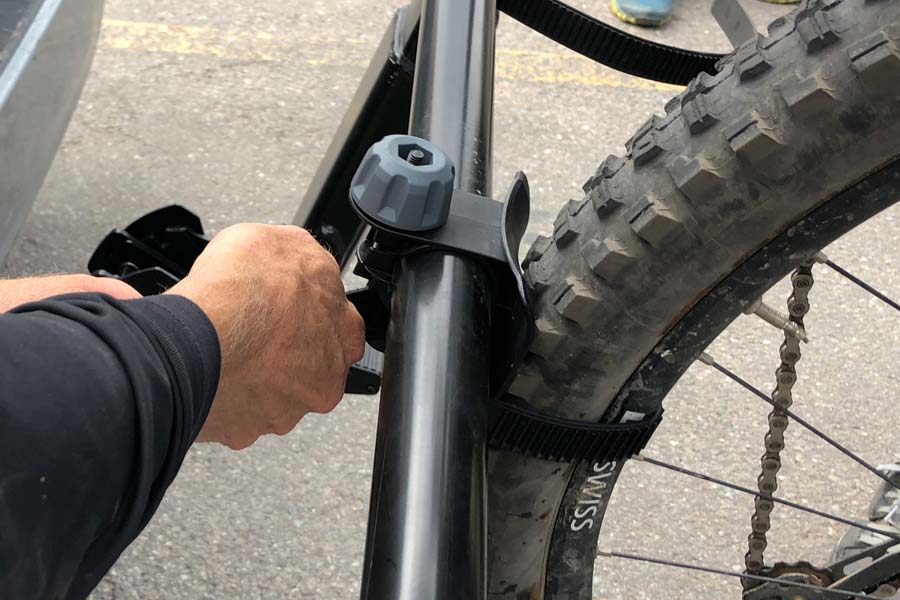
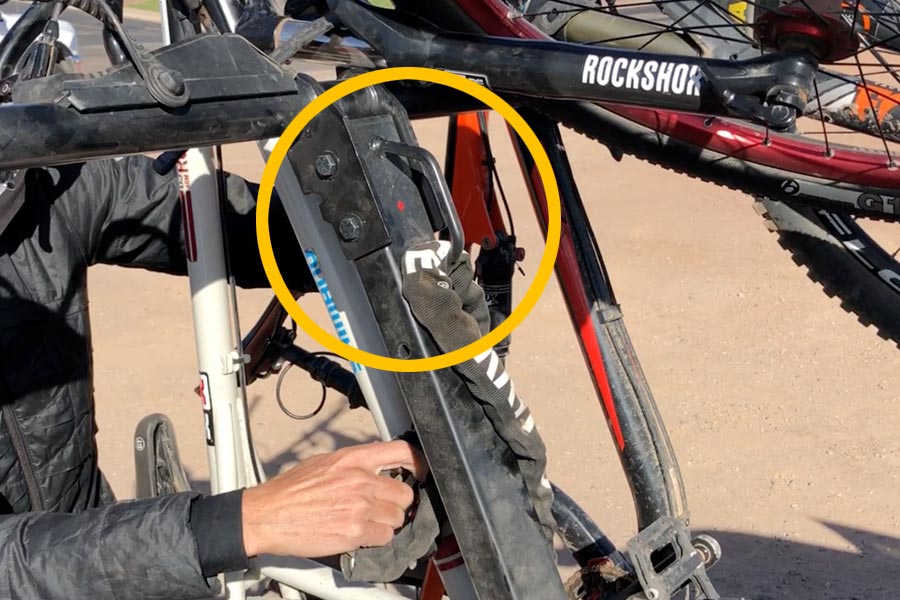
Firstly, lift your mountain bike up to nestle the suspension fork between the brace and post on the top bar. Secondly, pull the strong rubber chain strap over the fork and connect it to the knob on the rack. Now the top of your bike is secured . It’s a simple design. However, it took us a few tries to put bikes on correctly.
Step 2 – secure the rear wheel
Once your bike’s fork is resting in the cradle and the strap has been secured, the rear wheel should be hanging down freely. Next, secure the rear wheel to the lower horizontal bar. To do this, you’ll first tilt the bike towards the lower horizontal bar. Finally, fasten it against the wheel cup with locking plastic strap.
You need to load bikes on the Hangover 6 from left-to-right when facing the rear of your vehicle. This is so the next bike loaded can be “stacked” to the right without a previously loaded bike’s bars interfering. You’ll unload bikes right-to-left. Go ahead and try it in reverse if you enjoy a good struggle and/or don’t mind busting cables.
The position of the cradles on the top horizontal bar are immobile. However, you can slide the wheel cups on the bottom horizontal bar by loosening them and shifting along the horizontal axis. We learned the best way to align the rear wheel to the wheel cup is to just let it hang naturally. Then position the wheel cup to where the rear tire will connect by pushing the rear wheel against the lower bar.
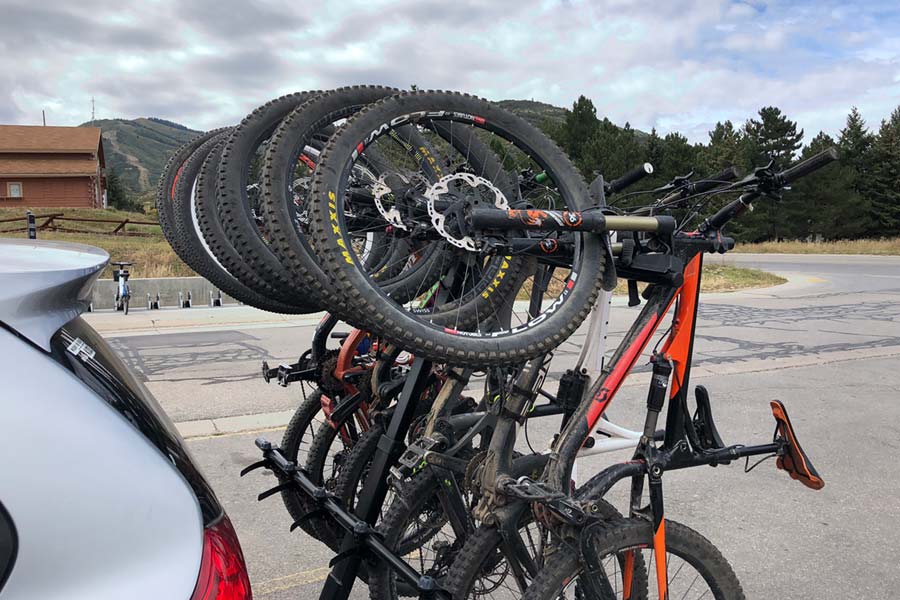
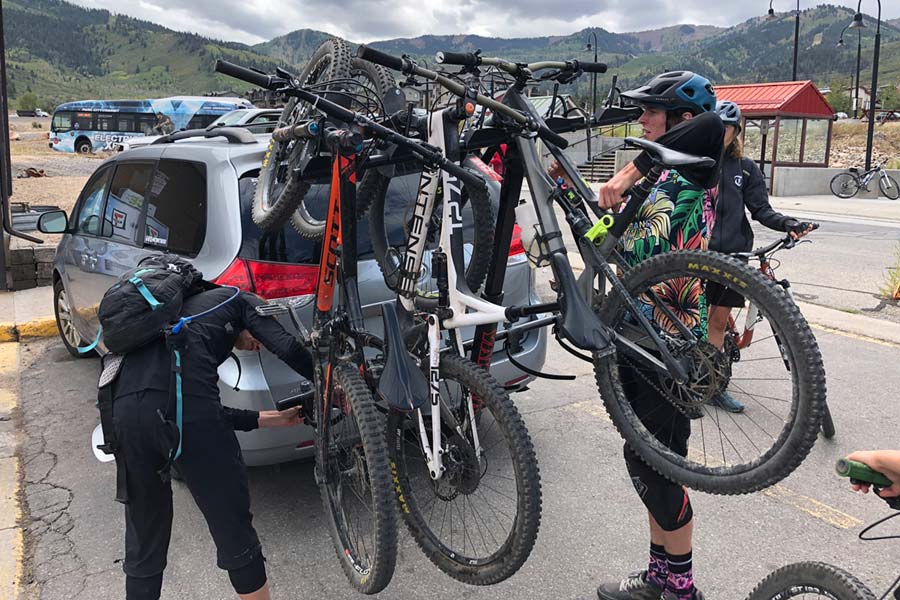
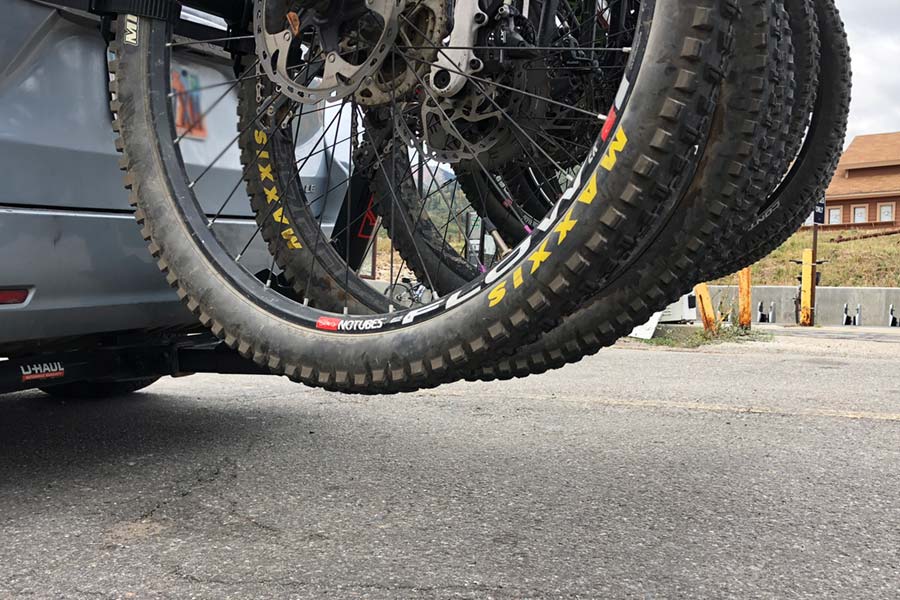
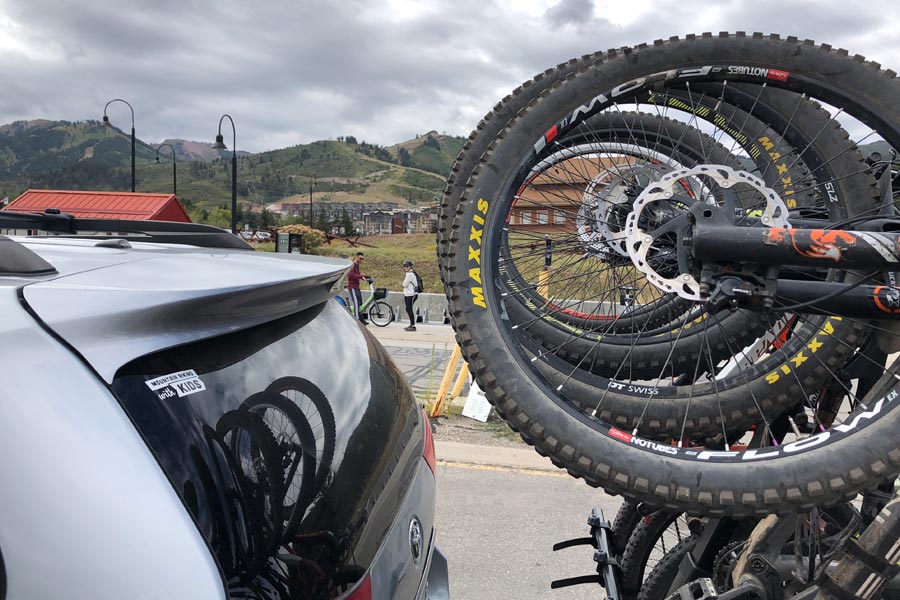
In this photo, you can see how much clearance there is between the bikes’ front wheels and the van’s rear end
Limitations With The Yakima Hangover Bike Racks…
- This rack will not work with kids bikes with 20 inch wheels or smaller. When we tried putting a 20 inch wheel bike on the rack, it would not seat in the cradle to our liking. The smallest bikes we are using are: a Norco Fluid FS 1 with 24in wheels, a dirt jumper with 26 inch wheels, and a Trailcraft with 26 inch wheels. Some bikes with 24 inch wheels may not work.
- It’s for mountain bikes with two stanchion suspension forks only. This is because the cradle system is engineered to safely secure the bike by a fork’s crown. Also, we could not figure out how to get a Cannondale with a Lefty fork on this rack.
- The rack will only fit hitches with 2-inch receivers
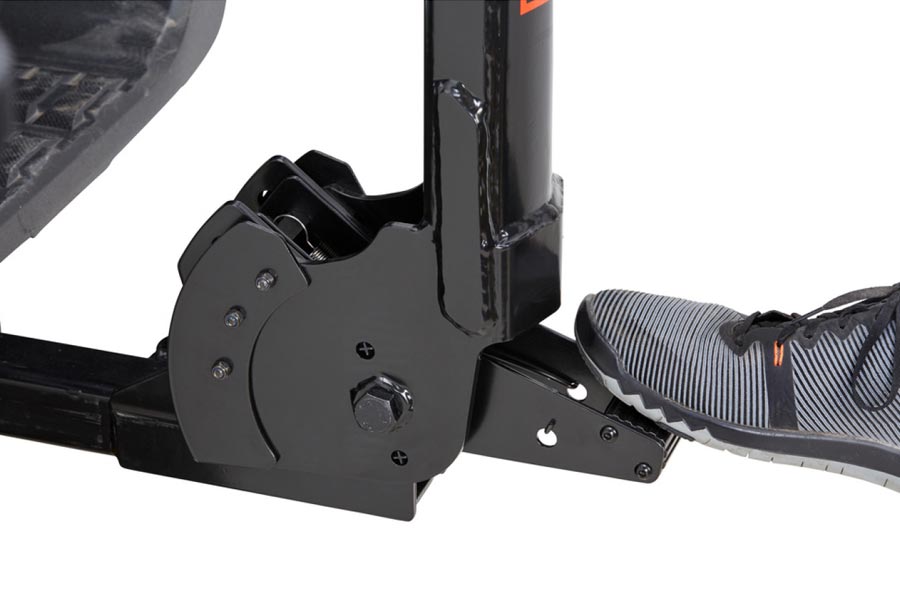
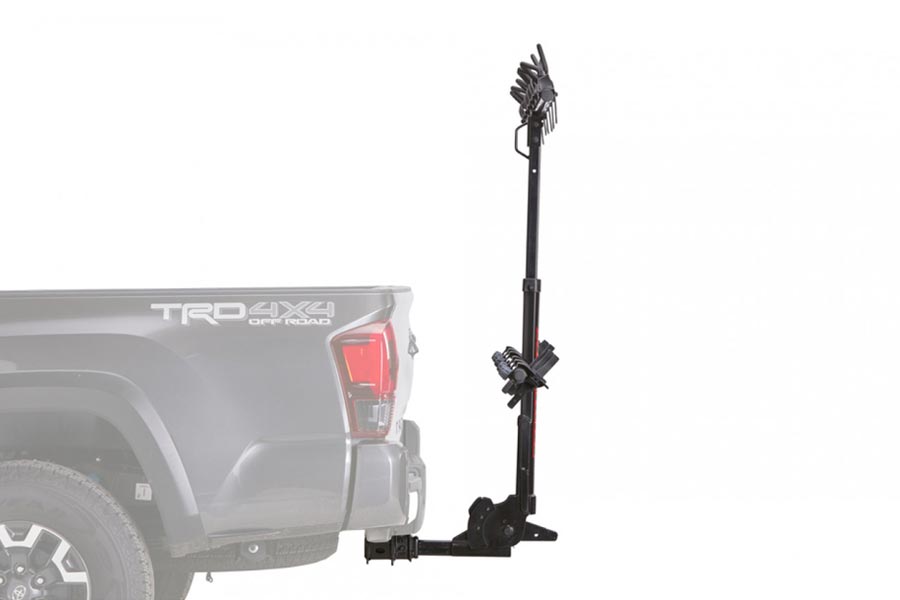
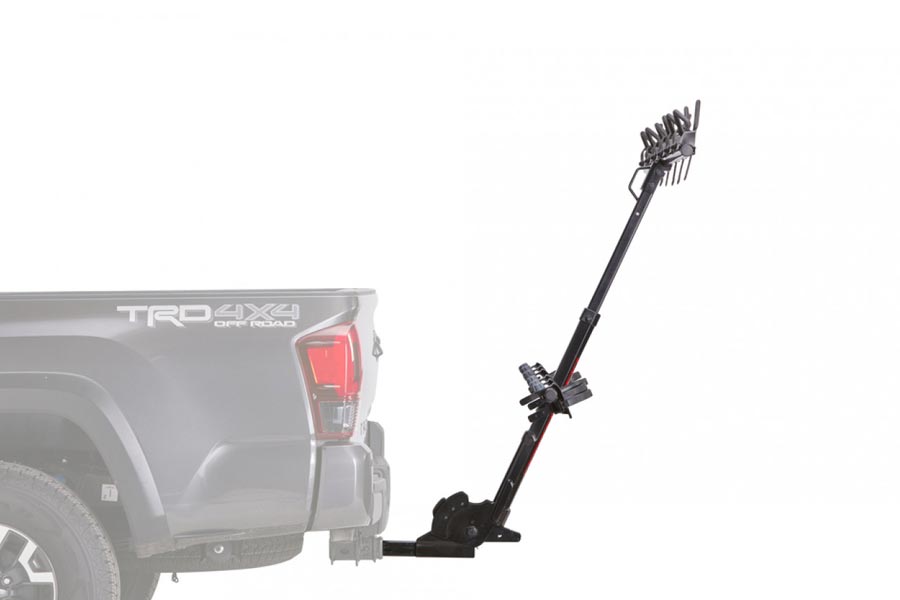
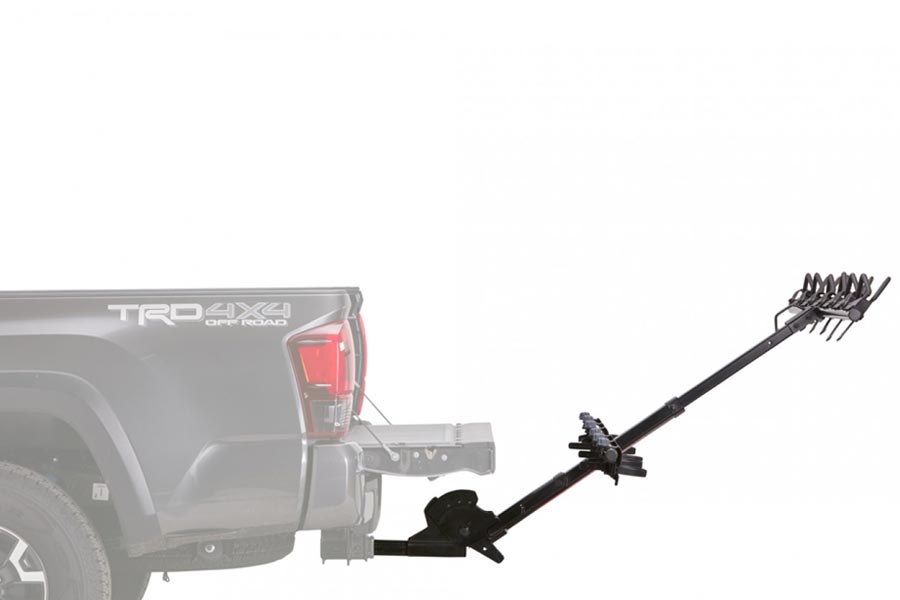
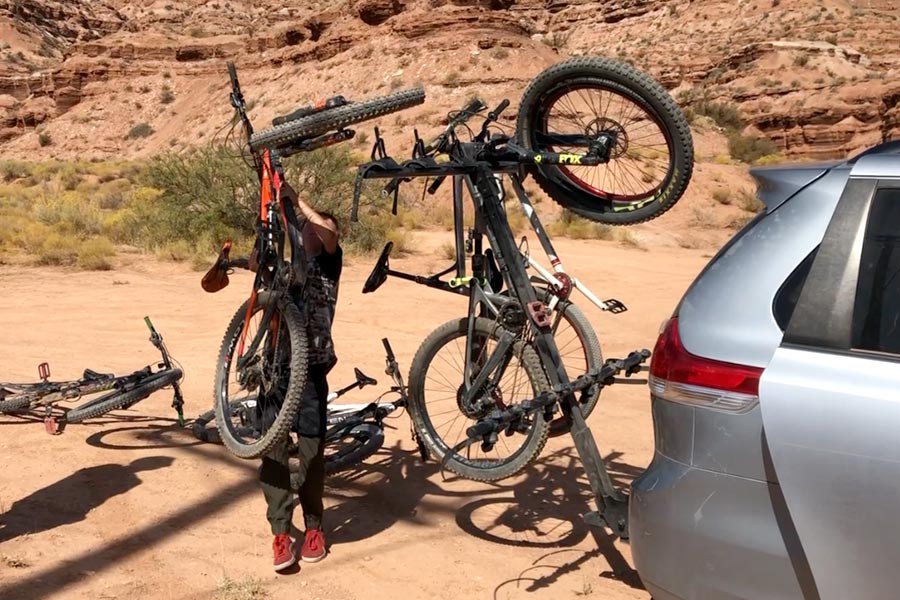
The Hangover features a foot-operated tilt mechanism. You can adjust the angle of the rack for hauling bikes and accessing the rear of the vehicle. Compared to our old 1st gen Yakima Hold-Up, where locking and safety pins had to be removed and inserted, the Hangover 6 is a welcome addition to the family.
I read a negative review stating the rack did not work with well with a user’s mini-van. However, in our case, that’s simply not true. Although you can’t load bikes with the mast in the 90º position on our van, there is plenty of clearance when the mast is in its 2nd position.
Bike Security For The Yakima Hangover
You can thread a cable lock and/or a chain lock through the welded loop on the back of the mast to secure your bikes. You know the best way to keep your bikes secure is to always keep them in sight. But if you’re in the market for some additional security – we choose some of the best bike locks for your mountain bikes here.
Loading bikes on the Yakima Hangover is not as easy as a loading a tray style rack. For one thing, you have to raise the fork’s crown above the top cradle. A lot of younger and/or shorter people will not be able to do this comfortably- if at all. Additionally, you also have to make sure the strap on the top cradle is in the correct position so you can gain purchase and thread it over the crown and fasten it properly. With practice, this is getting easier for us.
So far, the ground clearance for the Yakima Hangover has been an improvement vs. our old Hold-Up tray system. Due to the angle of our driveway and depending on the weight in the van, the old rack would scrape the pavement when backing out of the driveway. After we installed the Hangover 6 and fixed the mast to its highest setting, there was no scraping.
Driving Off With The Yakima Hangover Mountain Bike Rack
The Yakima Hangover 6 is ideal for our family for a few reasons. Firstly, my wife and I are NICA coaches. Secondly, our family of 4 often rides with friends. In the past, we had to take 2 cars in order to get 6 riders with bikes to the trails. Now, with the Hangover 6, we can easily get 6 full-sized bikes and 6 riders to the single track or a venue in our mini-van.
We’re looking forward to how durable the Hangover 6 is, too. We keep the rack on our van all year long due to frequent trips to the desert in the winter months. However, some of the parts on the Hangover are constructed of plastic as opposed to forged steel unlike other bike racks in this category. Will the plastic parts wear down and crack as January and February roll by? Time will tell. In the mean time, we are ready to use this rack often. It’s a well-priced, functional piece of equipment for mountain bikers who need to get more bikes on cars.
Kids’ Mountain Bikes
Start at this page to find the best mountain bikes for kids for two year olds through teenagers
Go On A Family Bike Ride
What’s on your bucket list for family mountain bike rides? How about Whistler’s Lord Of The Squirrels?
Have A Good Laugh – Or Cry
Find out how much that mountain bike really cost you with our mountain bike real cost calculator
Bike Helmets For Kids
Choose the best mtb helmets for kids, full-face helmets for kids, or enduro helmets for kids.

