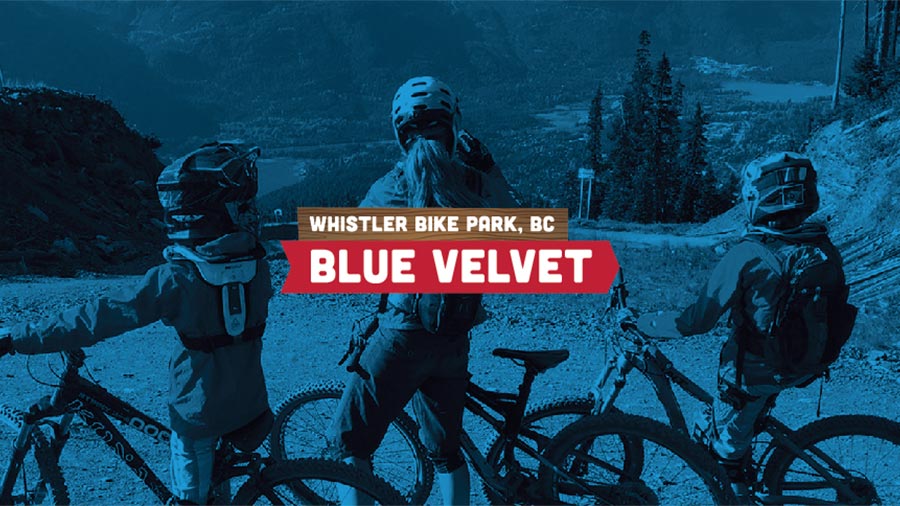
Mistakes Were Made – Volume 01

A lot of this site is set up for helping other families get started mountain biking by identifying the good things – “What To do”. In this article, I’m switching gears and sharing a few of the things that are downright embarrassing. If you’ve made similar mountain bike mistakes or want to point out more of what not to do, please comment below.
Checked Out. Clipped In.
When my first son was the right size to fit into one of those child seats that goes on the back of a bike over the rear tire, we had an incident. We finished our ride though the neighborhood streets and arrived back at the house.
I needed to stop on the sidewalk in order to get the bike into the house. Why? Our house is small. We don’t have a garage. Our driveway is narrow when there’s a car parked in it because on one side of the driveway there’s landscaping and on the other side of the driveway, there’s a retaining wall. In order to get the bike into the basement entrance when there’s a car parked in the driveway, I have to: stop on the sidewalk, get off the bike, get my kid out of the seat, roll the bike up on its back wheel in order to push it past it though the gap between the parked car on my right side and the retaining wall on my left side.
The aforementioned “incident” took place when I stopped on the sidewalk in order get off the bike. I forgot I was clipped in. In my haste to get out on a cruise trough the neighborhood with my boy, I did not switch from SPDs to flats as I had done several times in the past. Everything was in slow motion. I thought about what a terrible dad I was on the way down; if my wife would press charges against me, if my son would still love me, and so on.
The fall wasn’t that bad. The design of the child seat protected my son quite well. He came out of it without a scratch. And of course he was wearing a helmet. It surprised him more than it hurt him, but not as much as it hurt me. I felt awful. He yelled “Geez, dad!” when we were lying on the ground. That was rough.
New Pedals! And Soon… A New Crankset!
I was very excited to upgrade my pedals and install them myself for the first time. Did you know…
- You can easily change pedals on your bike by yourself with a pedal wrench or a hex key
- The metal used in a crankset is generally made of aluminum and pedal spindles are steel
- The left pedal for a bike is reverse threaded in order to prevent movement called precession
- You can still get a right pedal in the left side of a crank set or vice-versa if you force it in there hard enough
- You will strip out your crank by forcing a pedal into the wrong side of the crankset
Avoiding Flats
If you’re still using tubes in your family’s bike tires, here are a couple of tips to help avoid flats.
Do Your Best To Avoid Pinch Flats
A pinch flat can happen when a tire and tube gets pinched between the rim and the riding surface with so much force that the tube fails and 2 small rips are created in the tube along the point of impact. Most pinch flats occur when there’s not enough air in your tires. Pinch flats are also called a called snake bite flats because the puncture marks resemble holes that would be left by the fangs of a snake. Sometimes pinch flats are just unavoidable. When riding though rocky terrain at certain speeds your tire can quickly smash against the side of a rock. You’ll hear a loud SNAP!, then the sudden hissing of your tire losing air.
Don’t Get The Same Flat Twice
I’m sure this simple common sense for most of you, but I discovered this one on my own. When you get a flat due to thorns or some other material which has pierced your tube, be sure to check the tire for the offending shrapnel. It could still be lodged in the tire, patiently waiting to cause another flat in your new tube. If you can’t see the what caused the flat in the tire, gently run your fingers along the inside of the tire to seed if you can feel for what caused the puncture. You can also guess the general location where the thorn could be. Identify where the flat is in the tube in proximity to the valve in the tube. Then, look at the valve hole in the rim and you can have a good chance of finding where the flat happened in the tire.
Close The Valves On Your Hydration Packs When Transporting Them
When we load up the car to go on a trip, we’re usually in a hurry to get on the road and beat traffic. All the gear gets unceremoniously chucked in the back of the van and off we go. Similar to your favorite cereal, contents of our van may settle during shipment. One time this resulted in a hydration bag shifting and getting squished under another gear bag or suitcase. 50 ounces of water looks like 5 gallons when it’s evenly distributed on the floor of your car.
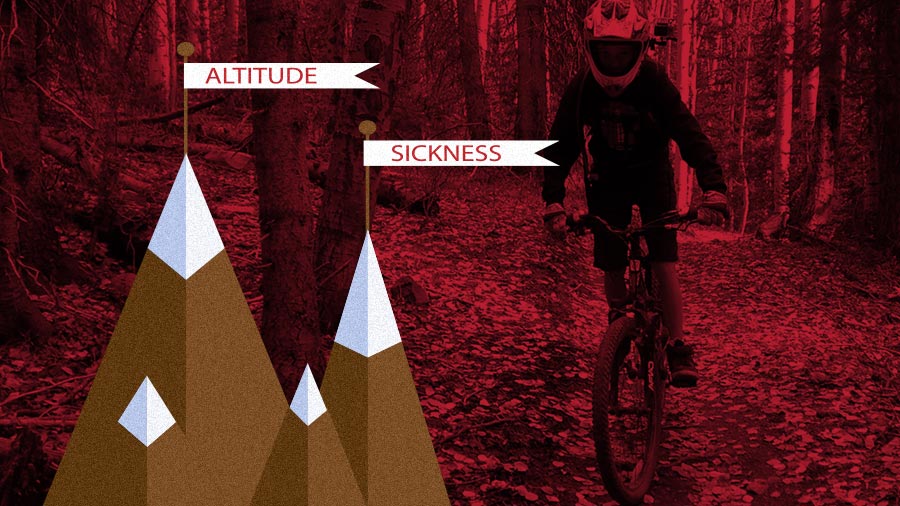
An Anecdote Of Acclimation
In October of 2014 our family was invited to a wedding in Telluride, Colorado. The happy couple and their families rented a beautiful home in the woods a few miles outside of town and it was big enough for the entire wedding party to stay in. The town has its own gondolas which are free to the public and operate daily. In summer months and early fall, the town trades out the ski racks for bike hooks so you catch a ride from the town base and take advantage of the Mountain Village bike park.
Our kids were 11 and 7 at the time and we couldn’t pass up the opportunity to get in a ride at this unique location. We arrived at the top of the mountain ready to get going on what was sure to be a great time. And, instead of just doing a bike park lap, we chose a route that kind of went around the bike park as a long traverse for a few miles, then we’d wind out way back down to the valley and be home before dark. I think the entire route was around 12 miles.
As we started to traverse across the mountain, there were several steep climbs that took quite a bit of effort. Our 11 year old was having a tough time after about 45 minutes and was walking his bike up the hills he’d normally pedal. He’s a pretty energetic kid and we thought that he was just recovering from a late night due to the wedding festivities.
After 15 more minutes and a couple more steep hills, our kid bonked. He just lay on the ground and said he wanted to go to sleep. It finally dawned on my wife that we were doing some vigorous exercise close to 11,000 feet and our oldest kid just couldn’t take it any more. His younger brother was fine, though. This is one of those times when we were really glad we packed a lot more than we needed for the outing. Water and snack breaks were mandatory every 15 minutes or so throughout the rest of the ride in order to keep everyone safe.
To see some adventures from fellow MTB families and share your own, follow MTBwithKids on Instagram or Facebook