Six Mountain Bike Maintenance Tasks You Can Do Yourself

label
MTB Maintenance You Can Do Yourself

As your growing family makes more mountain bikers and acquires more mountain bikes, you’ll soon notice that you inherently acquire more bike maintenance duties. Learn how to take care of minor tasks on your own. Once you acquire a base set of tools and skills, you can save a little money and keep your bikes rolling without waiting on a bike shop for service. Sure, there are infinitely more maintenance tasks you can do on your own – but we’ll start with these six basics.
MTB Maintenance You Can Do Yourself
Bike repair stand

Bike Repair Stand
Shop at Competitive Cyclist

Nitrile work gloves

Nitrile Gloves
Shop at Amazon

Lint-free shop towels

Shop Towels
Shop at Amazon

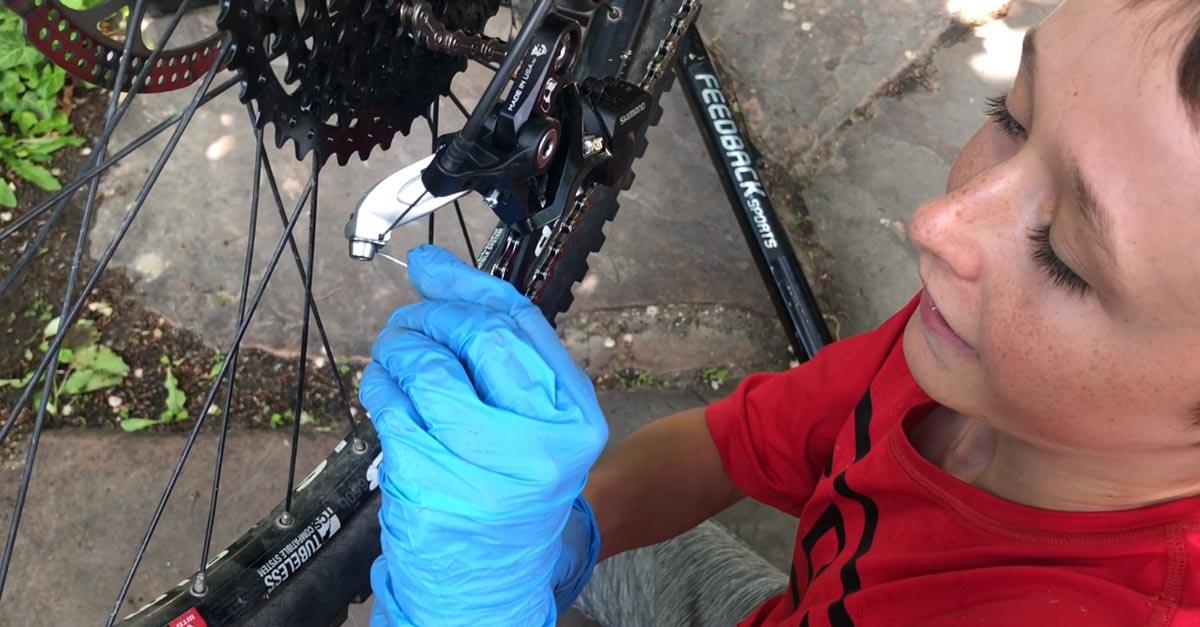
Bleeding Hydraulic Mountain Bike Brakes

One of dad’s goals in life is to have everyone in the family run the same brand brakes and model – just so we only have to stock one type of fluid and pads. Until then, we have to use the right tools for the job. SRAM even went above-and-beyond and created an additional $20 proprietary tool for some of their brakes called the “Bleeding Edge Brake Bleed Tool”.

When you bleed brakes, be sure to wear gloves and have the lint-free shop towels handy. Brake fluid is nasty stuff and it can stain anything. Also be sure to avoid getting brake fluid on the brake pads or rotors. Parts contaminated with fluid can be cleaned up, but that’s for another article.

Shimano Brakes

SRAM Brakes

SRAM Bleeding Edge

SRAM bleeding edge tool

SRAM Bleeding Edge Tool
Shop at Competitive Cyclist

Shimano brake bleed kit

Shimano Bleed Kit
Shop at Amazon

Shimano mineral oil

Shimano Mineral Oil
Shop at Competitive Cyclist

plastic mtb tire levers

Plastic Tire Levers
Shop at Competitive Cyclist

Changing Mountain Bike Brake Pads

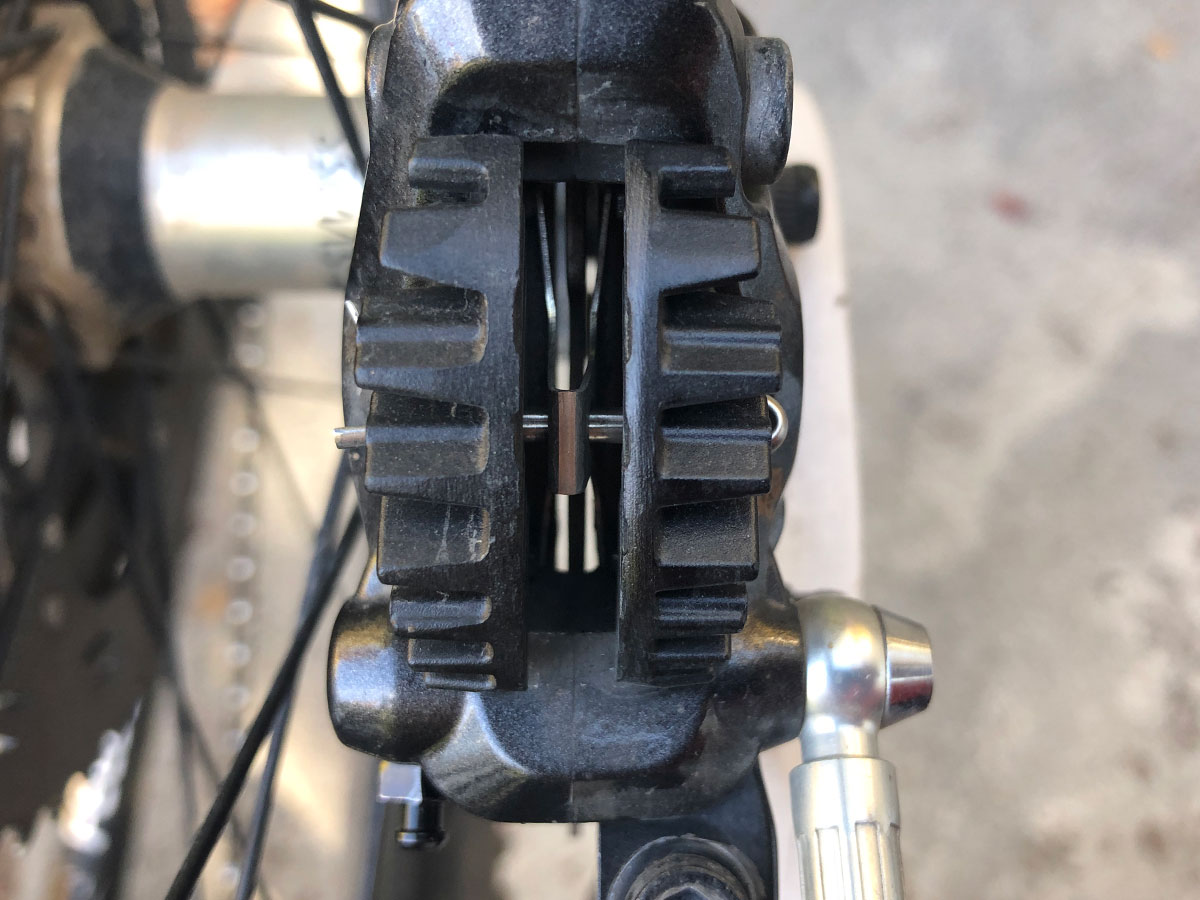
This task only takes a few minutes and it really helps if you keep a spare set of pads on hand so if you really need them, you’re ready to go. Some pads require a set of pliers to remove a cotter-pin that helps keep the pads in the caliper. Some require a small hex key to remove the retaining bolt that keeps the pads in the caliper.

SRAM brake pads

SRAM Brake Pads
Shop at Competitive Cyclist

Shimano brake pads

Shimano Brake Pads
Shop at Competitive Cyclist

Centering or Aligning Disc Brakes

This is one of the first things we taught ourselves because it was necessary and not that difficult. Over time, your rotor may get just tiny bit warped or bent and you hear that steady chime whenever the out-of-whack portion of the brake rotor passes across the brake pads. In some instances, you may have to replace your rotor – but a lot of the time you can fix this yourself.
Centering brakes on your mountain bike
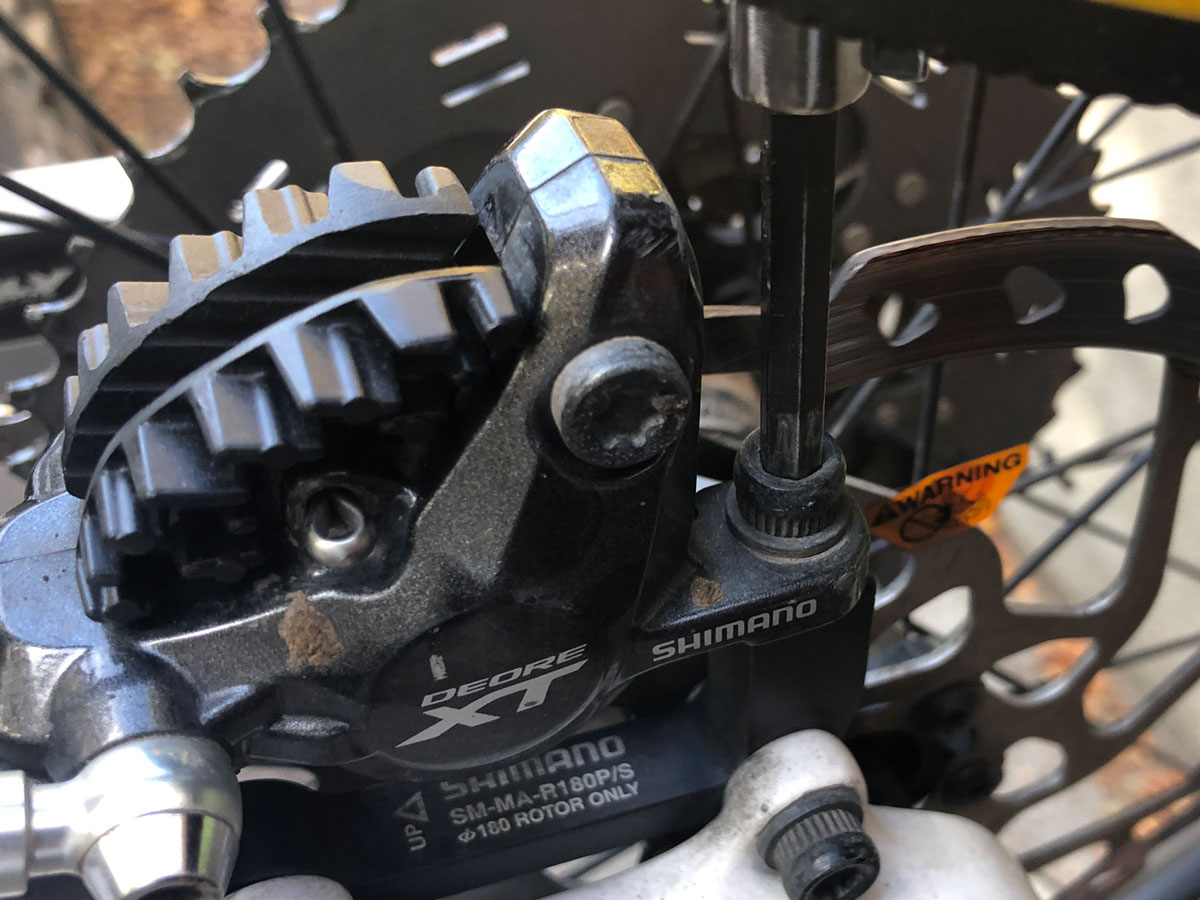
Tightening the brake mount post bolt

Put your bike in a repair stand. Then, lightly loosen the bolts that attach the caliper to the brake mount adapter. Notice that these fastening points are not an exact round hole. There is a little bit of wiggle room or tolerance for the caliper to float on the brake mount adapter. Next, squeeze the brake lever. You may need another person to help. This will align the caliper on the rotor. Then, tighten the mounting bolts. Release the brake lever and spin your wheel. You may have to do a bit of fine tuning if you still have some rubbing.

Lightly loosen the mounting bolts, and one at a time – carefully pivot the caliper so the rotor spins without contacting the pads. Mind your fingers so they don’t get bit by an spinning wheel. Go through this with each caliper mounting bolt until your rotor spins without making a noise and the bolts are tightened.

You may be surprised by just how small an adjustment needs to be made so the noise is eliminated. If you still have rubbing noises, try spreading the pads in the brake the same way you would when your replacing your brake pads as explained above. This may get you the fraction of a millimeter you need to get your caliper aligned and end the brake rub.

Aligning Brake Calipers

Swapping Out Bike Pedals

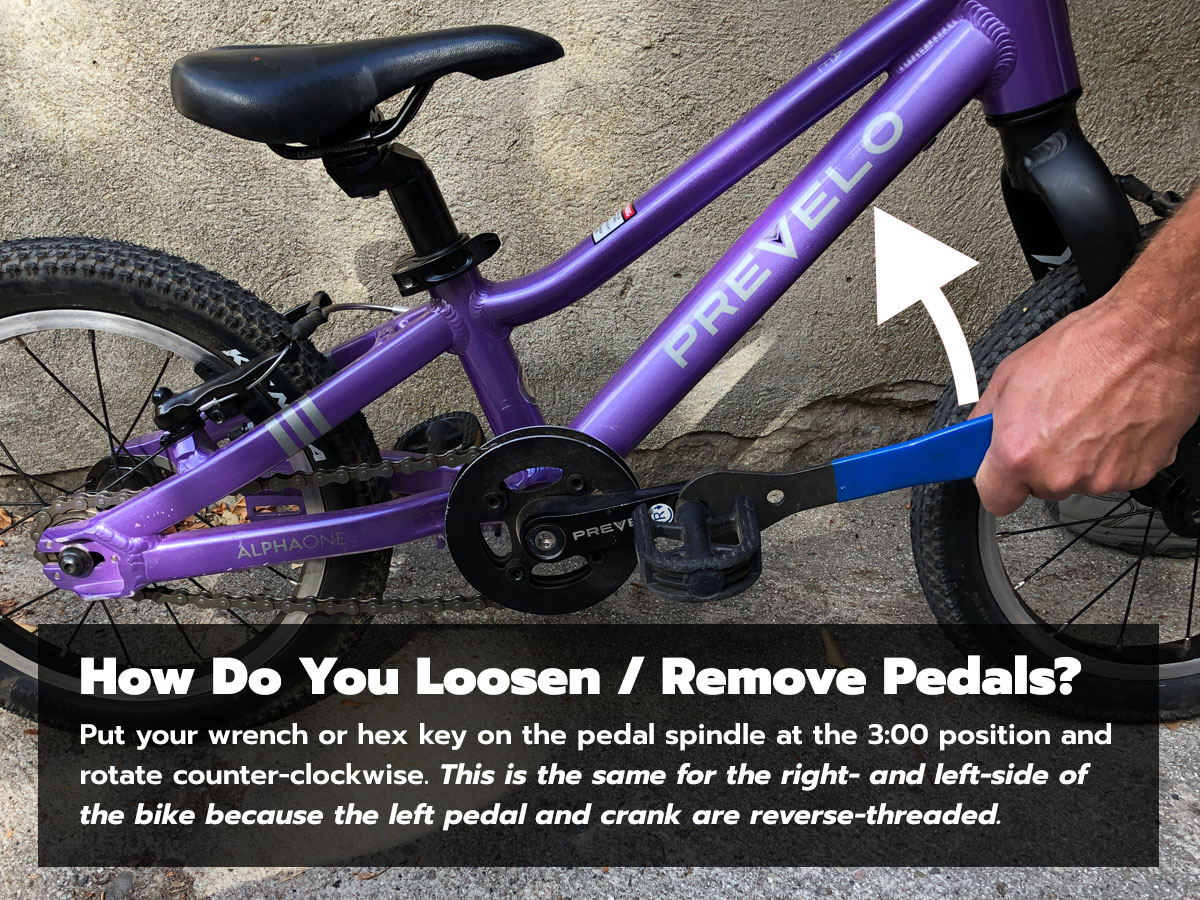
Some pedals require a hex key, others require a pedal wrench. Regardless of what tool you use, it’s important to know which way you have to rotate the wrench to remove and install pedals from the cranks. If you attach the tool facing the front of the bike, parallel to the ground, the tool always has to rotate up [counter-clockwise] to loosen the pedal. This is same on both the drive side and non-drive side of the bike because the non-drive side is reverse threaded. Be sure to keep the proper-sized hex keys or wrench in your tool kit.

Installing And Maintaining Tubeless Tires

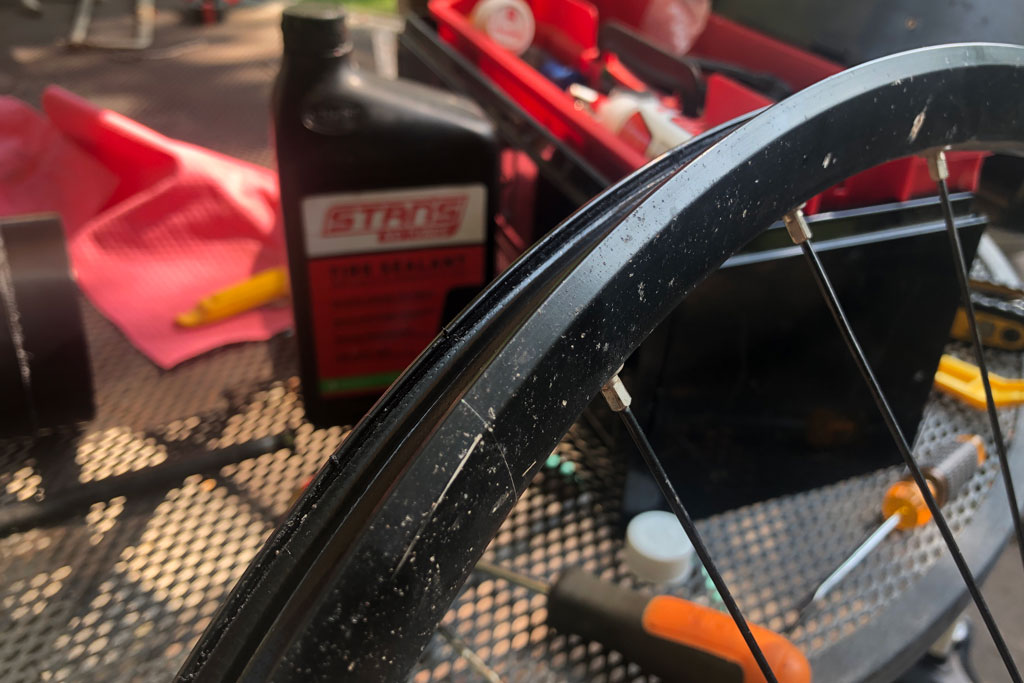
Although setting them up for the first time can be tough, the pros of going tubeless far outweigh the cons. Save time. Save money. And once again – save time. Just as early as last spring when we demoed a bike, we got 2 tube flats on the same ride. It was rotten. Yes – proper air pressure with tubes makes a difference, but we have had no problems with our tubeless set ups for for years.
Installing and maintaining tubeless mtb tires

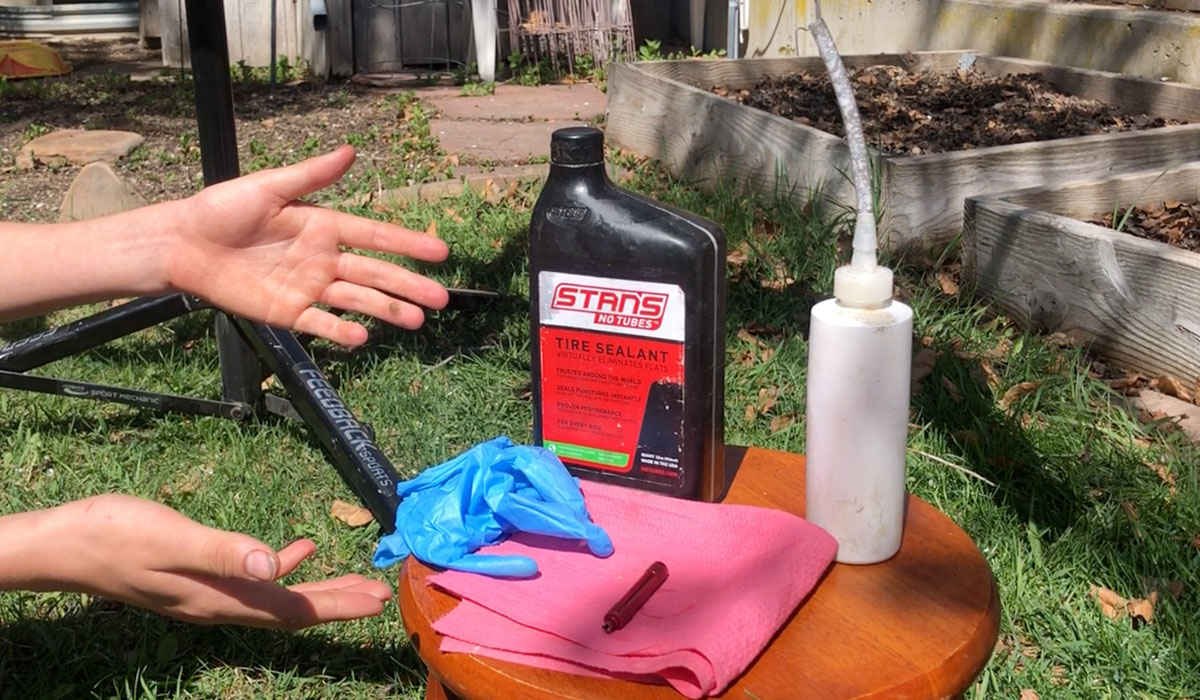
In order to go tubeless, you need a combination of tubeless compatible rims, tires, valves, and sealant. A lot of rims come tubeless-ready with rim strips. For some, you will need to tape yourself. What does taping a rim ensue? It helps create the air-tight seal required. Every couple of months or so, depending on how often you ride or how much wear-and-tear you’ve put your tires through; you have to keep sealant in the tires. Seating a tire on a rim without a compressor can be a bit tricky, too. We just went to the neighborhood gas station with a Presta compressor valve adapter.

Floor pump with chamber

Pump With Air Chamber
Shop at Competitive Cyclist

Valve core removal tool

Valve Core Remover
Shop at Jenson USA

Presta adaptors for air compressors

Presta Compressor Adaptor
Shop at Amazon

Installing Internal Housing For Brake Cables, Shifting Cables, And Dropper Posts

We needed to build up a our son’s mountain bike from the bare frame last year for the first time and it was quite a learning experience. In order to get the internal housing through the frame we used the Park Tools Internal Cable Routing Kit. Be cautious! This kit will drastically reduce the coinage in dad’s swear jar.
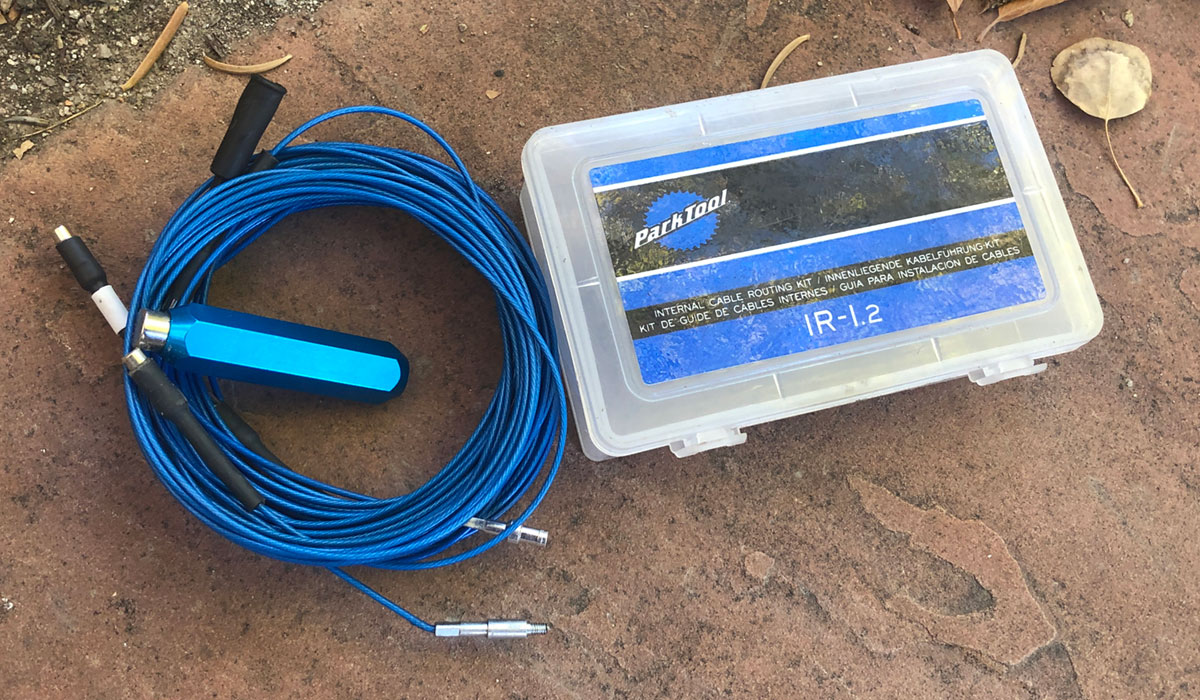
Internal housing routing kit

The kit comes with a set of cables composed of magnets and other adapters that allow you to quickly get a lead cable through the bike. Once you have the lead cable running through the bike, you can pull the housing you need through the frame. It took a bit of practice and coordination to gently use the external guide magnet, but the overall performance of this tool is five out of five stars.

Park tool cable routing kit

Internal Cable Routing Kit
Shop at Competitive Cyclist

Have Your Kids Help You Maintain the Family Mountain Bikes!

When our kids were younger, we would have them help us maintain the bikes as much as they could. For instance, they can play the role of assistant mechanic by organizing and handing off tools when doing a repair. They can operate a floor pump, help tighten bolts, etc. As the years have gone by – the kids have learned how to build up demo bikes, bleed their dropper posts, adjust derailleurs, replace derailleur cables, adjust their suspension, and so on. You can even watch a video of our youngest as he converts his bike to a 1x drivetrain.

Pictures From Virgin, Utah – October, 2020

label

Pictures From Virgin, Utah – October, 2020

Last weekend, we attended a couple of events. The Utah NICA league had its state championships in St. George and our friends from the RaceKraft MTB Team staked a claim in the desert outside of Virgin.
We spent the first night camped next to the NICA pit zone, but were able to spend a couple of evenings with the RaceKraft crew in the dirt.

Utah’s unlimited outdoors was on full display. When the red rocks collide with big skies and the wind is chill, the kids can enjoy the mountain biking across this world-class terrain without the crowds and clamor of city living. Here are a few photos from the weekend.

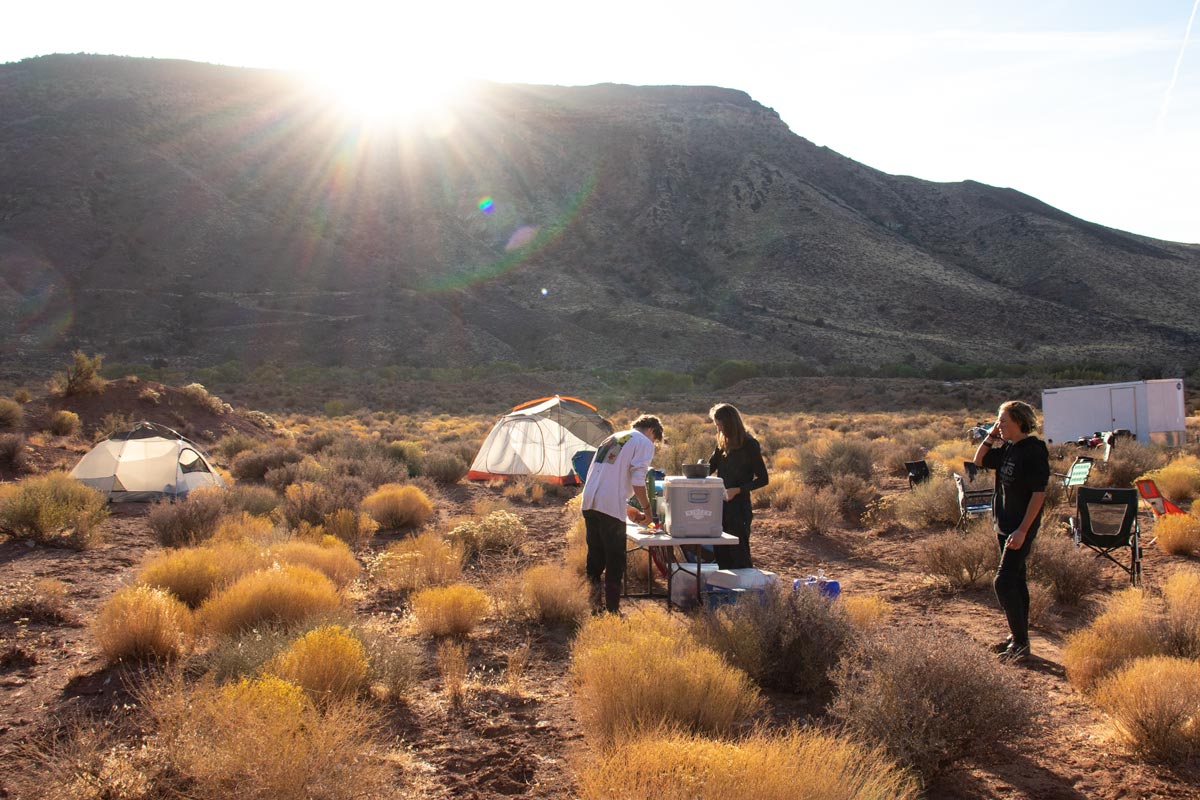
Outside and all is well

Fall and spring in the Utah desert can be quite amazing. If the wind is low and the bugs are out of town, it’s hard to leave.
Our friend Aiden [far right] @aiden_parish83 works on sealing a deal from the comfort of his remote office.

Follow MTB With Kids on Facebook  Follow MTB With Kids on Instagram  Follow MTB With Kids on YouTube

Like what you see? Follow MTB With Kids on Facebook, Instagram, YouTube

Mountain Biking the Flying Monkey trail

The fun is spread out over several square miles. It’s like Disneyland, but uncrowded and fun.
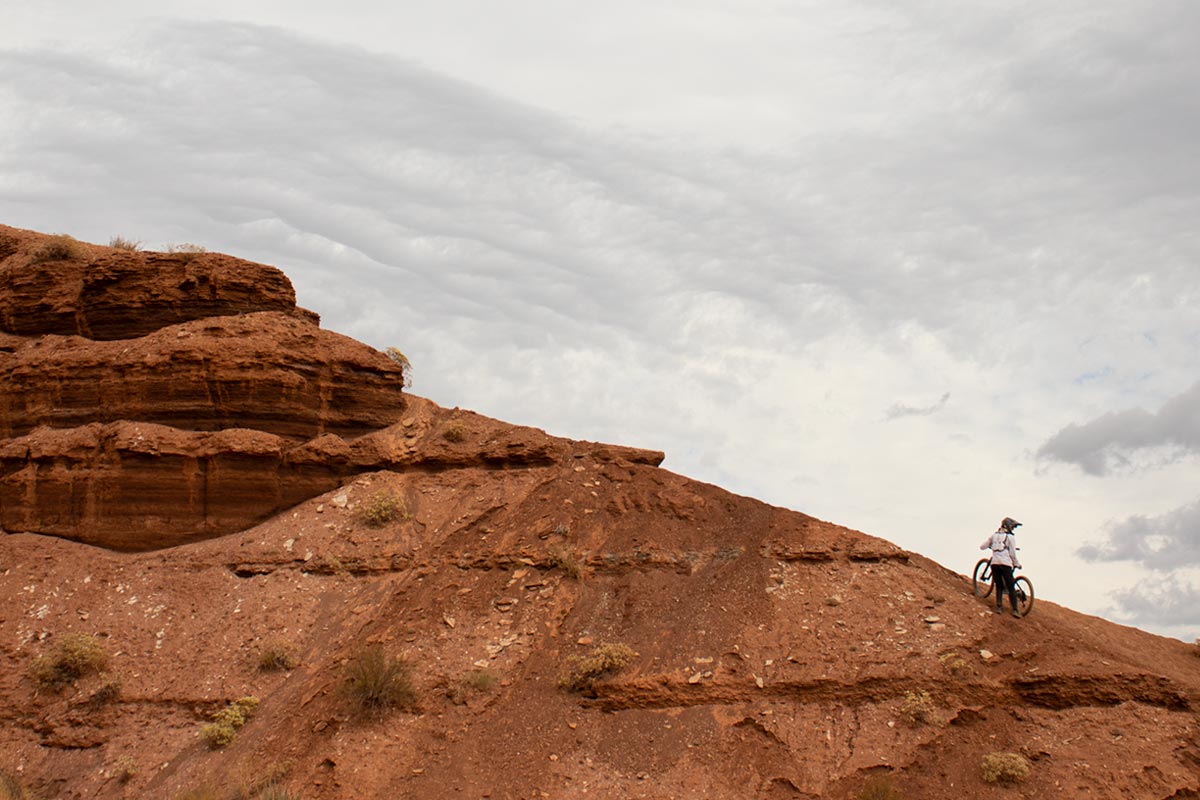
Wyatt hikes his mountain bike up a ridge

No lift lines all day long.
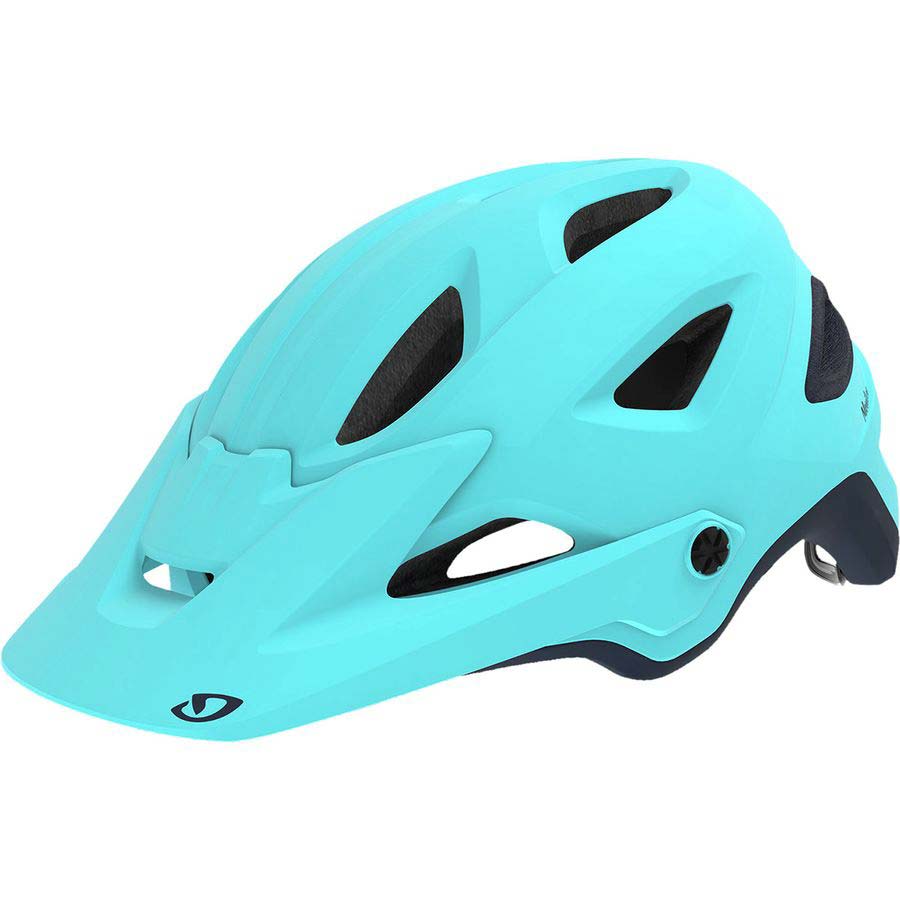
MTB Helmets For Kids

Make sure your kids have proper, well-fitting head protection.

Mountain Bike Helmets For Kids

G-Form knee pads for kids

Knee Pads For Kids

Knee pads are another level of protection for young riders.

MTB Knee Pads for Kids

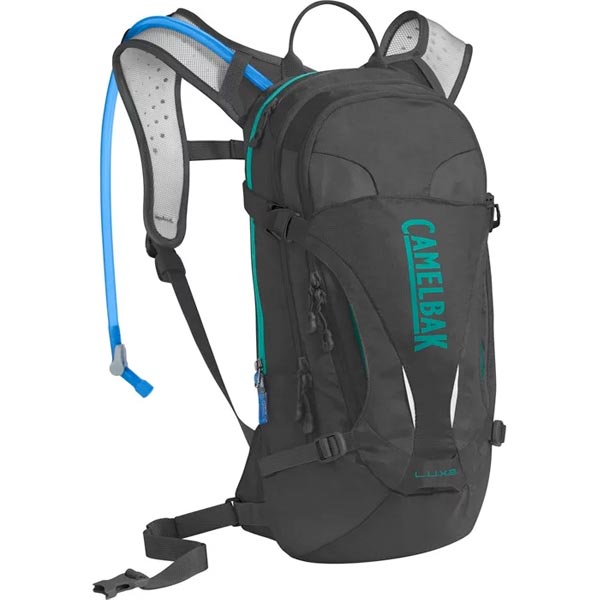
Camelbak LUXE hydration pack for kids

Hydration Packs For Kids

Is your kid big enough to carry their own water and supplies?

MTB Hydration Packs for Kids

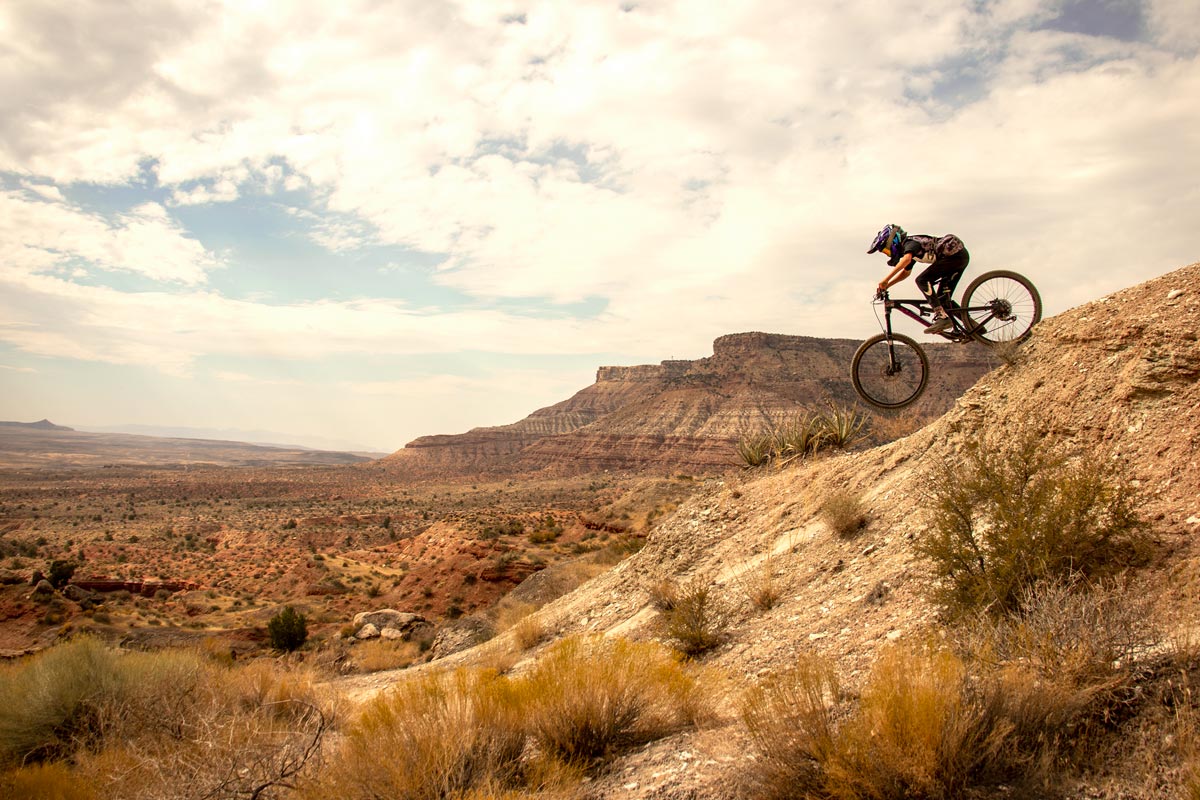
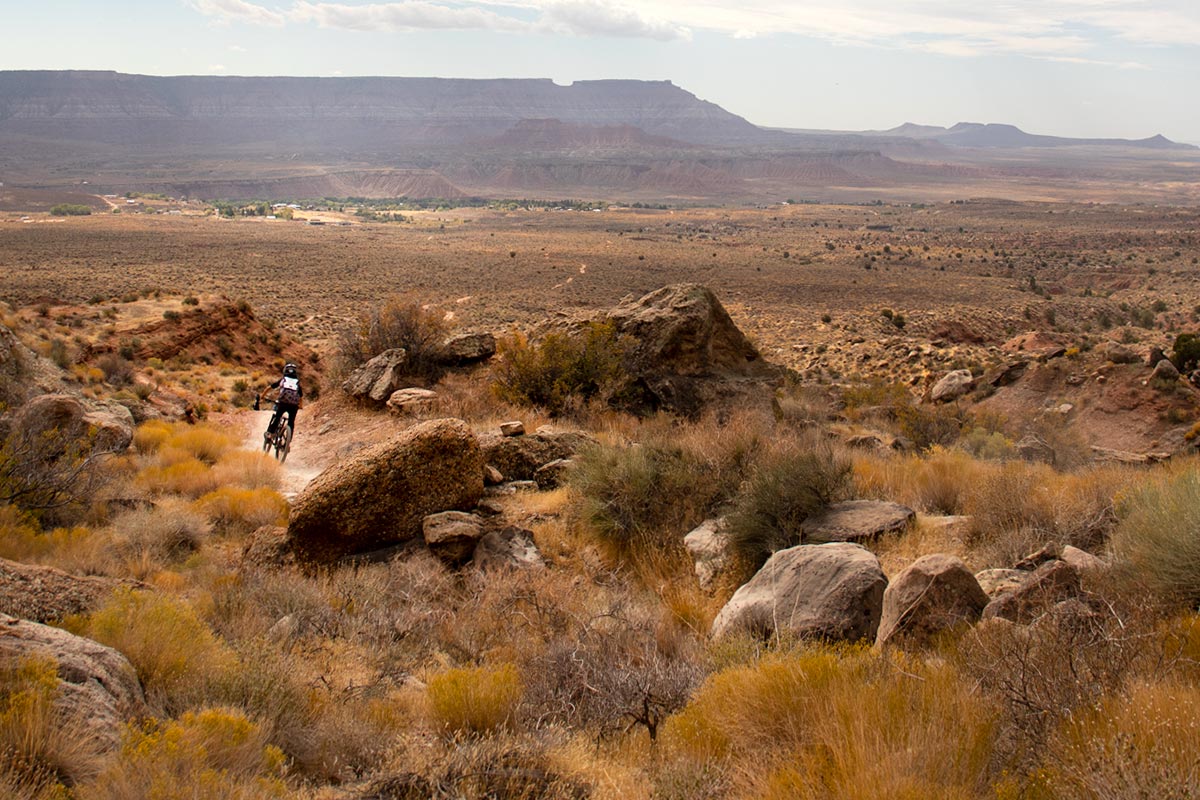
Making way back to camp on a desert ridge

Look ahead. Level pedals. Attack position on the bike. One finger on each brake lever. Well done!

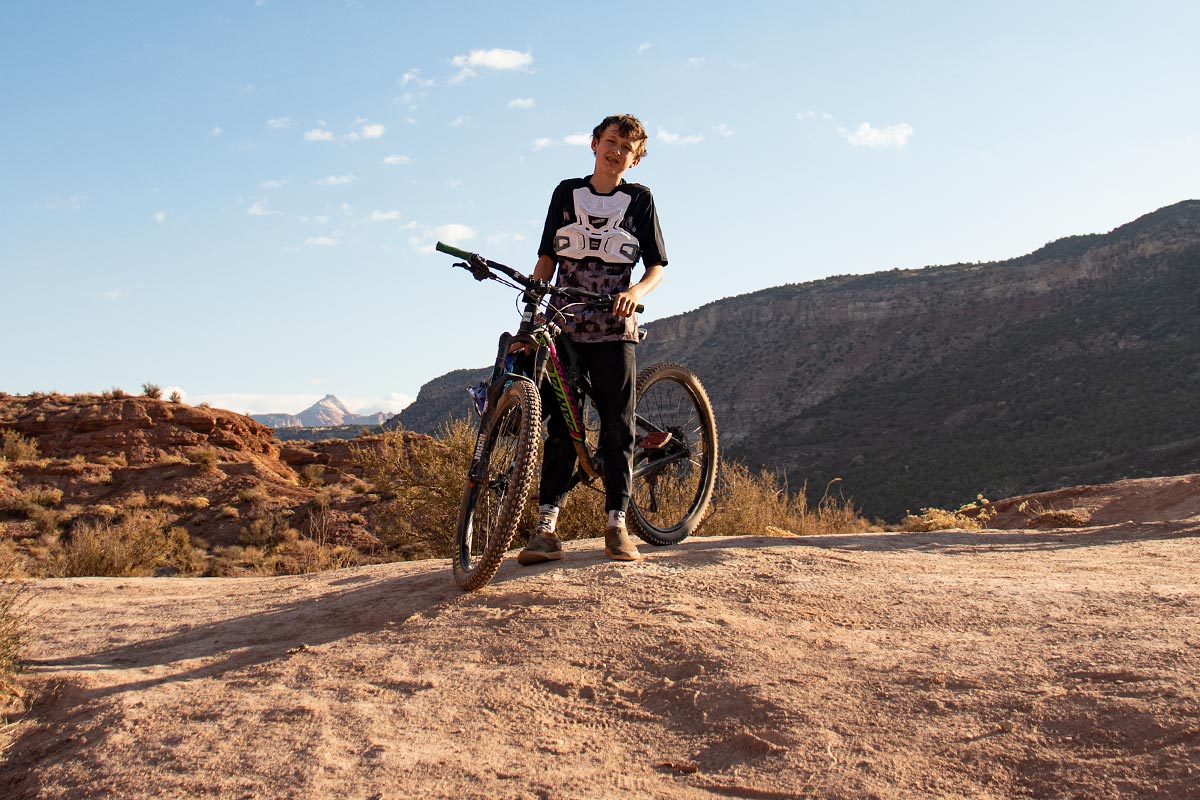
Taking time for a photo in the desert

A chest protector is a good idea out here because O-T-B doesn’t just stand for “Outside The Beltway”.

Sending a straight-down line with multiple drops

Wyatt returns to the ground floor of the venue on a line with a few bumps and drops.

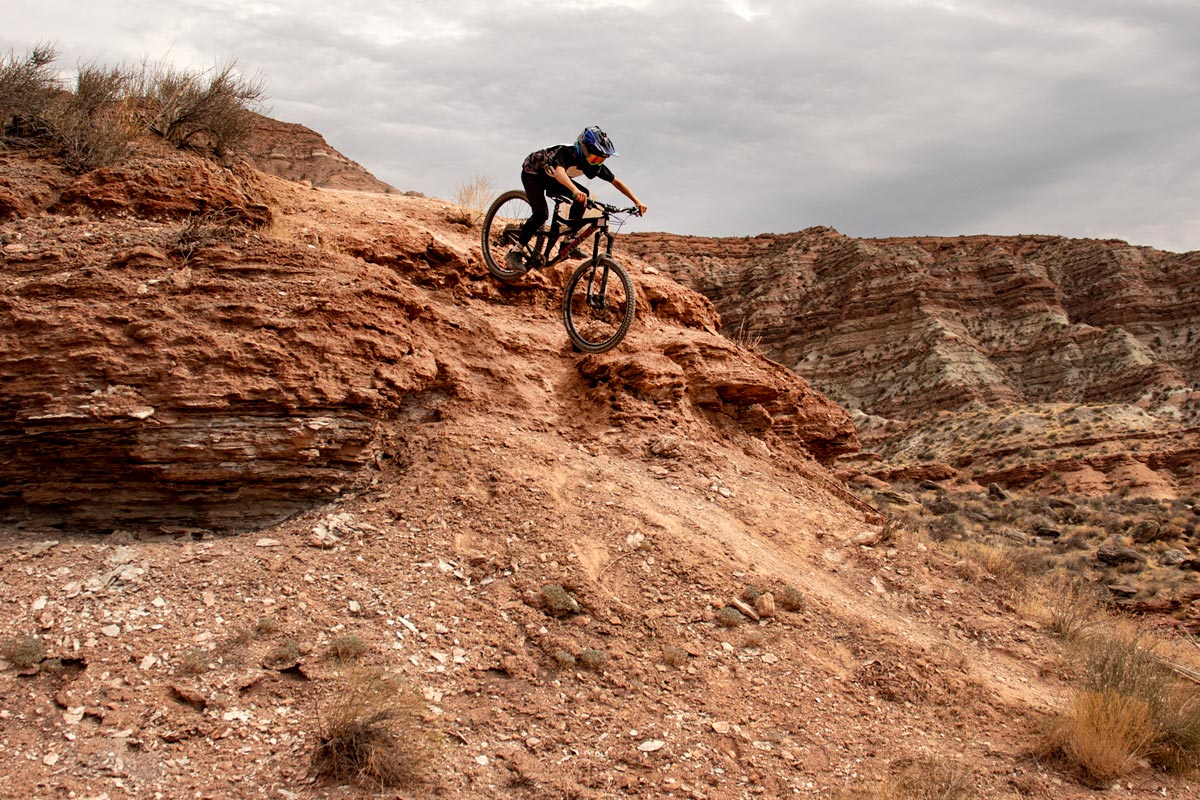
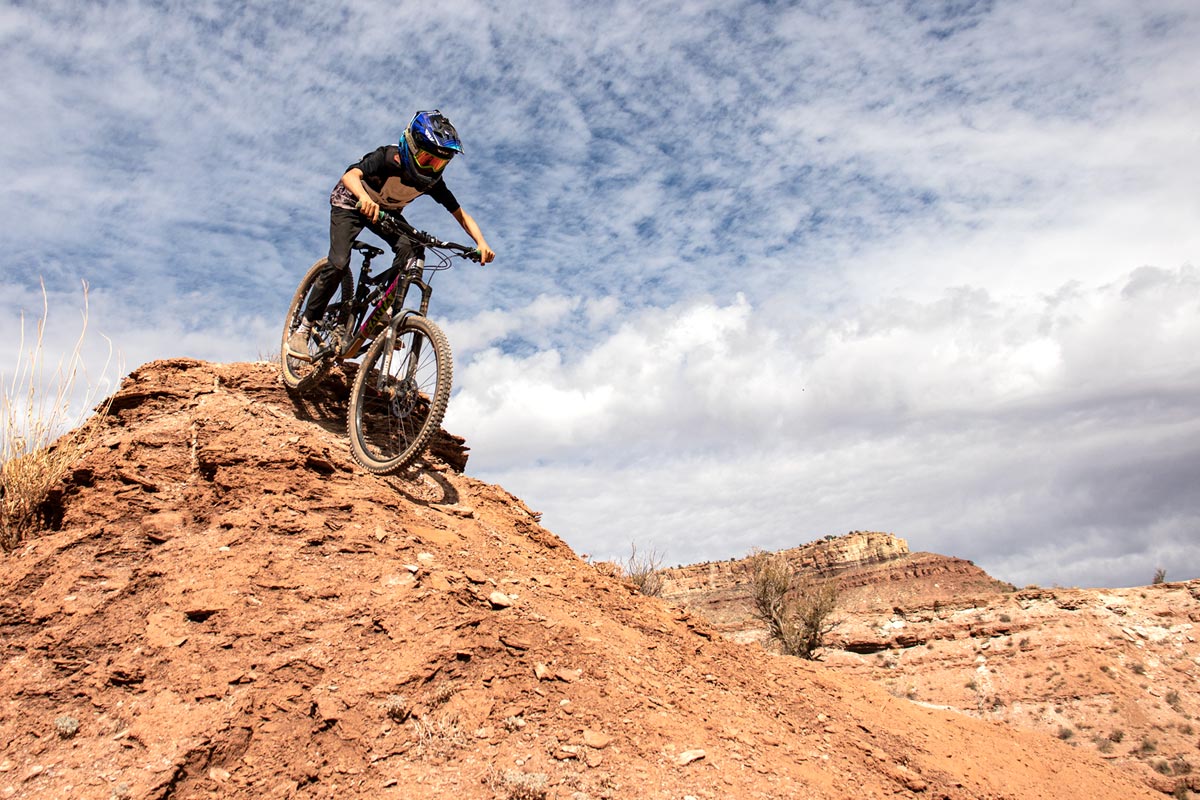
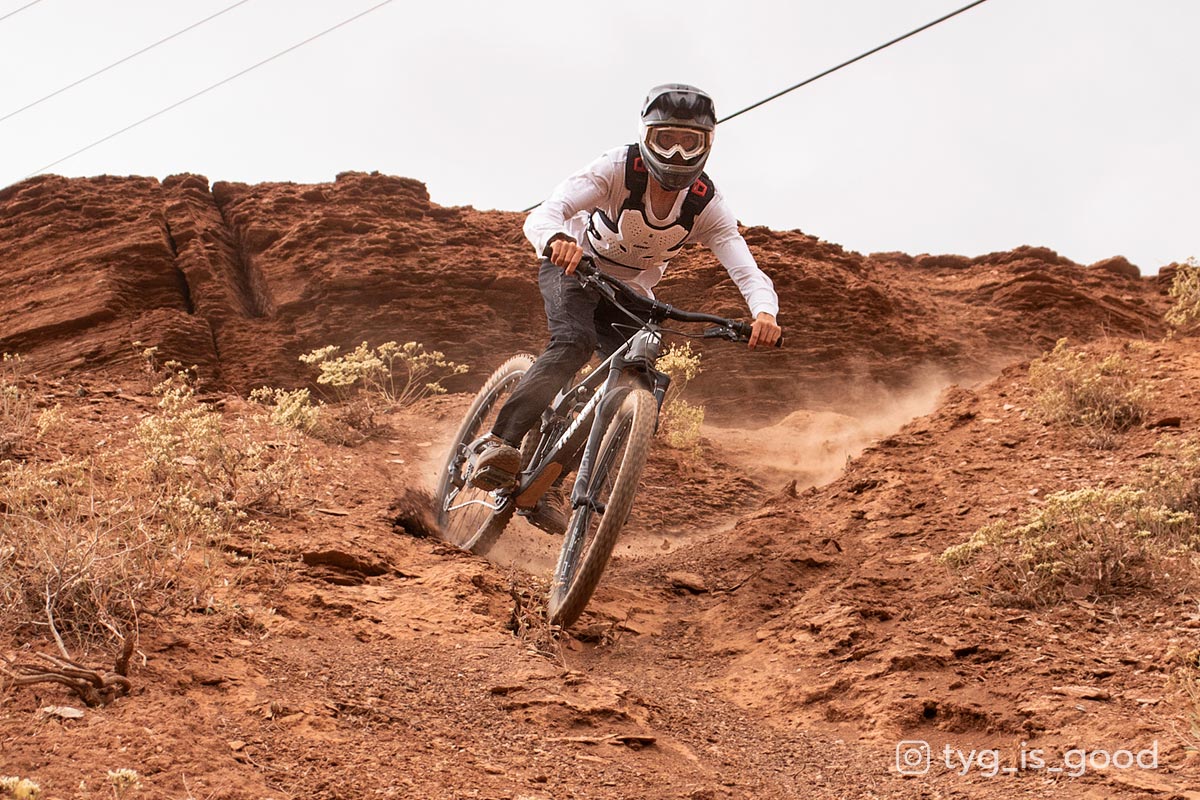
Mountain biking down loose terrain in the Utah desert

Riding a narrow strip of the desert’s dusty slip-and-slide.

Flying Monkey. Cue the music and scan the clouds

The Flying Monkey trail is a favorite. Tyge has to walk a section or two, but he can iron out the tail every time.

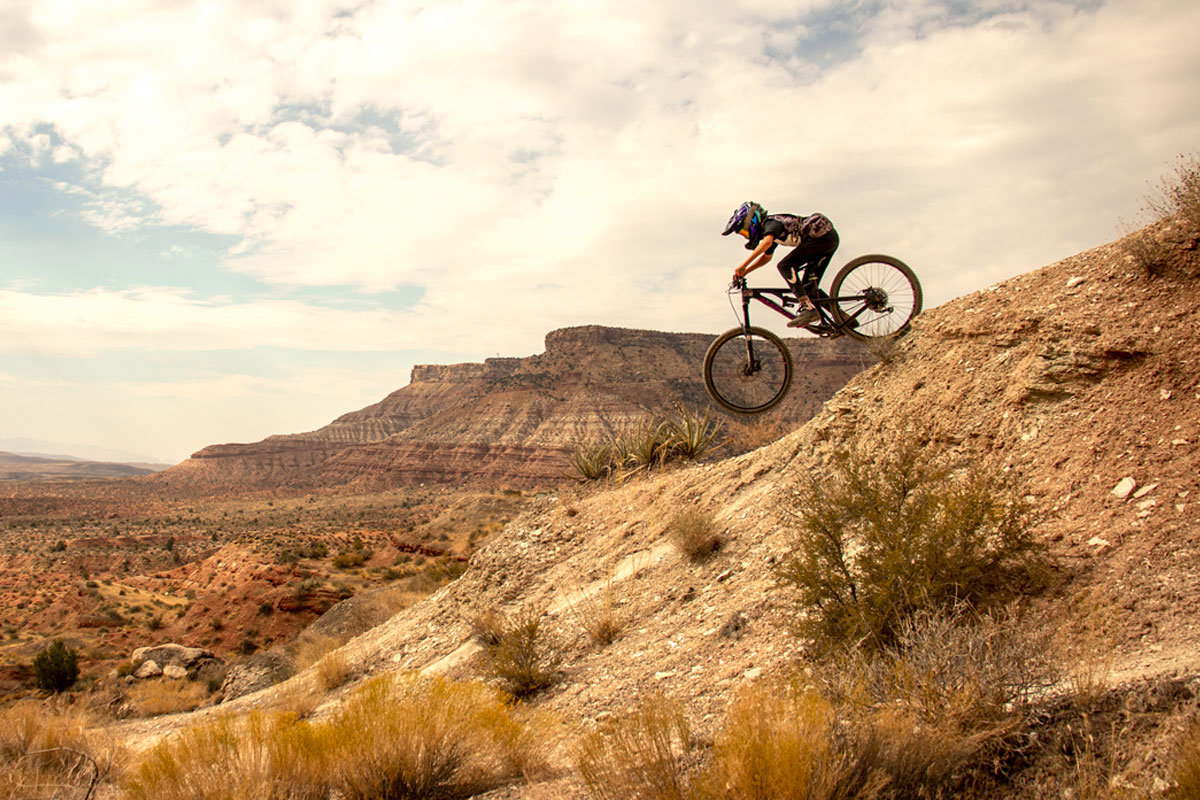
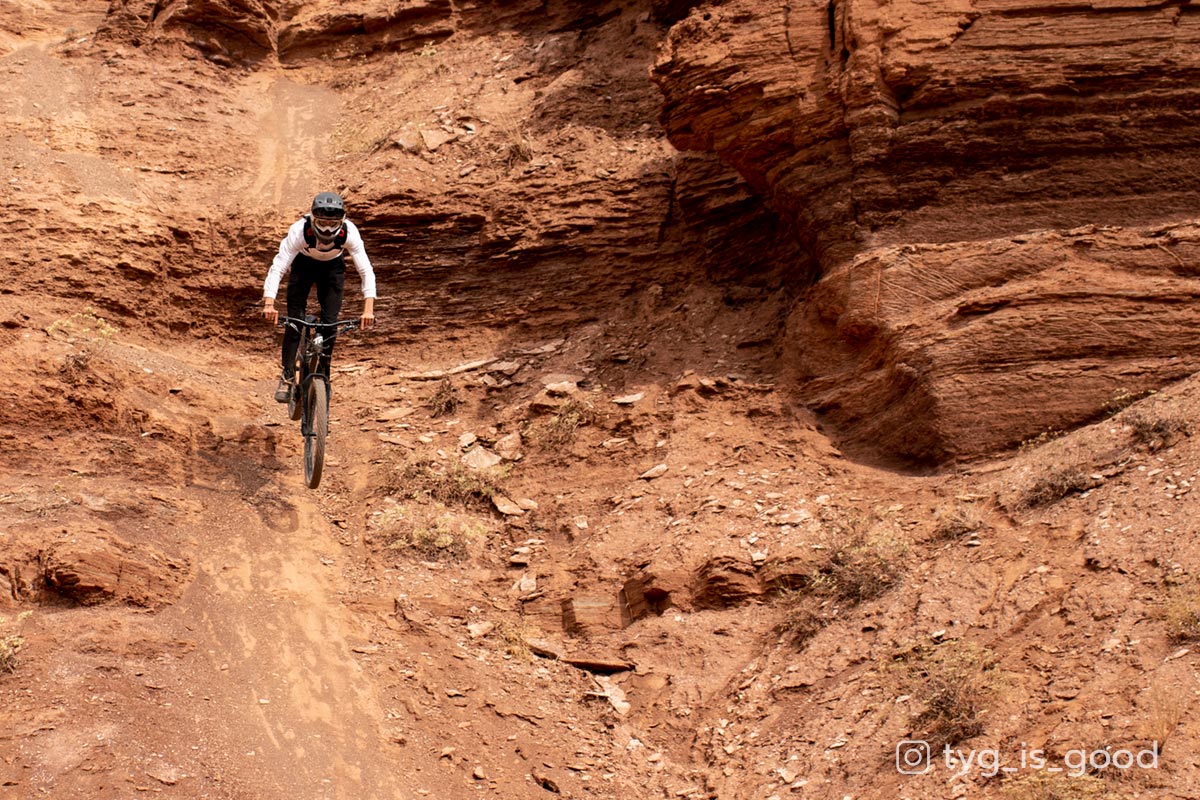
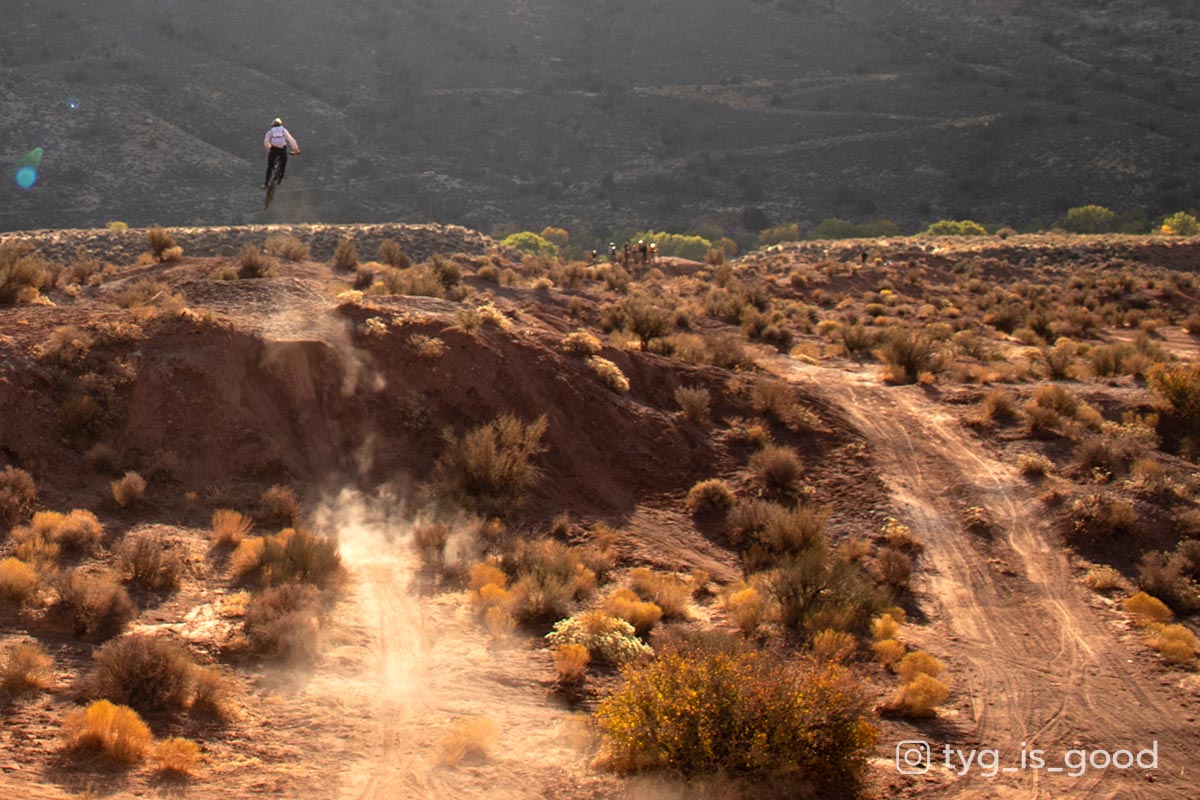
Jumping at the old Rampage site near Virgin, Utah

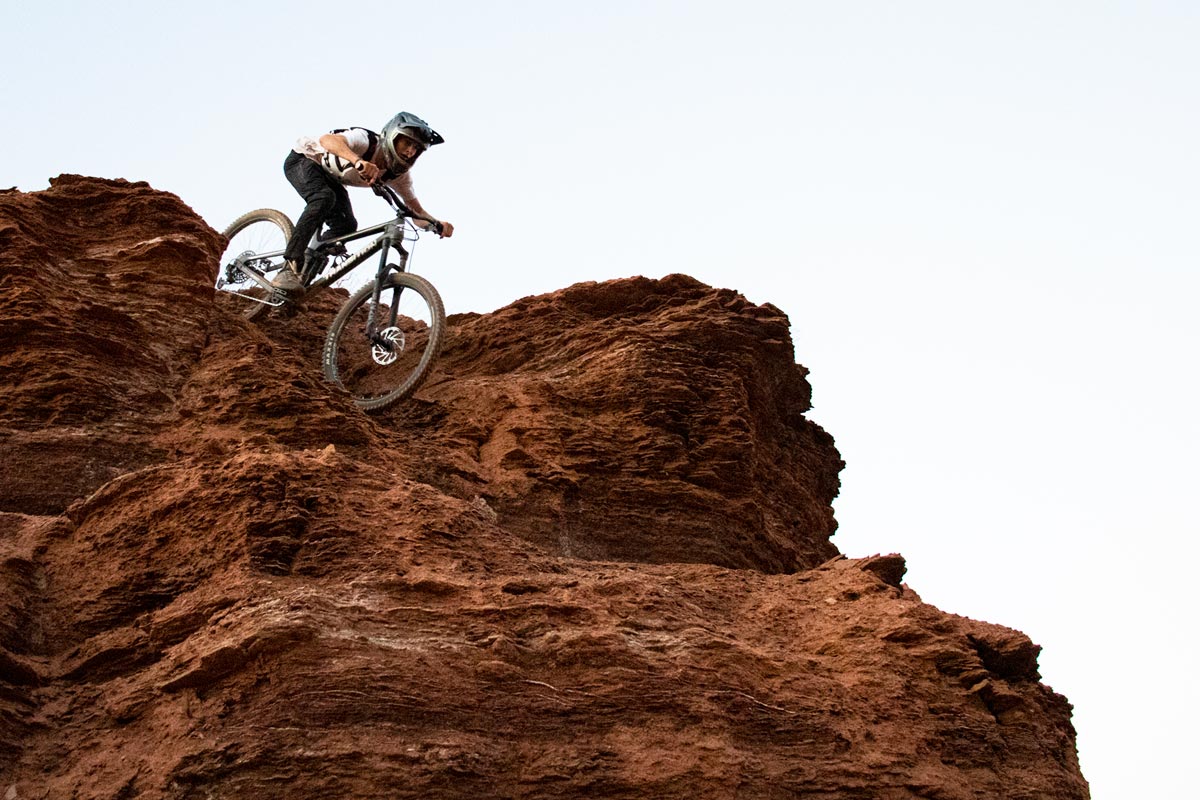
Getting sendy on a run-out from a steep, chunky line.

Riding some desert tech

Attend Virgin Tech. It’s an experience and education all its own. Learn as you go. Broaden your horizons and meet like-minded people.

Riding the tail-end of Flying Monkey

Until next time, Virgin. We hope it’s soon.

1x Drivetrain Upgrade On Our Kid’s Mountain Bike

label
Upgrading a kids mountain bike to a 1x drivetrain

We converted a 2×10 drivetrain to a 1x set-up on Tyge’s bike with a non-boost hub. Before we started, our friend Steve from Hyland Cyclery took a look at the bike to help us identify all the tools and parts we needed. I was glad to find out we could save some money by keeping the original crankset and shifter. As you’ll see in the video, this is obviously the first time we’ve done something like this.

DOWNLOAD a PDF with a list of parts and tools that may be helpful. This PDF includes affiliate links.

How To Convert A Mountain Bike To A 1x Drivetrain?

If you’d like to try a similar upgrade for a bike your family owns, be aware that drivetrains are different from bike-to-bike and your project will almost definitely require different parts. Ours ended up with parts from SunRace, Shimano, SRAM, and WolfTooth. If you’re not comfortable taking inventory and assessing what you need, we bet your local bike shop can help you out. Watch the video and Tyge will take you through what he did.

Follow MTB With Kids on Facebook  Follow MTB With Kids on Instagram

Follow MTB With Kids on Facebook and Instagram

MTB Helmets For Kids

Make sure your kids have proper, well-fitting head protection.

Mountain Bike Helmets For Kids

G-Form knee pads for kids

Knee Pads For Kids

Knee pads are another level of protection for young riders.

MTB Knee Pads for Kids

Camelbak LUXE hydration pack for kids

Hydration Packs For Kids

Is your kid big enough to carry their own water and supplies?

MTB Hydration Packs for Kids

Bontrager Ion Pro RT/Flare RT Light Set Review

label
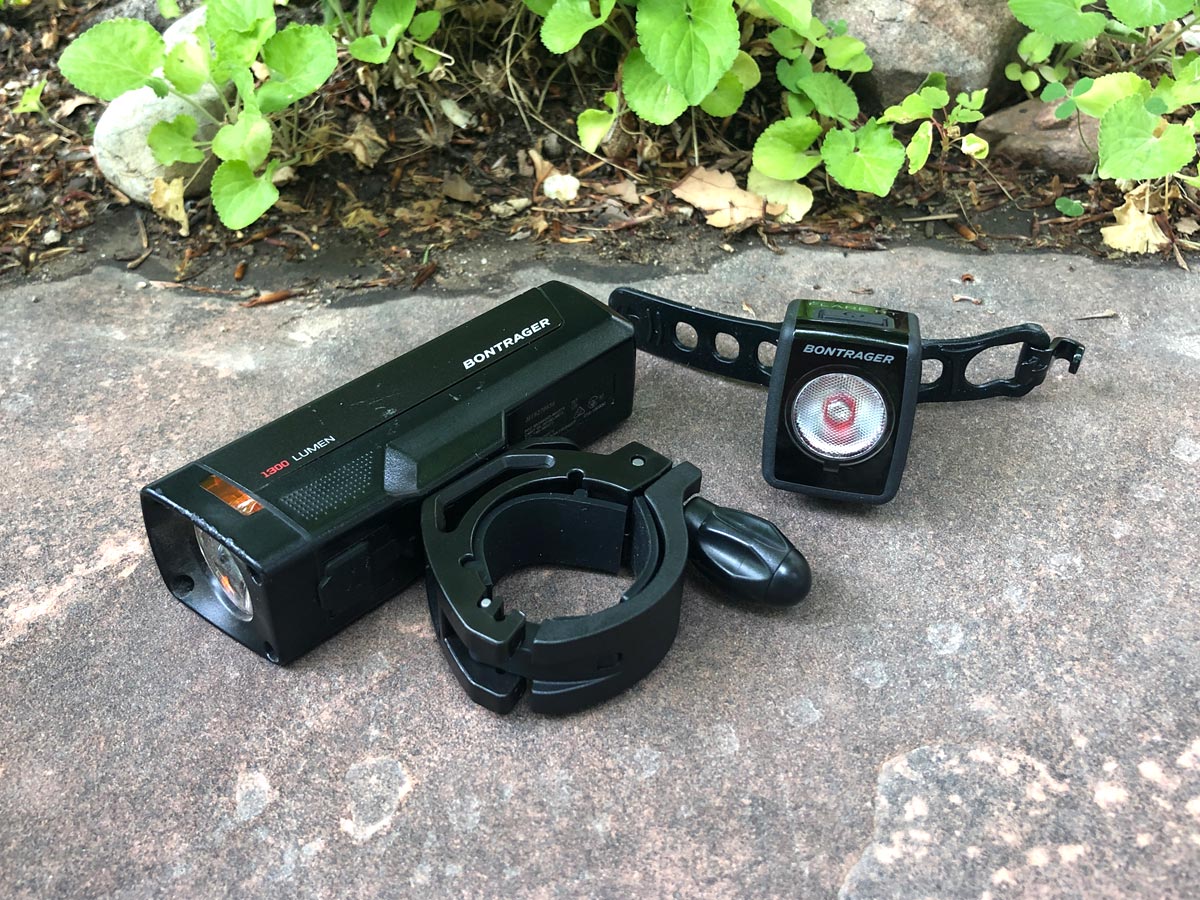
Bontrager Ion/Flare RT light set

It’s important to be able to see where you’re going no matter where you are – but especially when you’re riding down a trail during dusk or at night. Not only do these lights help you see the path in front of you, but it also makes it easier for others to spot you – making the chances of a painful collision much less likely. The Bontrager ION Pro RT/Flare RT Light Set takes care of both of these issues.

Bontrager Ion/Flare RT light set

Consisting of two different types of lights, the Ion Pro RT and the Flare RT, the set attaches to two different parts of the bike in order to keep you safe. The Ion Pro RT fits on the handlebars, where it illuminates the path in front of you with a wide enough light to cover the width of just about every path and trail. The Flare RT, designed to go on the back of the bike, fits below the seat and flashes behind you so that anyone coming up from the rear realizes that you’re there. However, both can be mounted on a helmet as well, giving you the flexibility to arrange them as needed. A lot of night riding mountain bikers swear by having a powerful light on their bars, and their helmets for an even greater/brighter night ride.

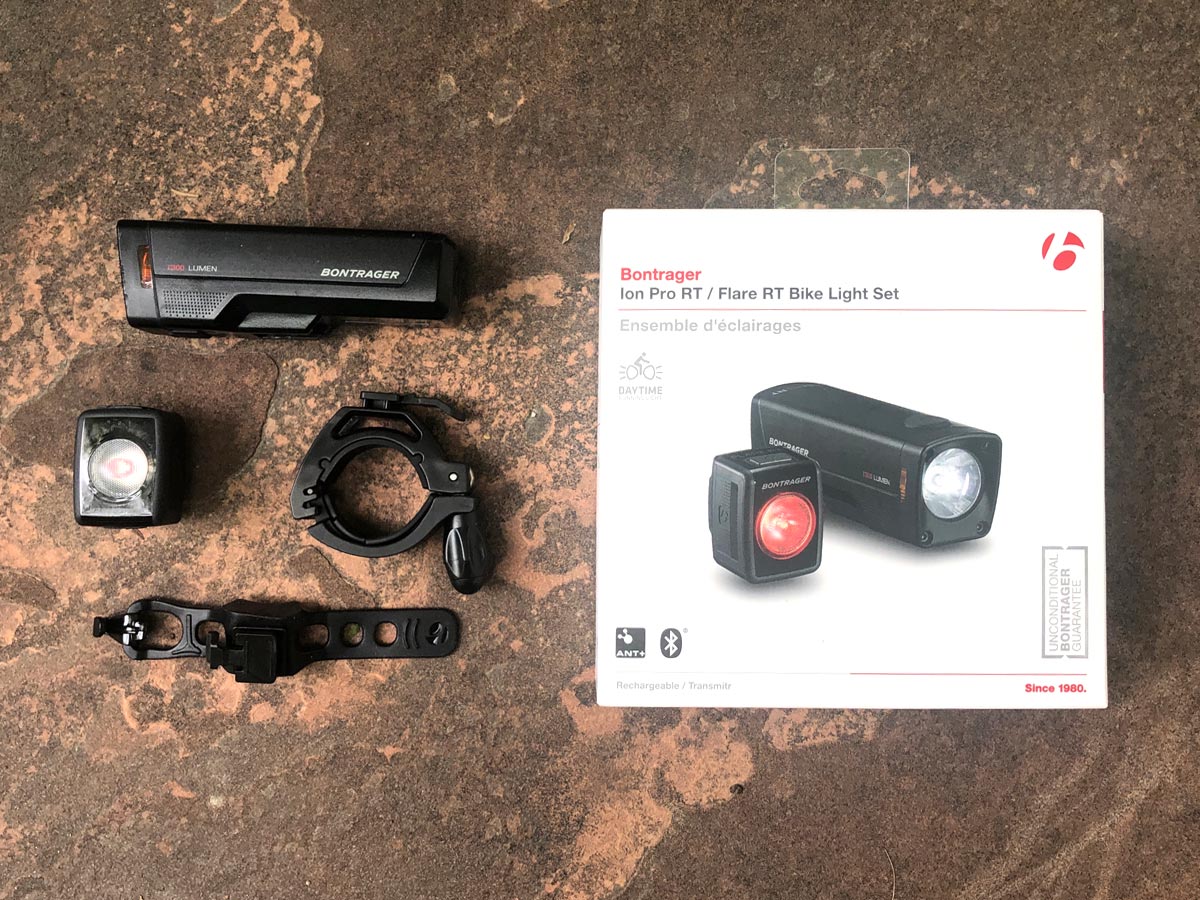
Bontrager Ion Lights with packaging

Both lights are easy to recharge, thanks to handy included USB cable. Just remove the lights from their mounts, and bring them inside. The mounting system is easy to use, and holds the lights in place no matter how many bumps you encounter on your ride, while at the same time, they slide out easily so that you can recharge them as necessary. The batteries are a sturdy, rechargeable 4800 Li-Ion that provide up to six hours of power when the lights are set to low. On high, they last for an hour and a half, while when set to flashing they last for 26 hours.

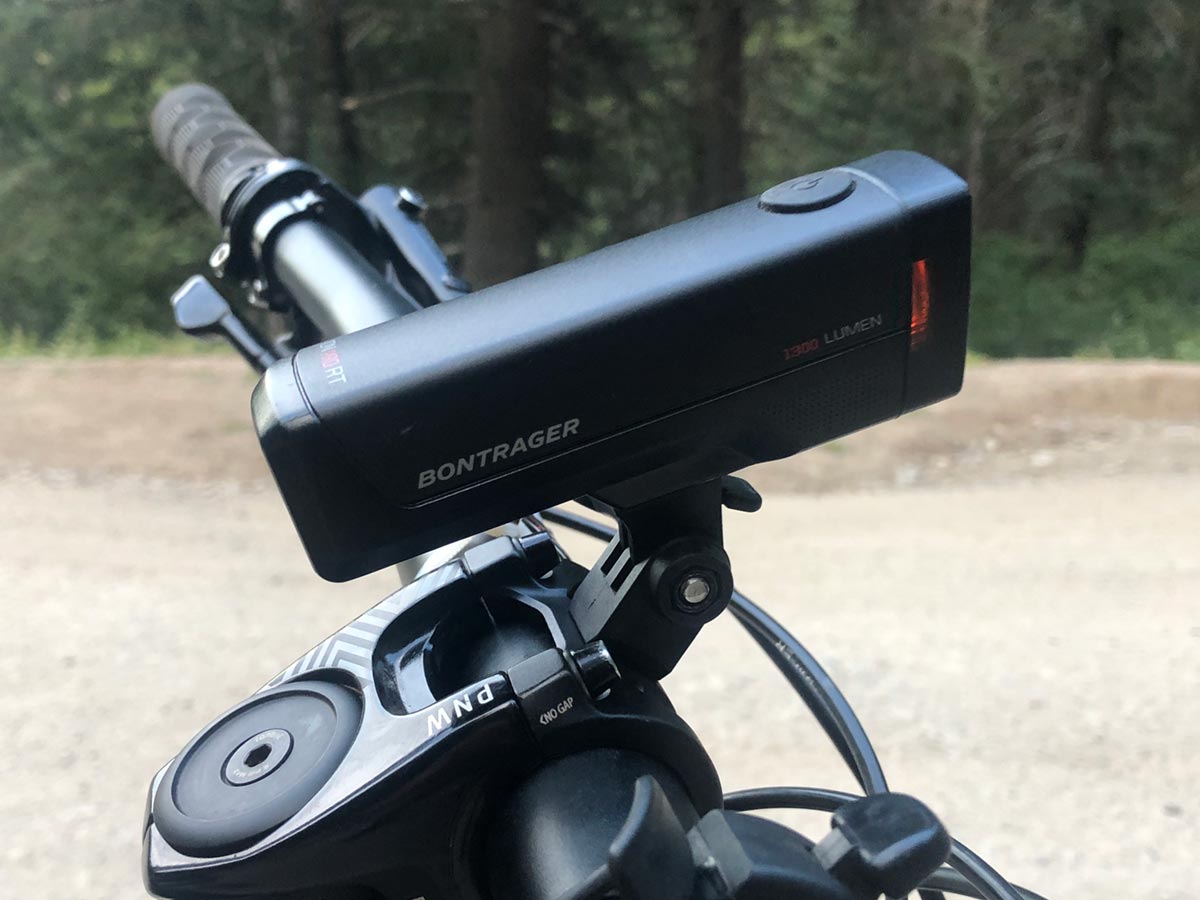
Bontrager light mounted to PNW Components stem with accessory mount

Follow MTB With Kids on Facebook  Follow MTB With Kids on Instagram

Follow MTB With Kids on Facebook and Instagram

For lack of a better term, the Bontrager Ion light set is lit.
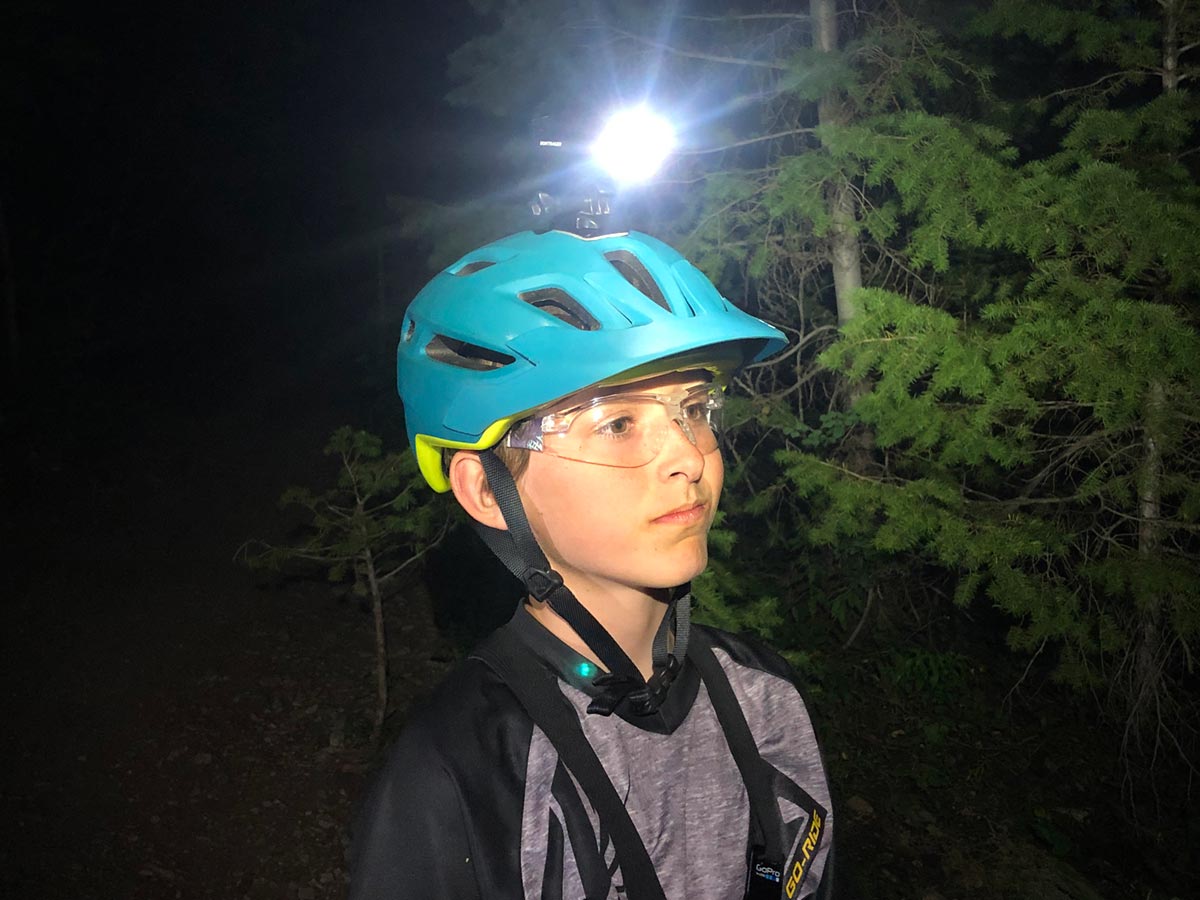
Bontrager Ion light mounted to Bontrager Rally MIPS helmet

When it comes to visibility, the Pro RT and the Flare RT contain LED bulbs that produce enough light to make them visible up to 2 kilometers during the daytime, and they can be set to flash in an array of patterns that you can set to provide the ultimate protection based on your exact circumstances. Their maximum light output is 1300 lumens, which is pretty powerful. You can control the lights, as well as monitor their battery life, with your Bontrager ANT+ or Garmin device. This makes it easy to switch their flash pattern while you’re in the middle of a ride, without having to get off of your bike.

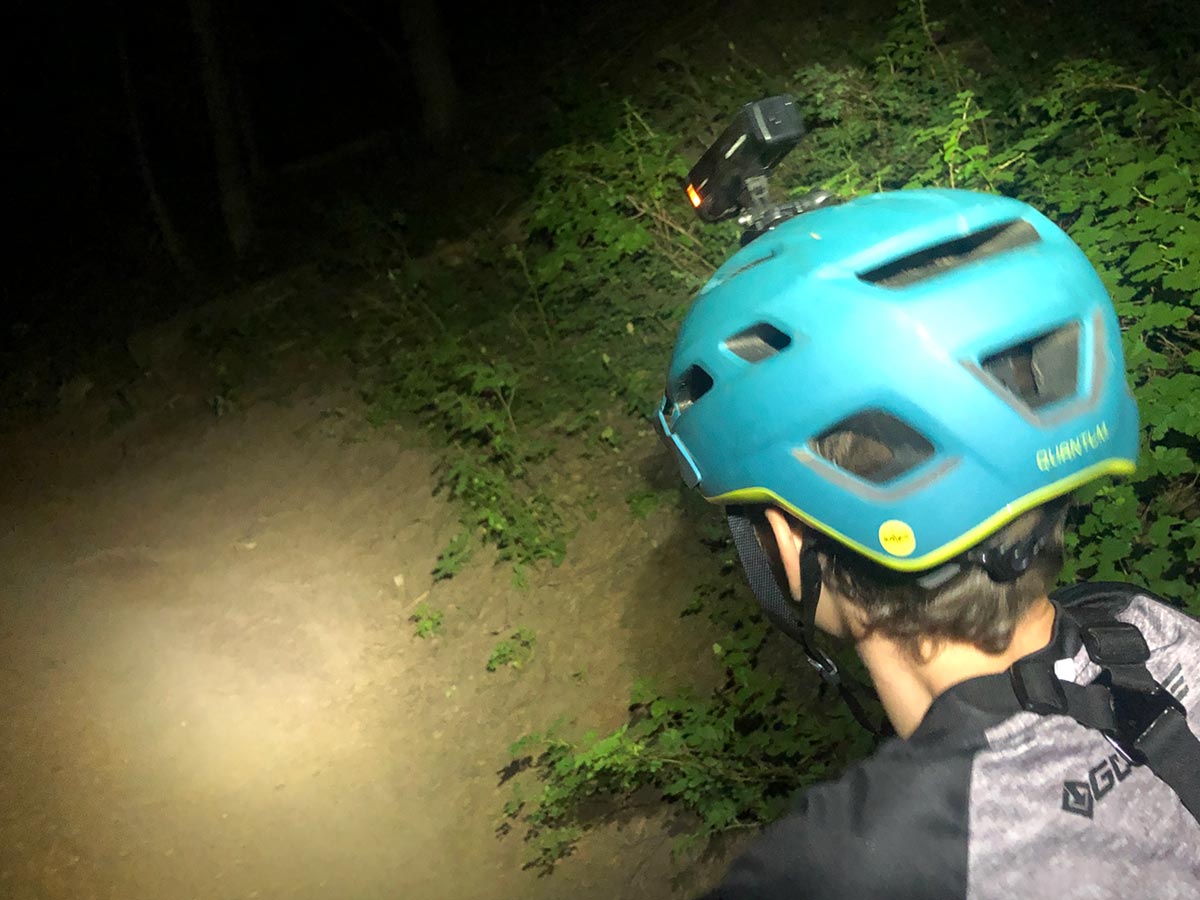
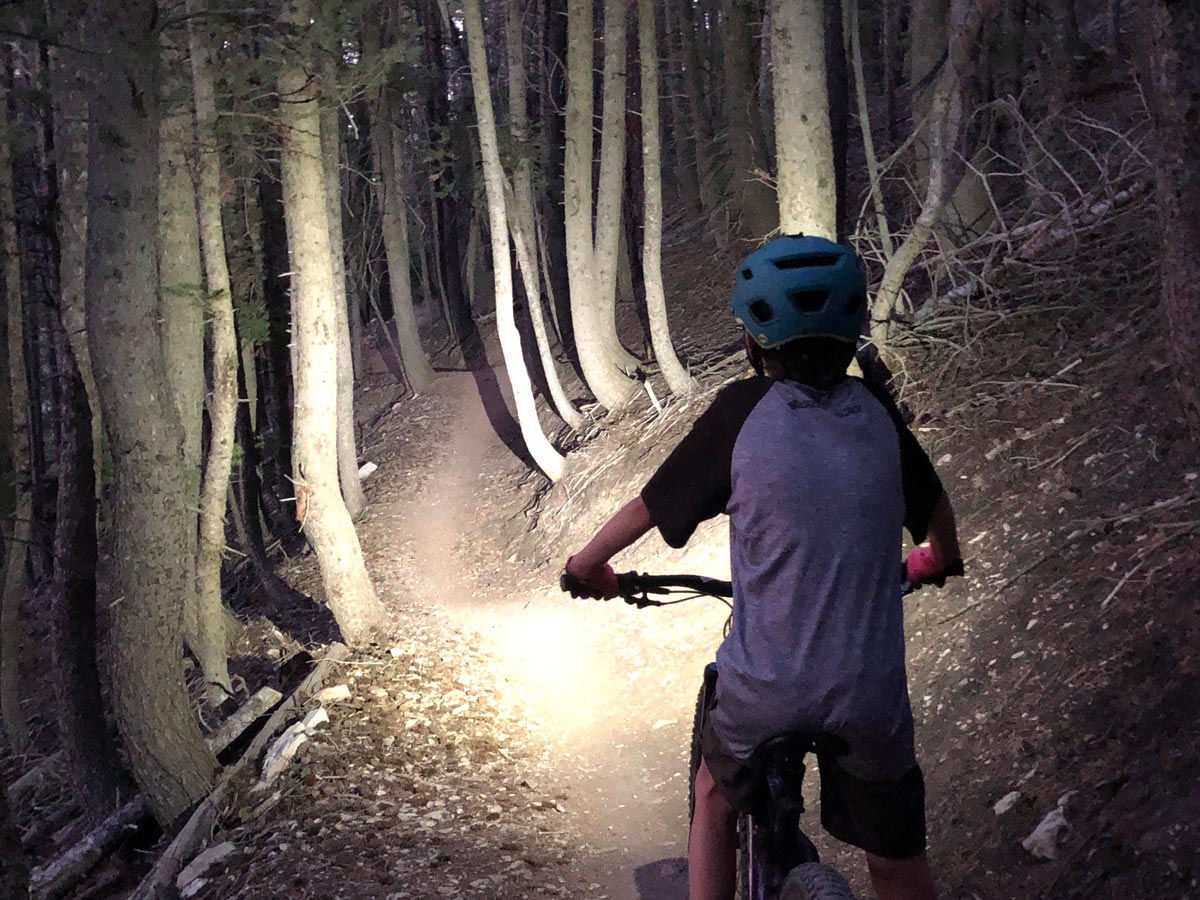
Looking ahead with the Bontrager Ion LED light
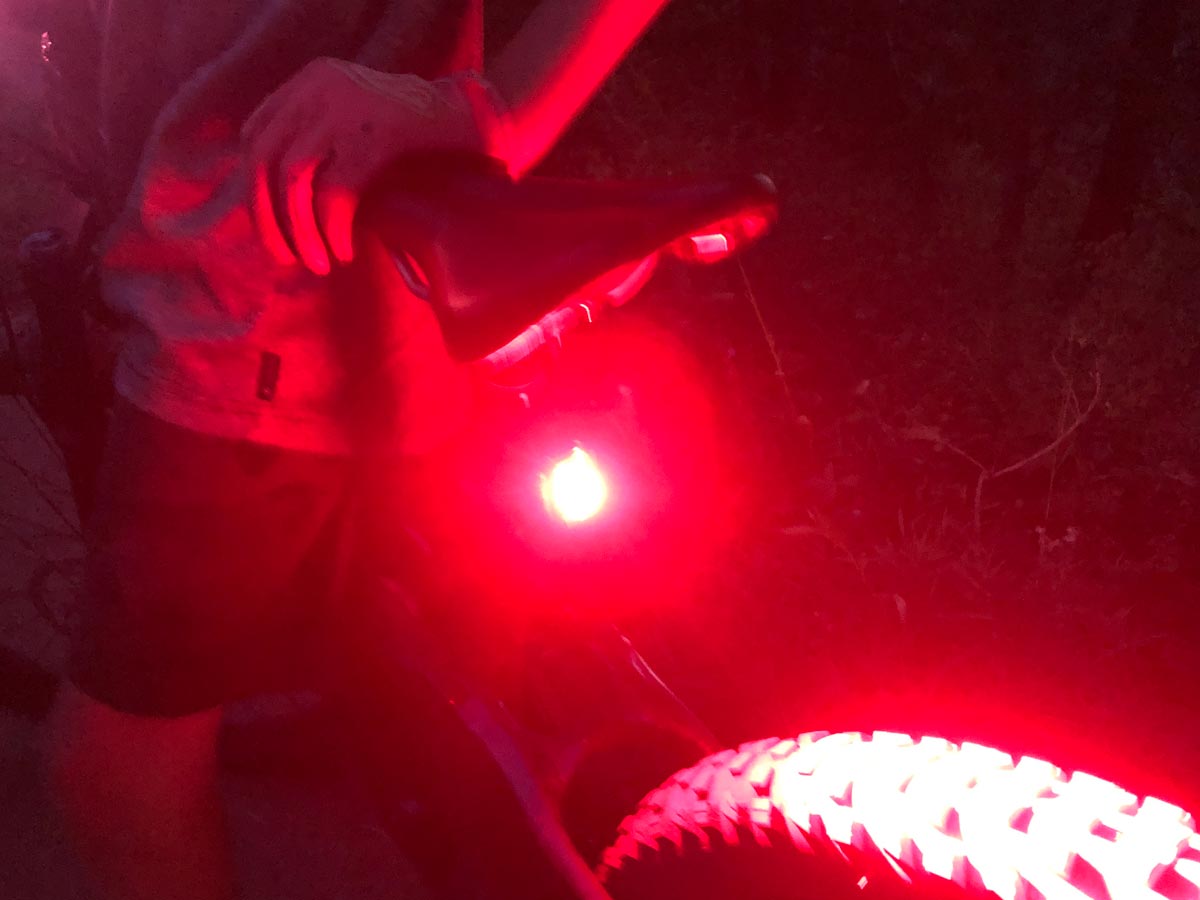
The rear Flare RT light from Bontrager
The small red light included in this set from Bontrager is very bright

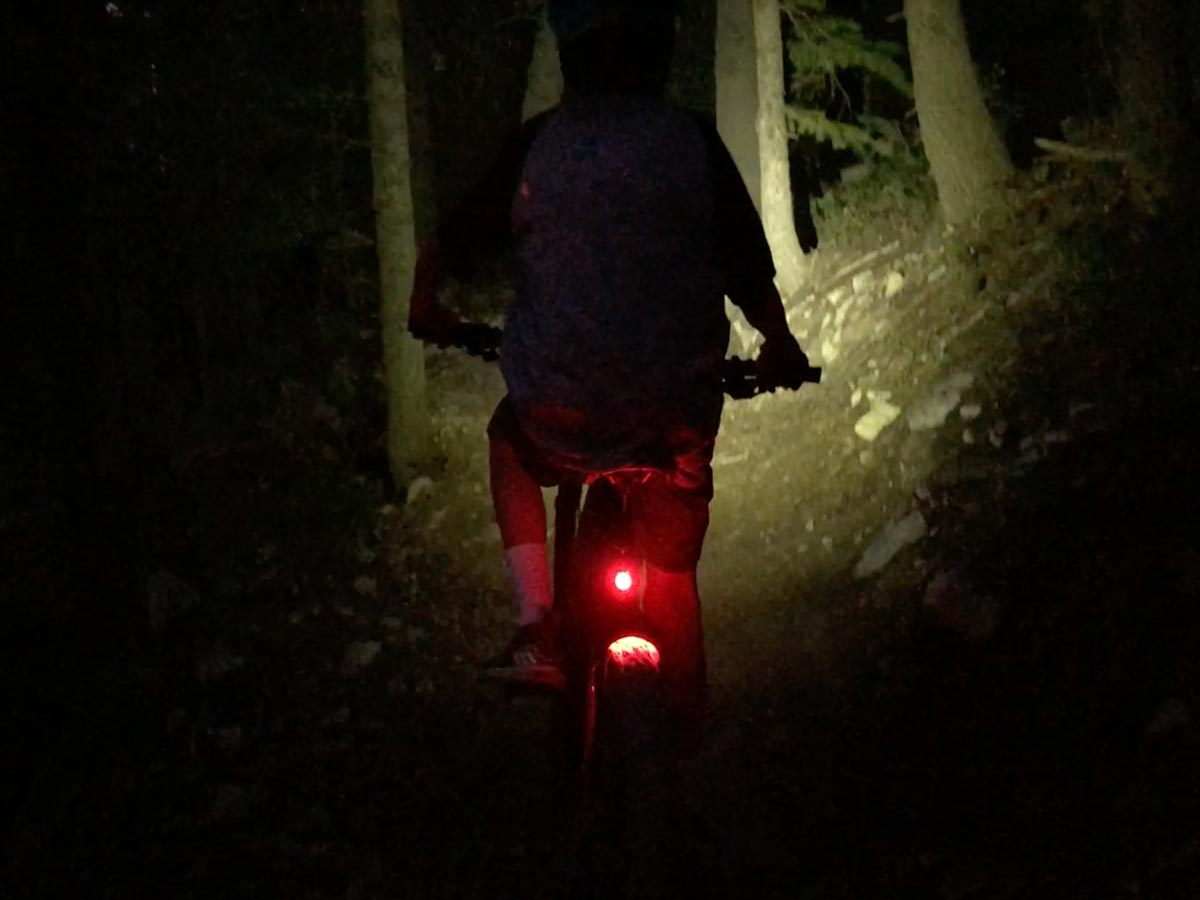
We’ve used our Bontrager Ion Pro RT/Flare RT Light Set quite a few times and they’ve been great. Use them in the daylight as well for additional visibility. Be sure to keep them in your hydration pack or hip bag in case your ride goes longer than expected. We even used the Ion Pro when setting up camp when a traditional headlight has not been handy. When riding on trail behind our youngest, the red flashing tail light was so bright, it was distracting and we had to turn it off. This not only makes this light set great for mountain biking, but it’s also optimal for road biking and commuting. Your experience and age don’t matter when it comes to fun and safety. Be sure to include the Bontrager Ion Pro RT/Flare RT Light Set as one of your essentials.

Kids Bikes Available Now – October, 2020

label
Kids mountain bikes for sale - October, 2020

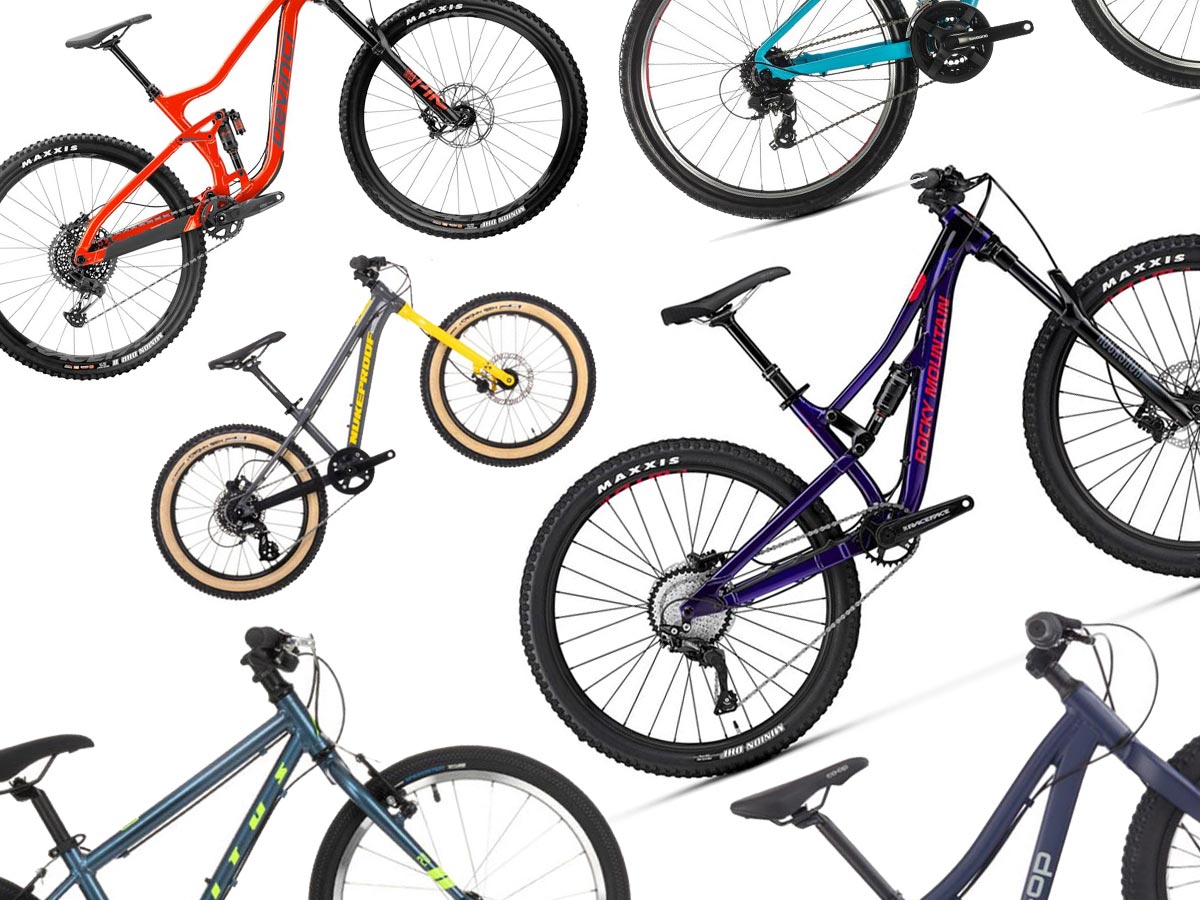
Updated October 11, 2020 – Due to the coronavirus epidemic and stay close to home guidelines, kids’ mountain bikes are in high demand. Some of our favorite manufacturers and brands for the best kids bikes are weeks away from getting their inventory back.

If you’re itching to get your kids out riding as soon as possible, check out our list of Kids Bikes Available Now! We just spent a little time seeing what’s available online for shipping today.

Note: With 27.5 Inch Wheel Bikes and 29 Inch Wheel Bikes in this list, we did our best to present bikes available in XXS, XS, or Small sizes.

Kids mountain bikes for sale - October, 2020

Follow MTB With Kids on Facebook  Follow MTB With Kids on Instagram

Follow MTB With Kids on Facebook and Instagram

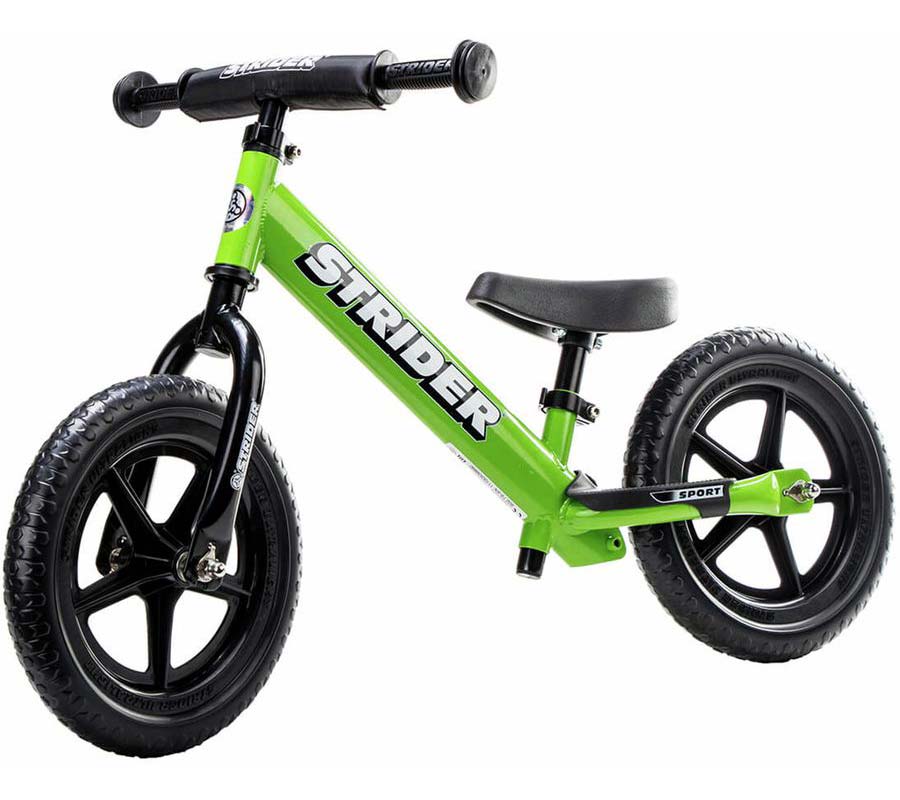
Strider 12 Sport Kids’ Balance Bike

strider kids balance bike 12 inch wheels

12 inch wheels | MSRP $108.99 USD

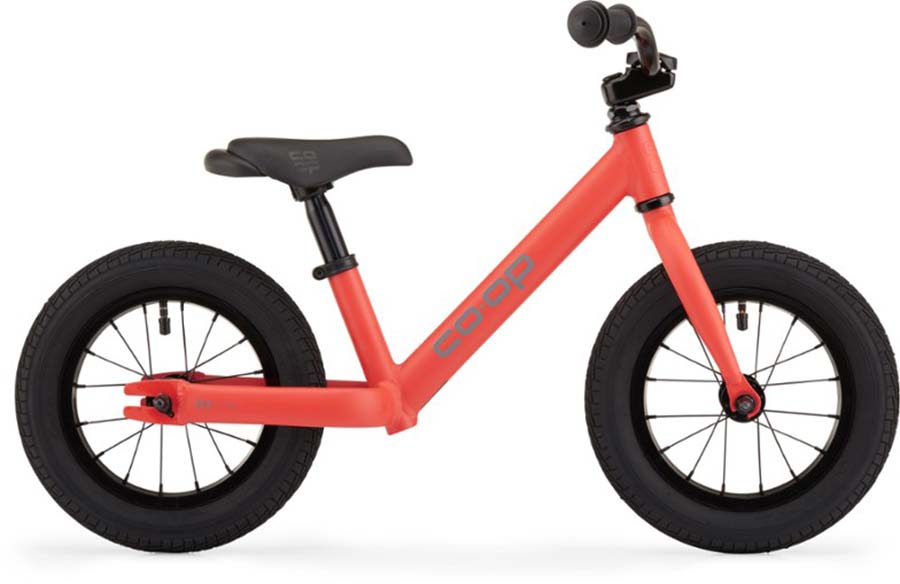
Co-op Cycles REV 12 Kids’ Balance Bike

12-inch wheel balance bike rev

12 inch wheels | MSRP $139.00 USD

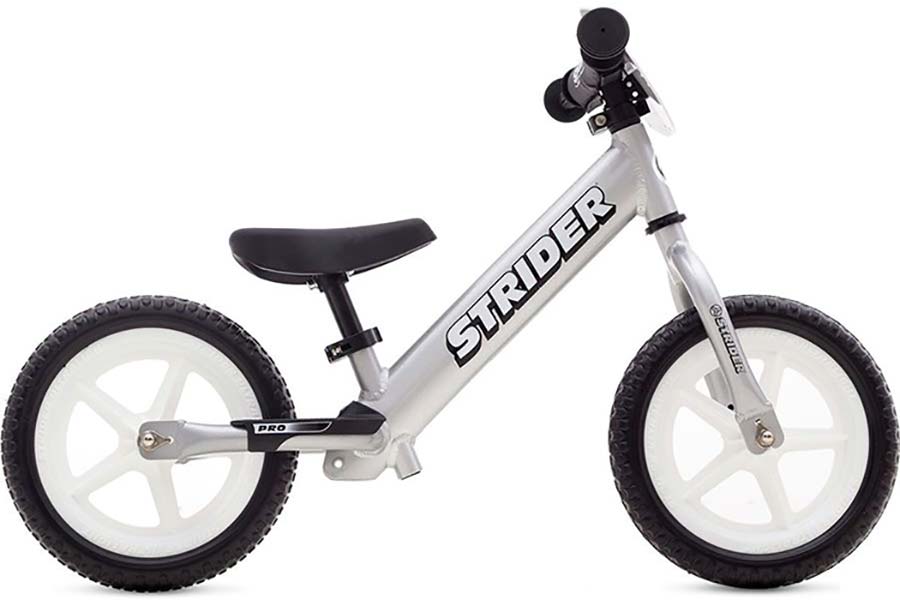
Strider 12 Pro Kids’ Balance Bike

12 inch wheel kids balance bike strider pro

12 inch wheels | MSRP $139.00 USD

MTB Helmets For Kids

Make sure your kids have proper, well-fitting head protection.

Mountain Bike Helmets For Kids

G-Form knee pads for kids

Knee Pads For Kids

Knee pads are another level of protection for young riders.

MTB Knee Pads for Kids

Camelbak LUXE hydration pack for kids

Hydration Packs For Kids

Is your kid big enough to carry their own water and supplies?

MTB Hydration Packs for Kids

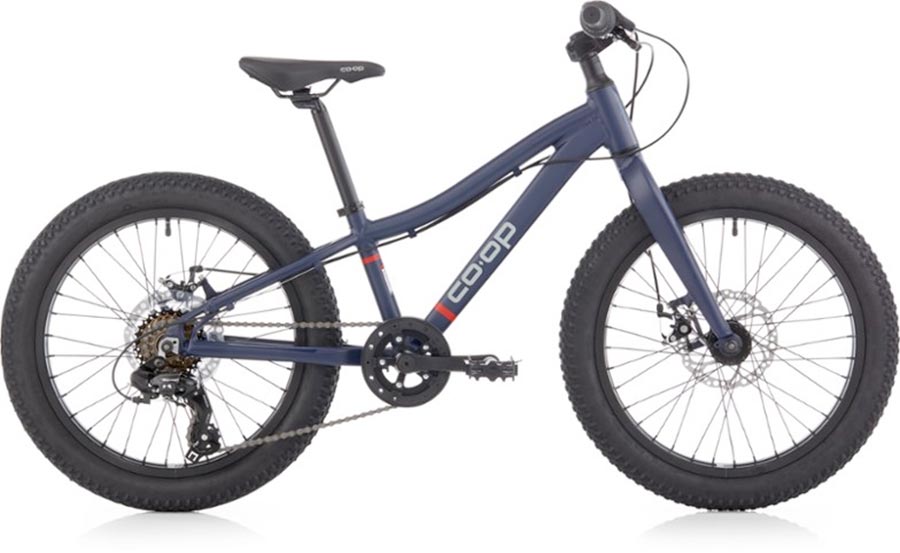
Co-op Cycles REV 20 6-Speed Plus Kids’ Bike 

REI Co-op 20-inch wheel mountain bike

20 inch wheels | 25.51in standover height | MSRP $339.00 USD

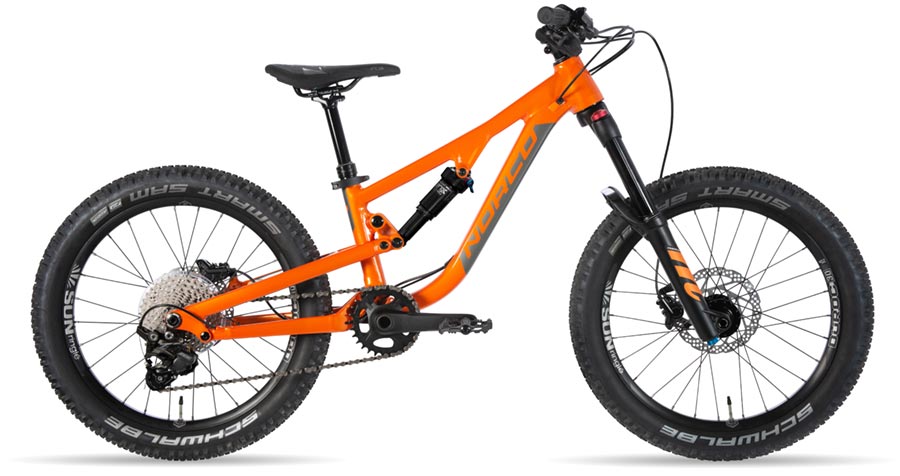
Norco Fluid FS 1 20

Norco Fluid 2.1 FS kids mountain bike

20 inch wheels | Fits riders 3ft 10in – 4ft 3in | Standover height 19.68in | MSRP $2,199.00 USD

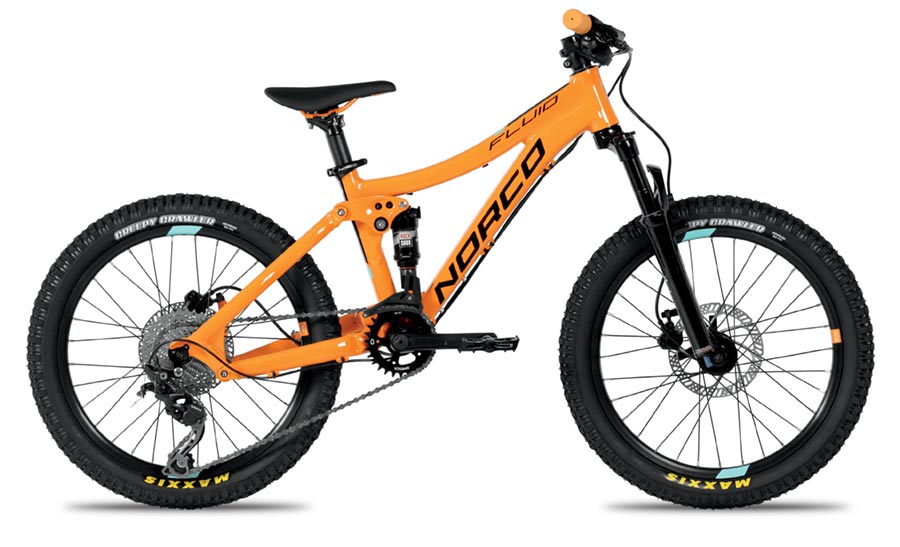
Norco Fluid 2.2 FS

20 inch Norco Fluid full-suspension mountain bike

20 inch wheels | Fits riders 3ft 10in – 4ft 3in | Standover height 22.44in | MSRP $1,649.00 USD

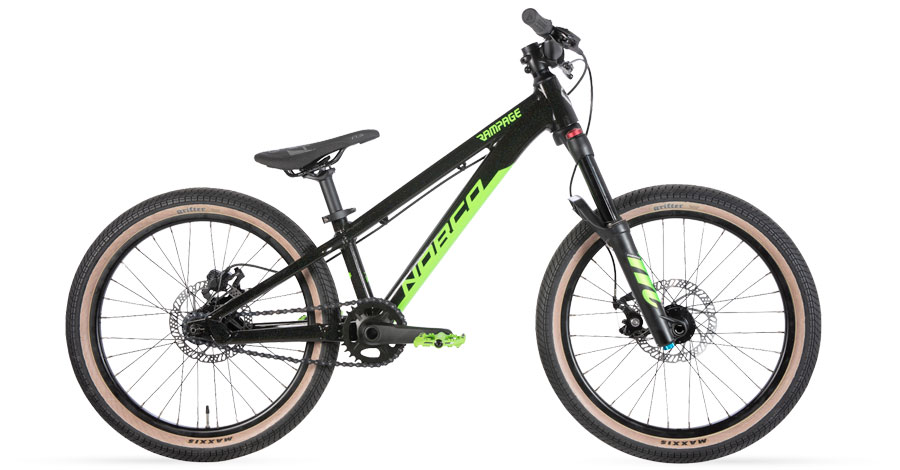
Norco Rampage 1 20 / Dirt Jumper

Norco Rampage 1

20 inch wheels | 17.0in standover height | MSRP $1,499.00 USD

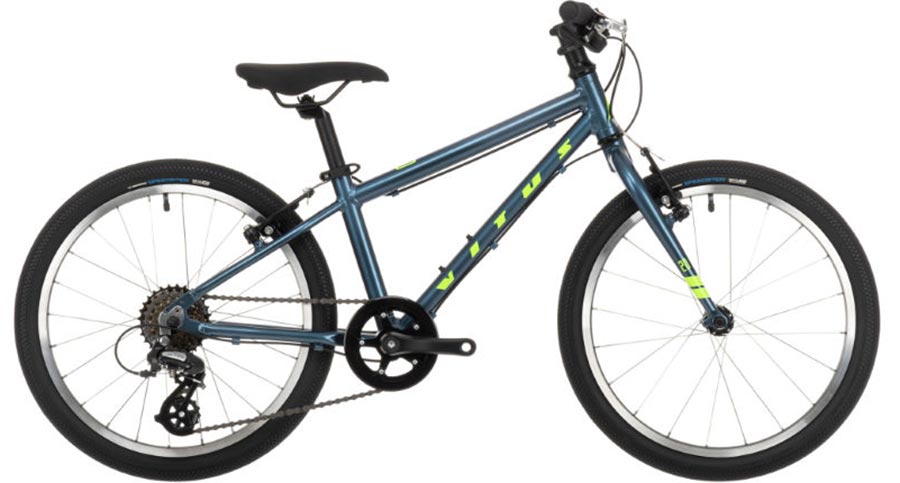
Vitus 20 Kids Bike 2021

20 inch wheel mountain bike - Vitus

20 inch wheels | 20in to 23in standover height | MSRP $329.00 USD

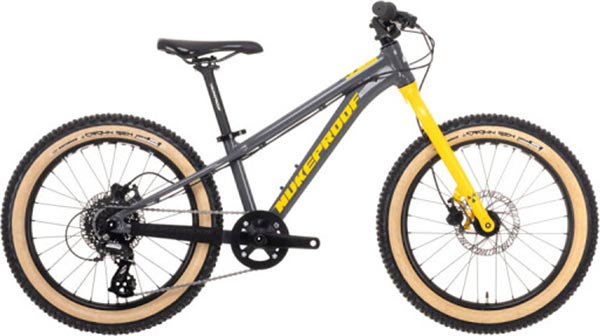
Nukeproof Cub-Scout 20 Sport Bike (Altus) 2021

20 inch wheel mountain bike - Nukeproof

20 inch wheels | 20in to 24in standover height | MSRP $629.99 USD

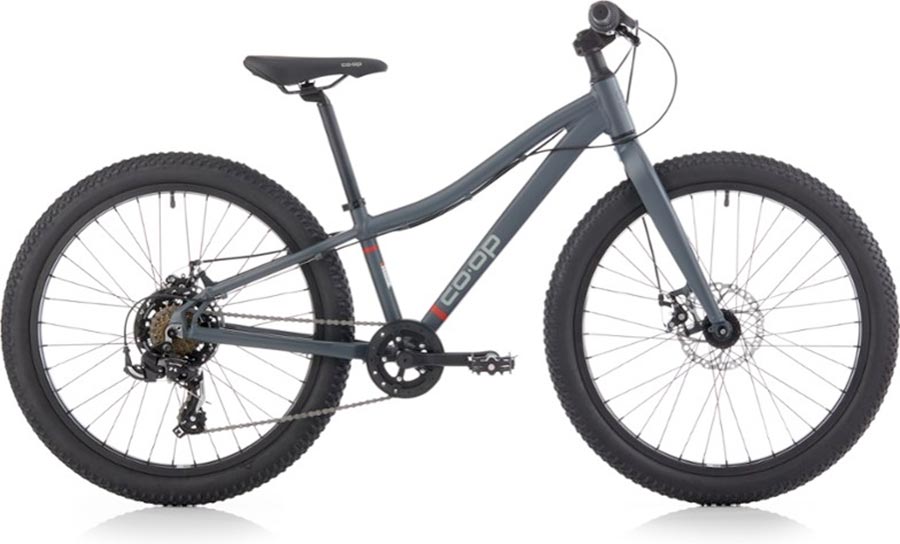
Co-op Cycles REV 24 Plus Kids’ Bike

REI Co-Op 24-inch wheel mountain bike for kids

24 inch wheels | 23.38in standover height | MSRP $379.00 USD

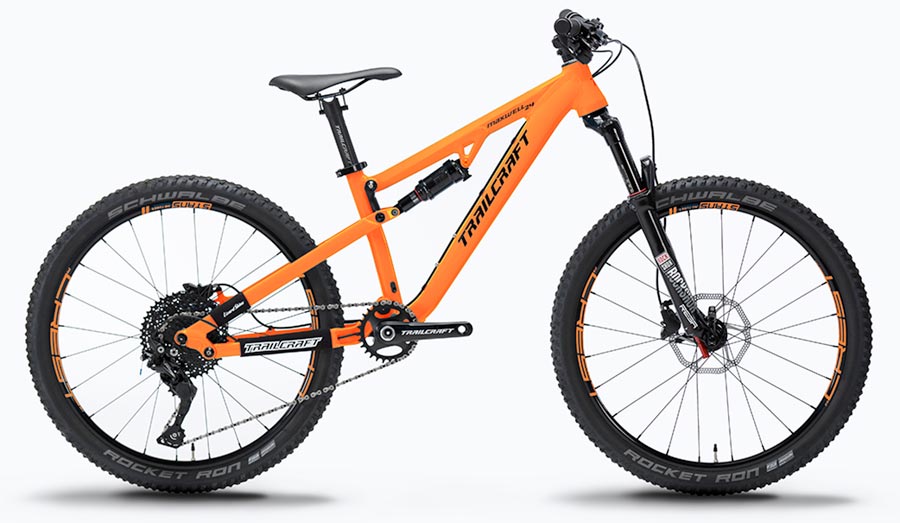
Trailcraft Maxwell 24

Trailcraft Maxwell 24 - Kids' Mountain Bike

24 inch wheels | 24.8in standover height | MSRP $1,350.00 – $4,299.00 USD

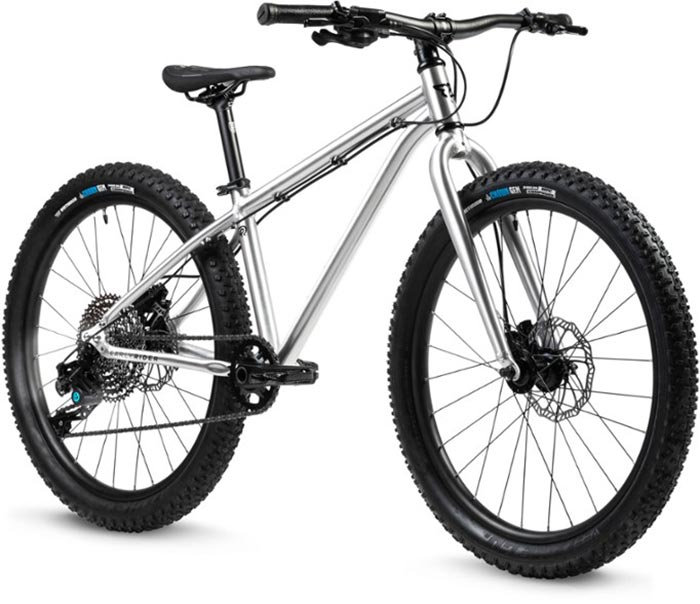
Early Rider Limited Seeker 24 Kids’ Bike

Early Rider - 24 inch wheel mountain bike

24 inch wheels | 24.8in standover height | MSRP $899.00 USD

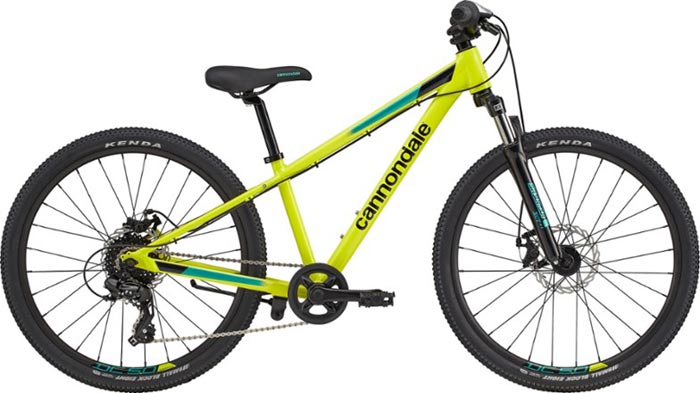
Cannondale Trail 24 Kids’ Bike – Nuclear Yellow

Cannondale Trail - 26 inch wheel mountain bike

24 inch wheels | 24.25in standover height | MSRP $410.00 USD

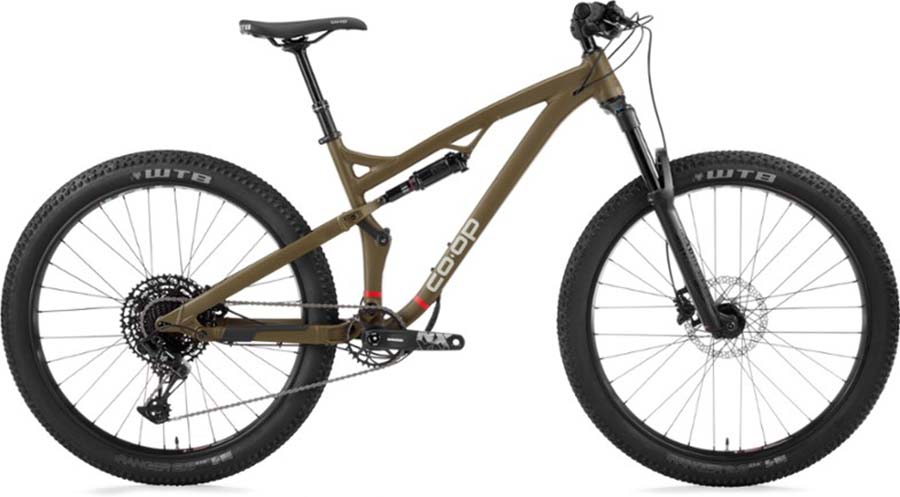
REI Co-op Cycles DRT 3.2 Mountain Bike – XS, S

Co-op Cycles DRT 3.2 Bike

26 inch wheels | 29.96in standover height | MSRP $2,799.00.00 USD

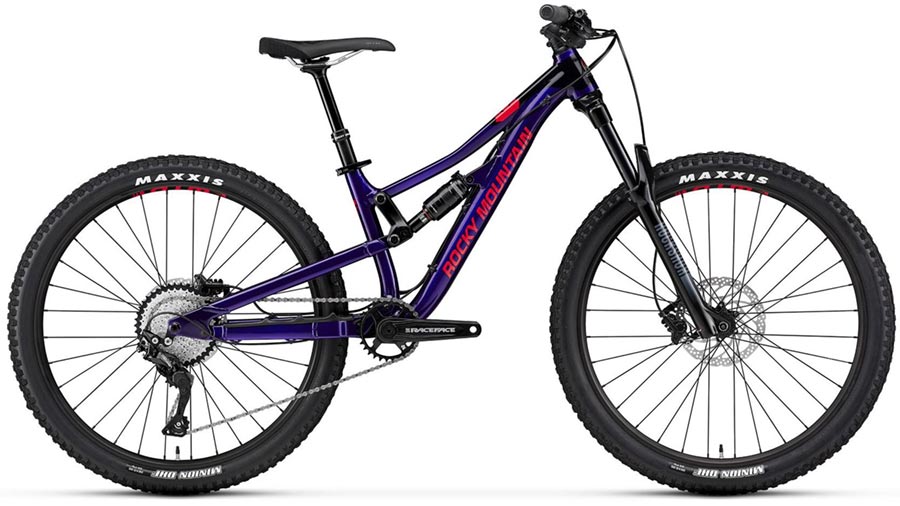
Rocky Mountain Reaper 26 Bike 2021

Rocky Mountain Reaper - 26 inch wheel mountain bike

26 inch wheels | 28.7in standover height | MSRP $2,499.00 USD

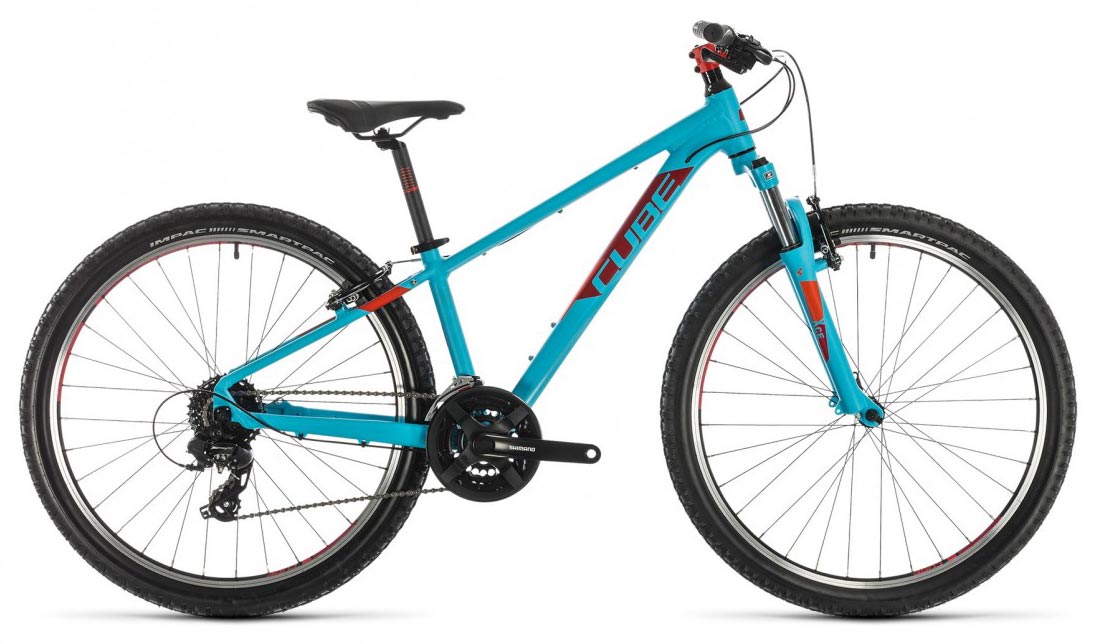
Cube Acid 260 Kids Bike 2020

Cube 26 inch wheel mountain bike

26 inch wheels | 25in to 28in standover height | MSRP $429.00 USD

REI Co-op Cycles DRT 3.2 Mountain Bike (M, L, XL)

Co-op Cycles DRT 3.2 Bike

27.5 inch wheels | 30.7″ stand-over height | MSRP $2,799.99 USD

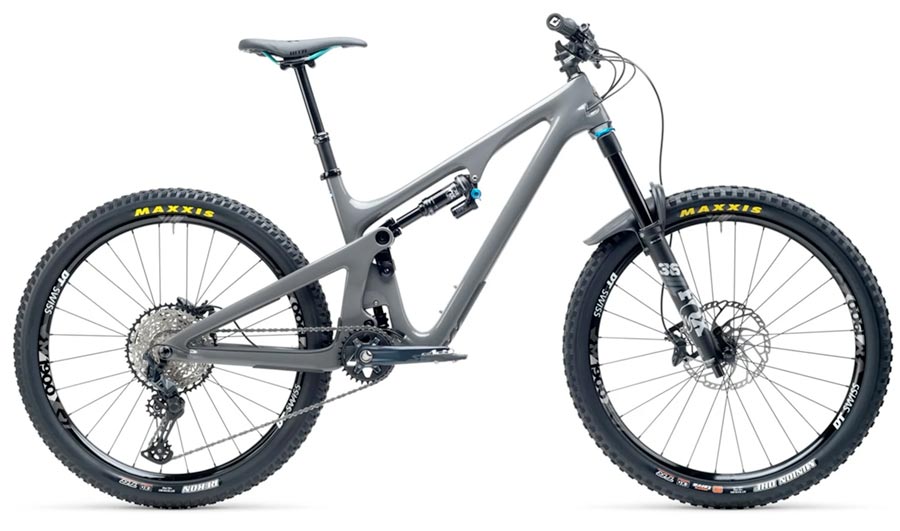
Yeti Cycles SB140 C1 Complete Mountain Bike 2021

Yeti SB140 - 27.5in wheel mountain bike

Extra Small | 27.5 inch wheels |27.63in standover height | MSRP $5,100.00 USD

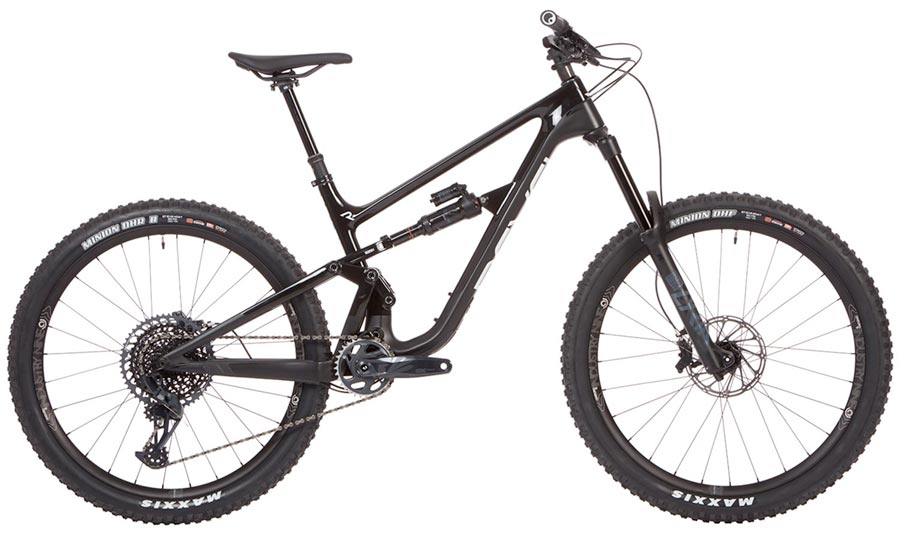
Revel Rail GX Complete Mountain Bike 2021

Revel Rail GX - 27.5in wheel mountain bike

Small | 27.5 inch wheels |27.36in standover height | MSRP $4,999.00 USD

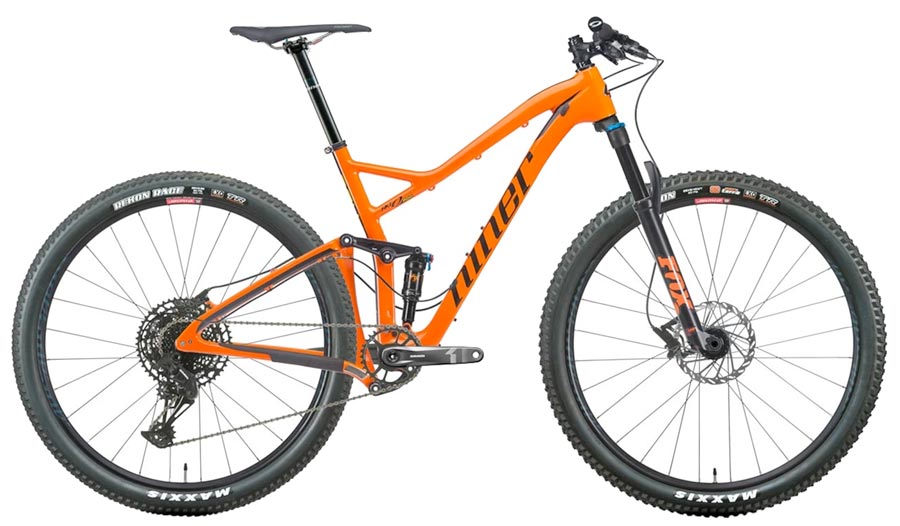
Niner RKT 9 RDO 2-Star Bike 2020

Niner Mountain Bike

Size Small | 29 inch wheels | Standover height 27.7in | MSRP $3,900.00 USD

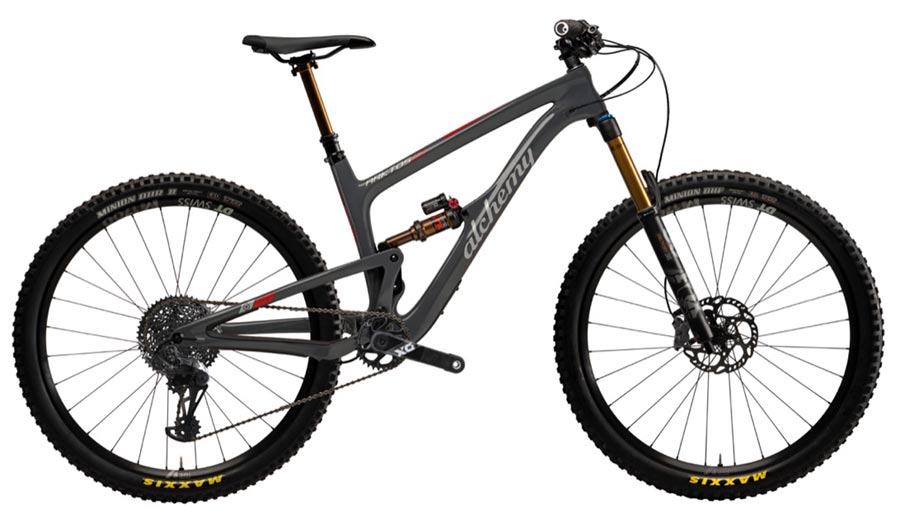
Alchemy Arktos 29 SRAM X01

Alchemy Arktos 29inch wheel mountain bike

Small | 29 inch wheels | 31.18in standover  | MSRP $5,699.00 USD

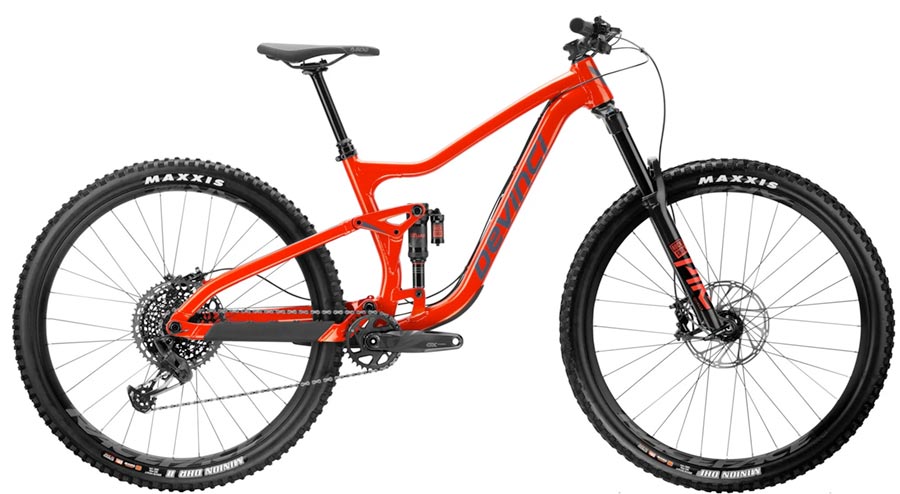
Devinci Troy GX 12s Bike 2021

Devinci Troy Mountain Bike - 29 inch wheels

Small | 29 inch wheels | 28.22in standover  | MSRP $3,599.00 USD

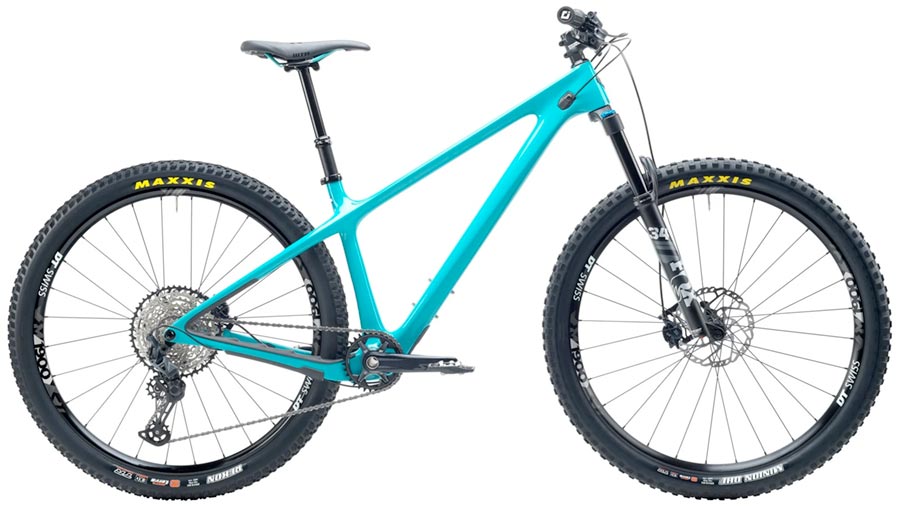
Yeti ARC Carbon C1 Bike 2021

29 inch wheel mountain bike - Yeti Arc

Small | 29 inch wheels | 28.5in standover  | MSRP $3,600.00 USD

Check out our Destinations and Trails page for more fun places to ride and visit! We’d love to hear about your favorite places to ride bikes with your family, too.

PNW Components Loam Grips Review

label
PNW Components Loam Grips Review

Nearly every part of a mountain bike can be customized to suit your preferences, including the grips. Not only do they serve an essential contact point on the bike – giving the rider a comfortable place to hold the handlebars and stay under control – they’re one of these easiest components to upgrade and customize. PNW Components Loam Grips are designed to be comfy – so they feel great.

PNW Components Loam Grips Review

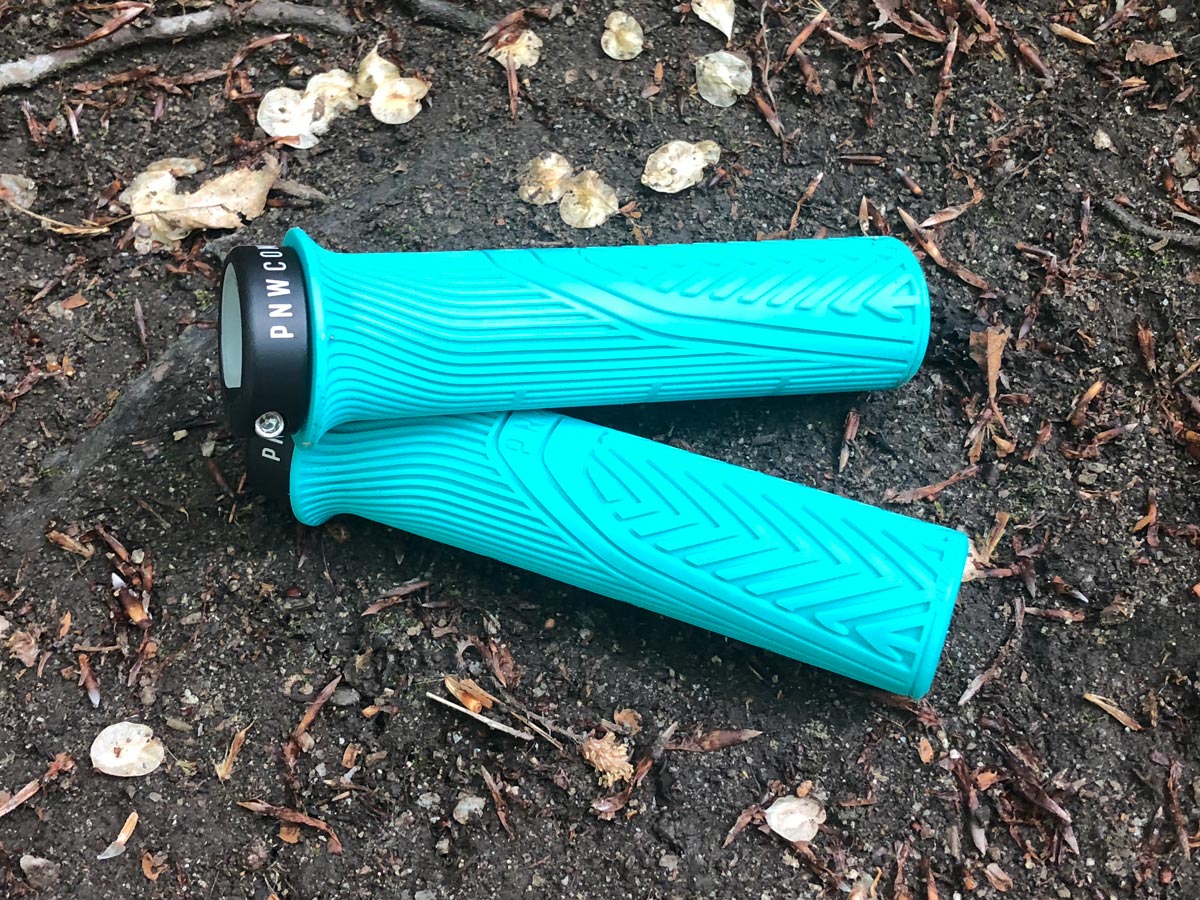
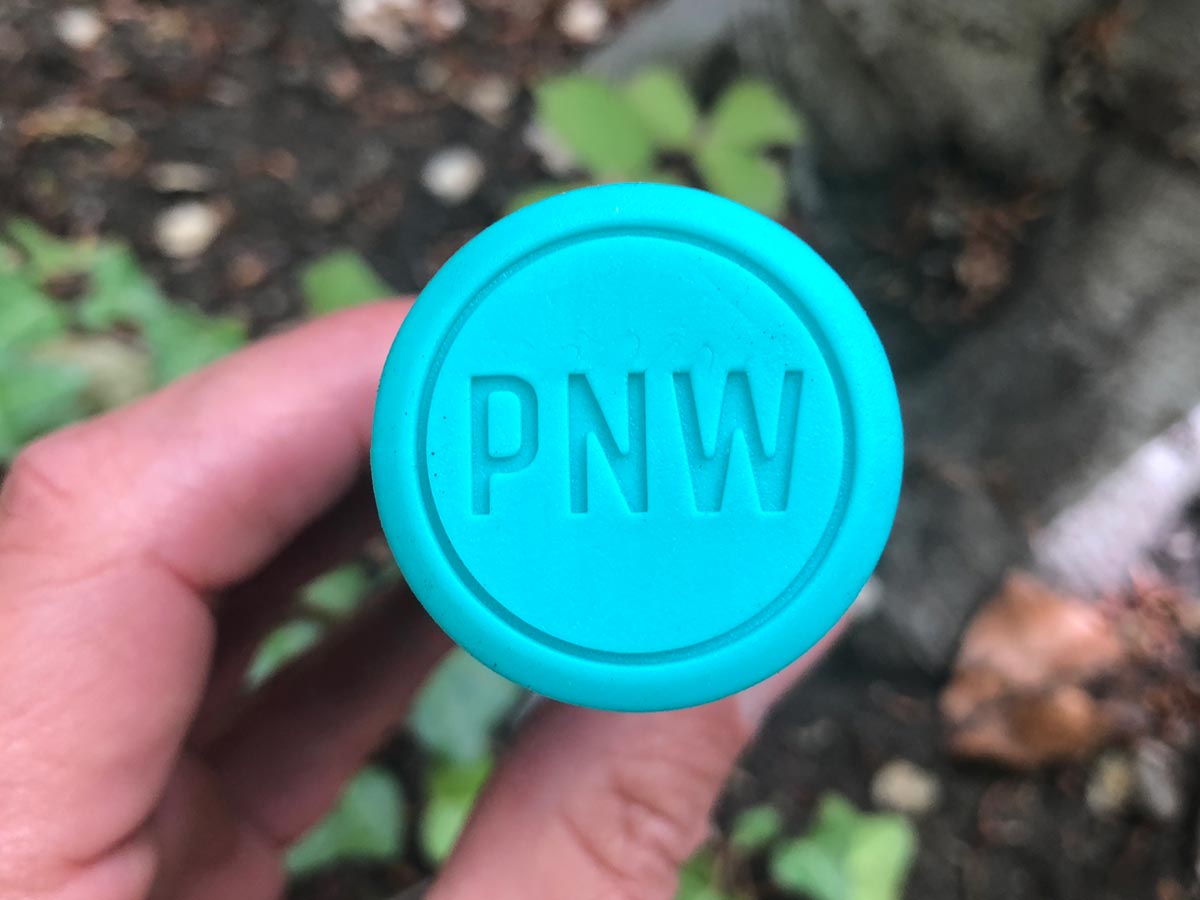
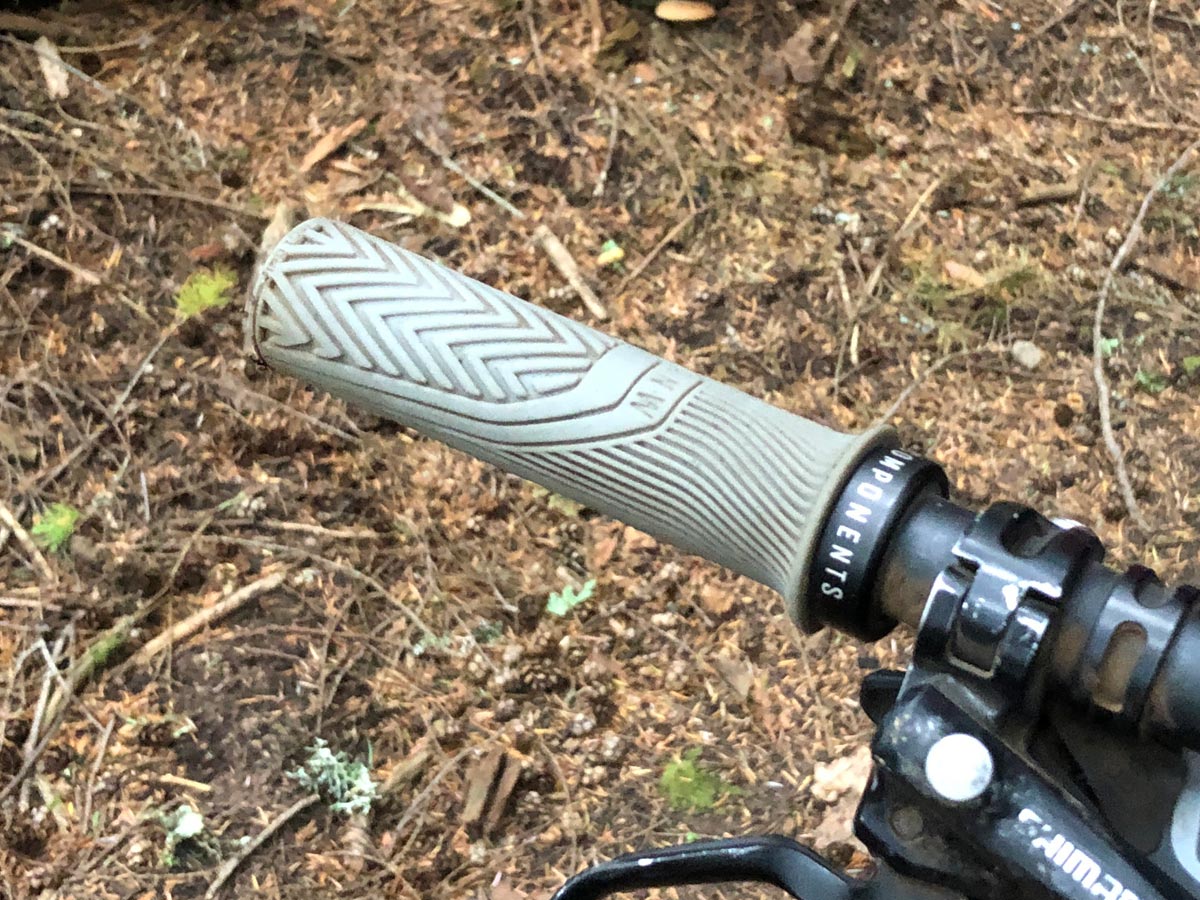
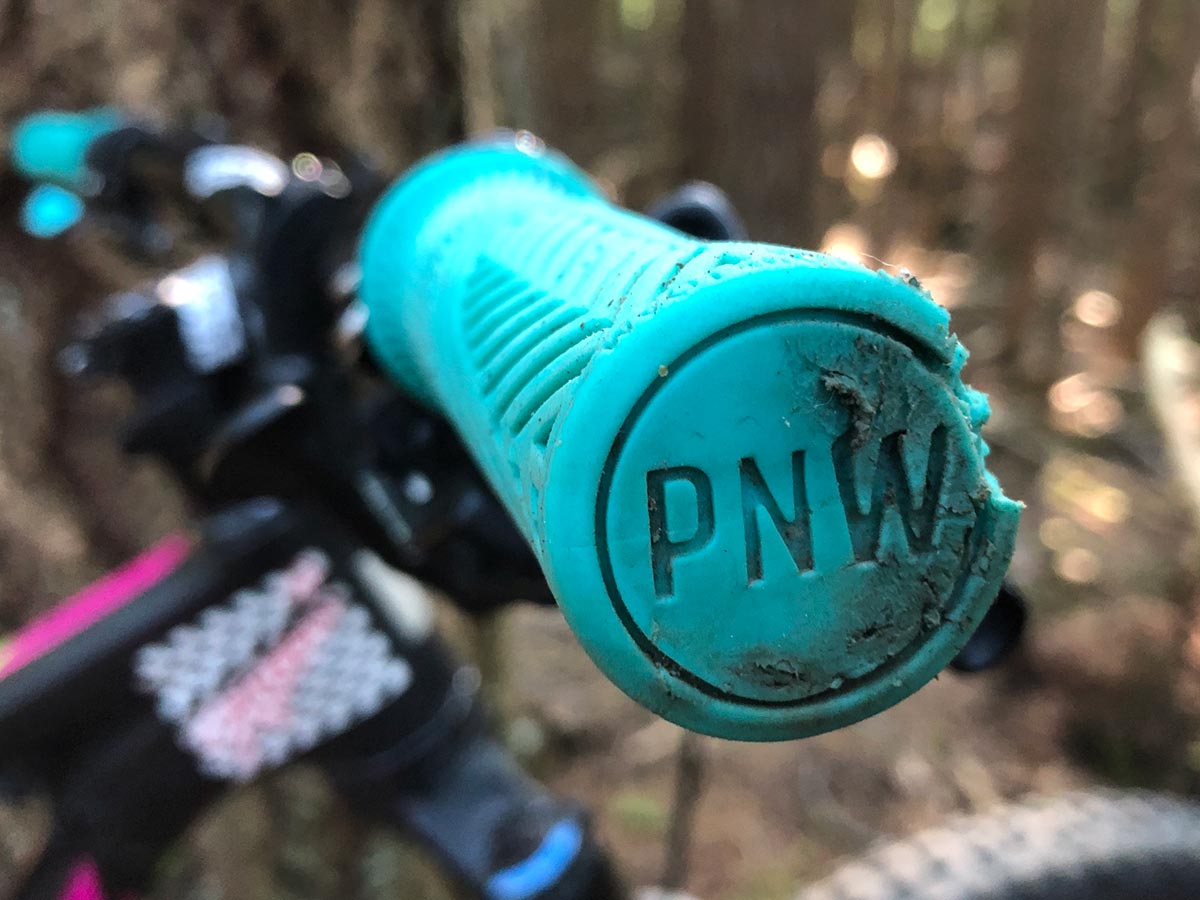
The trick with the Loam Grips is to put them on the bike so that they face the proper direction. On the outside end of the grip, just align the “PNW” letters so they are horizontally aligned and legible. Each pair has a mountain pattern that’s supposed to be mounted facing upwards. This section is thicker than the other parts of the grip, using ergonomics as part of the design, allowing for plenty of comfort when you hold on it. The remaining parts contain thin textured strips that provide grip traction as well as structure in the outer zone that helps the grip absorb some of the bumps on the trail before they reach the hands and arms.

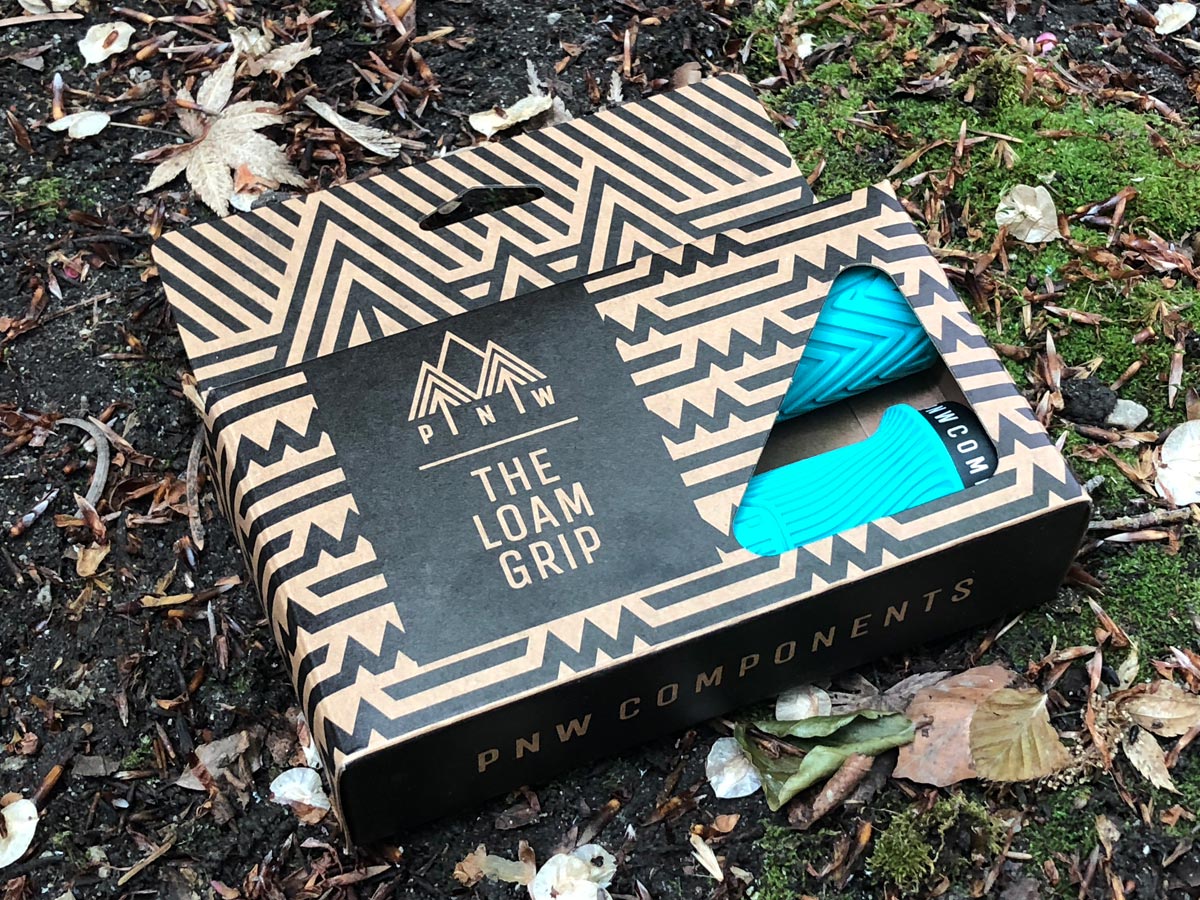
PNW Components Loam Grips in the box

Follow MTB With Kids on Facebook  Follow MTB With Kids on Instagram

Follow MTB With Kids on Facebook and Instagram

The PNW Components Loam Grips are available in different colors, including: Safety Orange, Blackout Black, Seafoam Teal, Cement Gray, and Really Red. This allows you to choose the pair that will work best on your bike, as far as color-coordinating is concerned. Also, the pattern on the grips, which incorporates all of the design and usage features described above, is attractive and stands out a bit. Even if you choose a color that completely blends in with your handlebars.

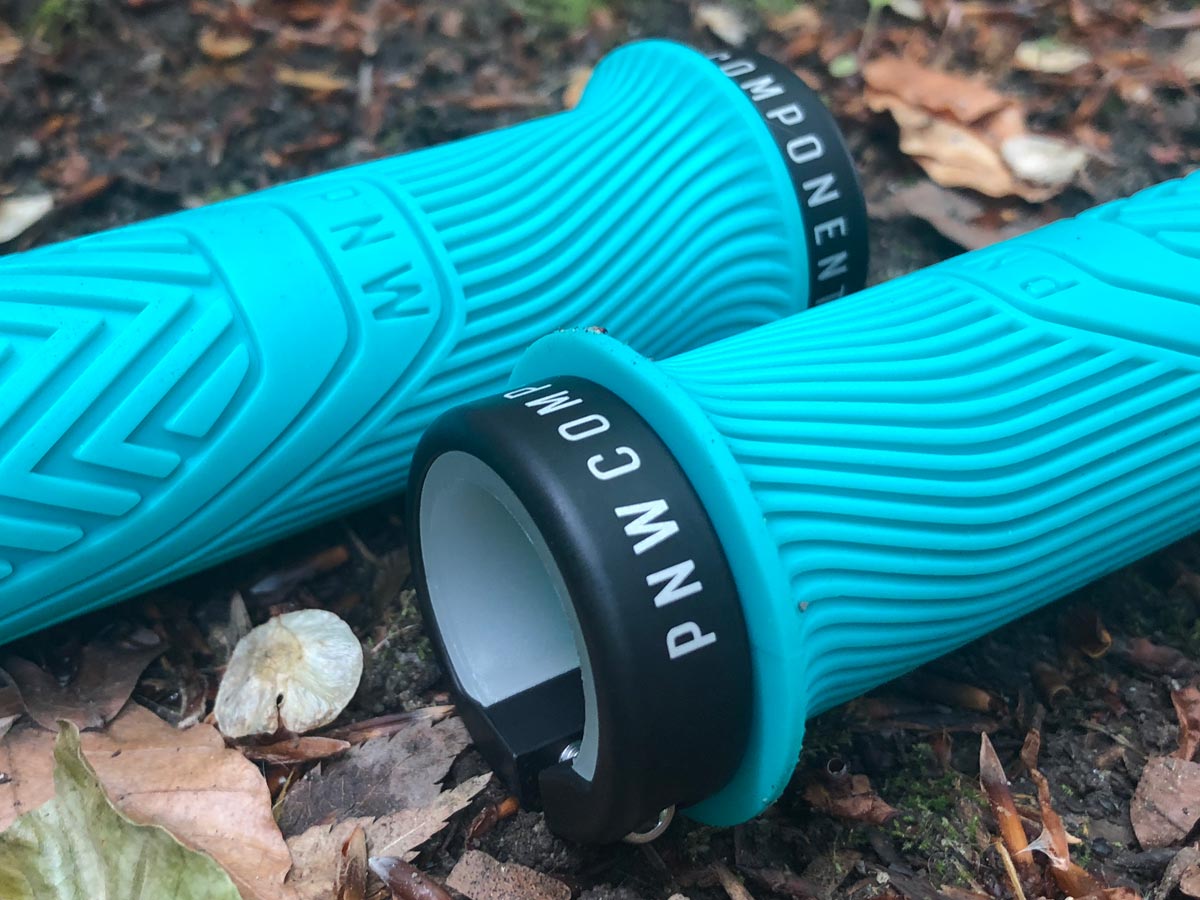
Detail shot of the PNW Components Loam Grips

Installing the grips is almost as easy as removing your current pair. After removing your yucky old, worn out grips, do some light cleaning to remove any grime that was under them on the bars. Then, push the new grips into the place; rotate them so the mountain design is facing the correct direction – and tighten them down using a 3mm hex wrench. Be careful to tighten the grips to the proper specs with carbon bars.

End o seafoam teal PNW Components Loam Grips

How To Install Your PNW Components Loam Grips

The single clamps have a closed-end, helping them stay put. Once the correct side is up – the mountains that have extra padding – you just need to fasten them in place to prevent any slippage while riding. Since the Loam Grips are lightweight, coming in at a mere 90 grams for the entire pair, they won’t add much additional weight to the bike itself. In addition, they are 133.5 millimeters wide and 30 millimeters in diameter, making them fit onto a variety of mountain bikes.

Gray PNW Components Loam Grips
Mom's PNW Components Loam Grips

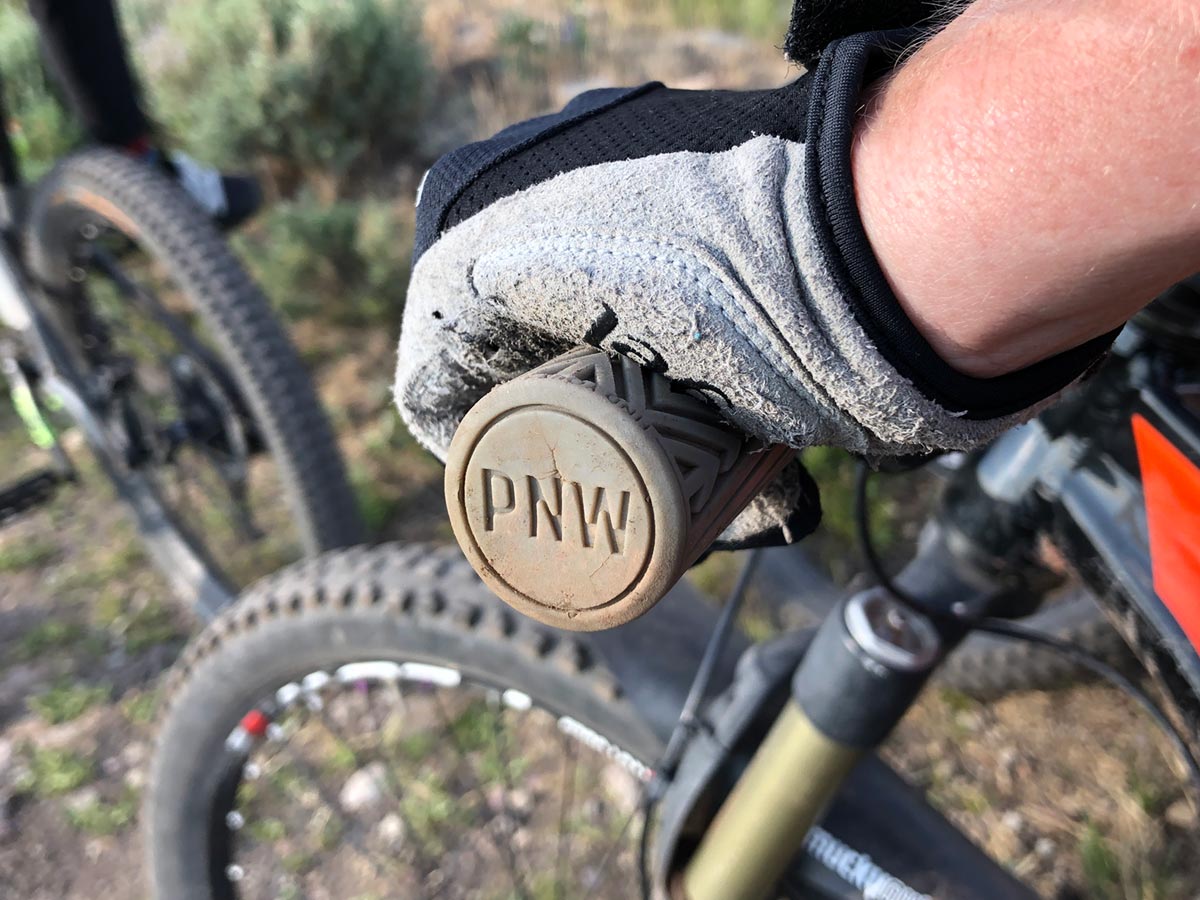
Both Traci and Tyge have been using the PNW Components Loam Grips this year. Wear-and-tear is obvious on Tyge’s set, but the grips aren’t dead yet. They’re still functional and safe. Every few rides, we’re sure to check that they are tight and secure so they will not rotate and slip due to abrupt or steady force.

Wear and tear after a season using the PNW Components Loam Grips

Overall, the grips have performed as designed. The thicker sections of the grip – where the bulk of your hand wraps, are still comfy and have plenty of life left. The only parts that have broken away are due to not so carefully laying the a bike down on concrete or pavement. The colors have not faded and there are no cracks or tears. When you’re ready to upgrade or replace your grips, give the PNW Components Loam grips a shot. Your hands, fingers, and forearms will thank you.

Bontrager Rhythm Women’s Mountain Bike Jersey Review

label
Bontrager Rhythm Women's MTB Jersey Review

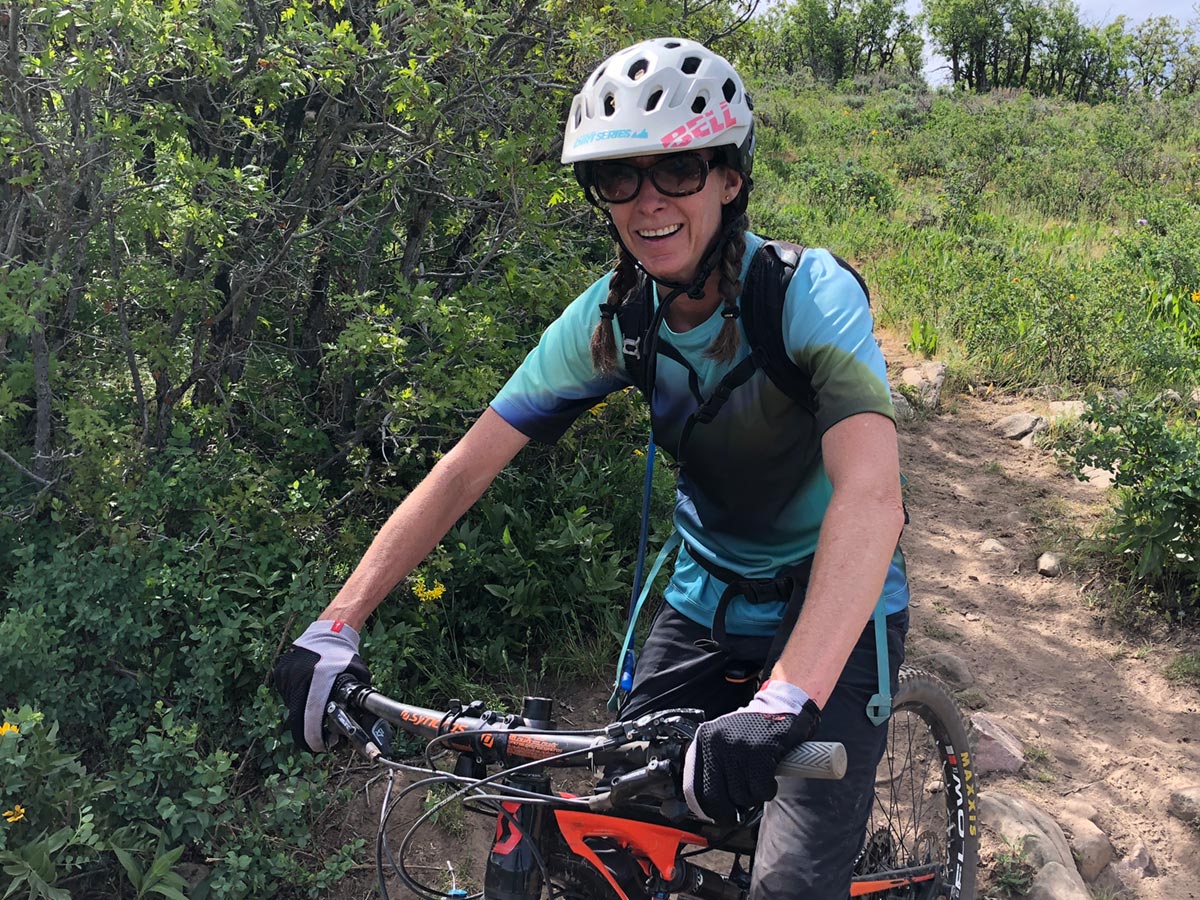
Functional and stylish, the Rhythm Women’s Mountain Tech Tee includes many features that make it a must-have for any mountain biker. Not only does it come in an array of colors, including gravel and mulberry, pink and black, and even a tie-dyed looking light teal, but the fabric is designed with performance in mind.

Bontrager Rhythm Women's MTB Jersey Review

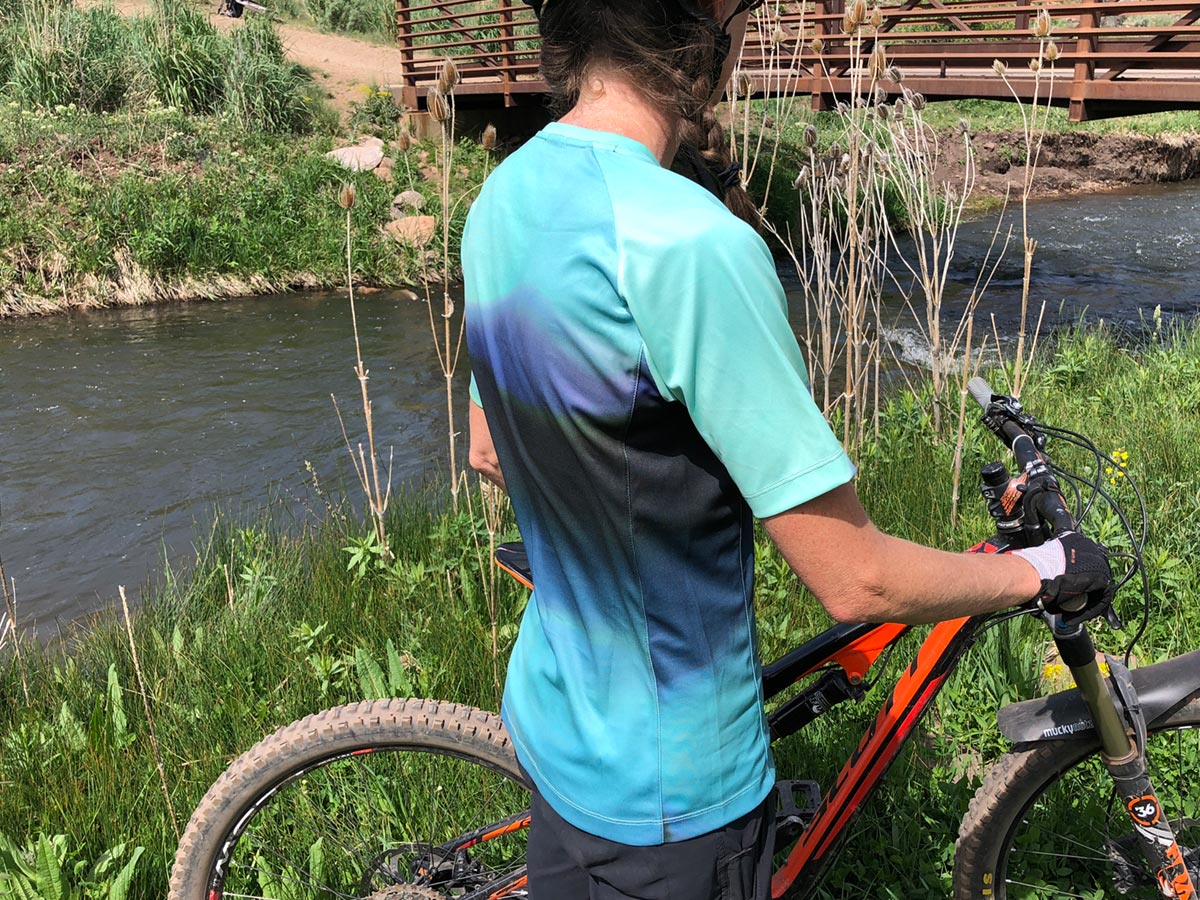
The overall fabric is very lightweight and has built-in mesh inserts where you need them the most. The material also consists of a polygiene blend that controls odor, no matter how warm you get while riding. In addition to the fabric, there are a number of thoughtful features built into the shirt. There’s an added drop tail in the back for extra sun protection when hunched over the handlebars, as well as a sunglass wipe in the hem, preventing the need for an extra piece of fabric. That’s one less thing that you need to carry around. A back locker loop allows you to hang up the shirt when it’s not in use, making it easy to dry off after a particularly sweaty ride.

Bontrager Rhythm Women's mountain bike jersey

Designed to prevent chafing, the shirt has offset seams. This helps keep things comfortable, even when you have a hydration pack or gear bag riding along on your back. The semi-fitted seams provide plenty of room for movement of all sorts while staying close to your body to prevent snags.

Follow MTB With Kids on Facebook  Follow MTB With Kids on Instagram

Follow MTB With Kids on Facebook and Instagram

Back view - Bontrager Rhythm women's mountain bike jersey
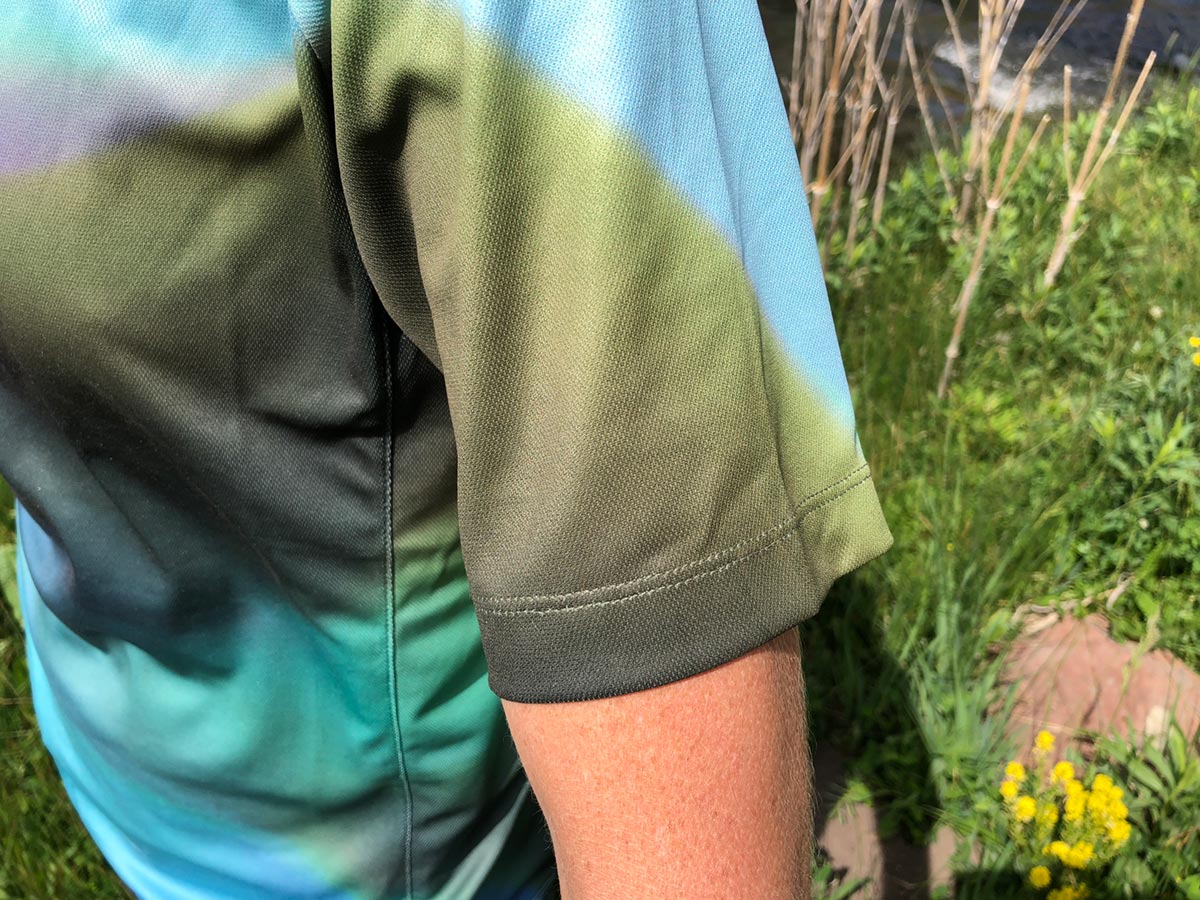
Sleeve detail - women's mountain bike jersey review

Thanks to the large range of sizes, going from extra small to three-x, it’s easy to find a Rhythm Women’s Mountain Tech Tee that fits you just right.

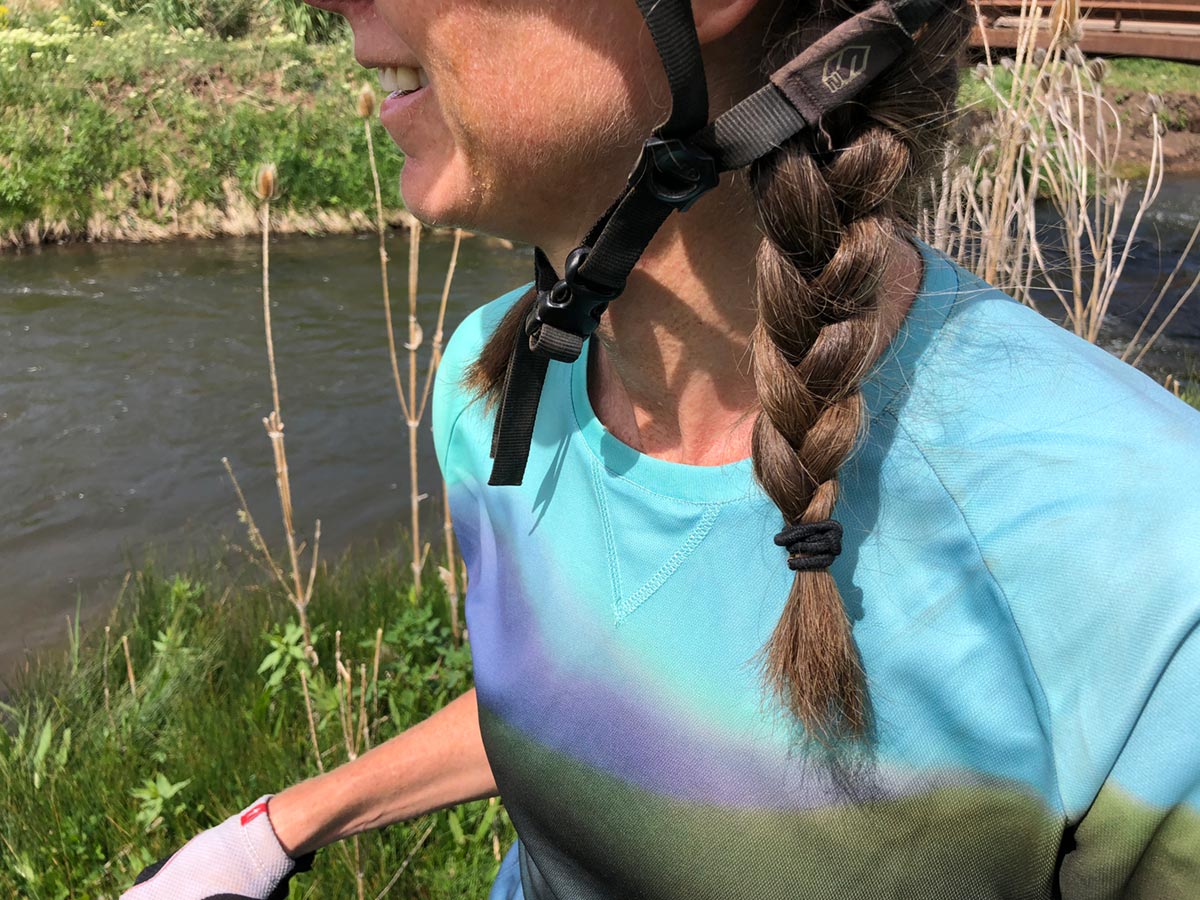
Neck detail - Bontrager Rhythm mountain bike jersey review

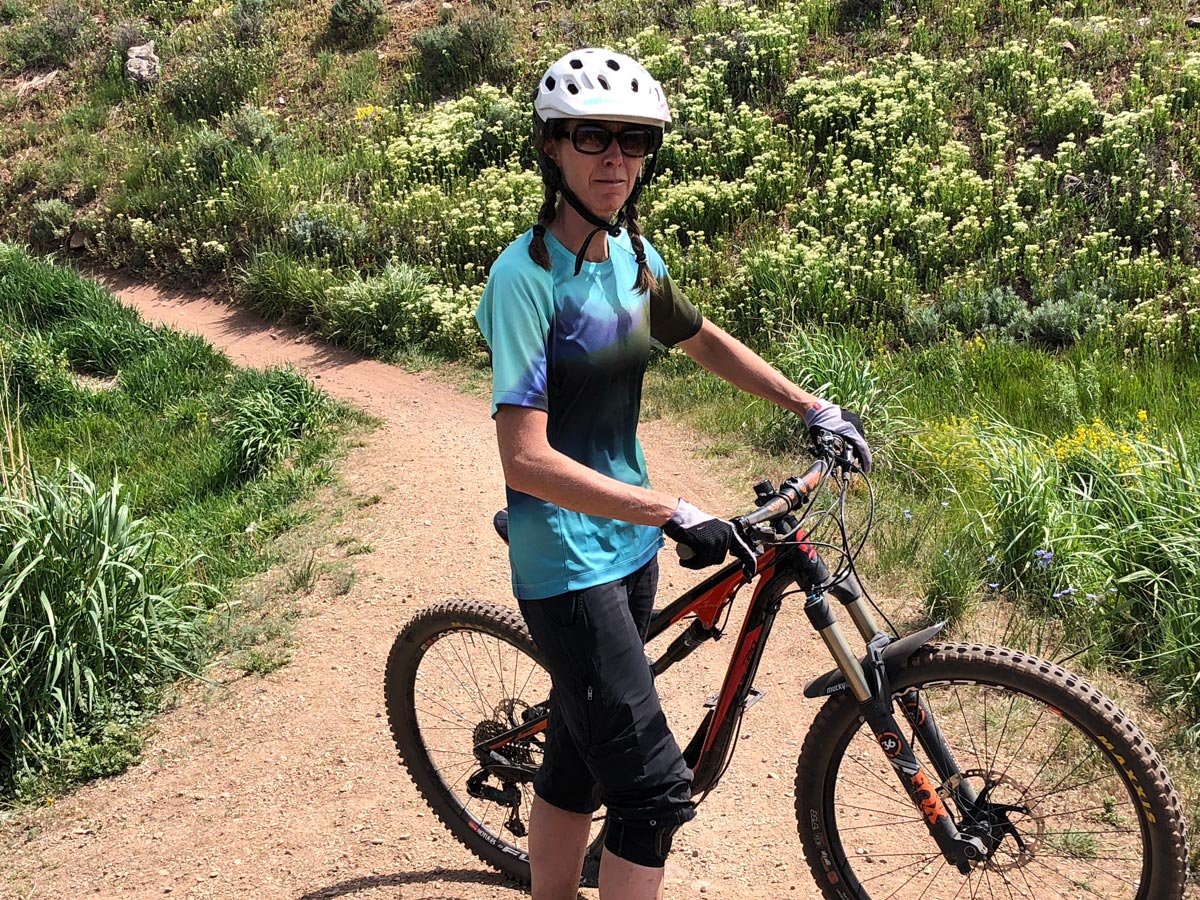
I have been wearing and using the Bontrager Rhythm jersey for months. It has held up very well through a bike season from Big Sky to southern Utah, to the Pacific Northwest. The colors have not faded and the collar has not stretched out. Best of all, it’s still comfortable and always finds its way into my mtb road trip wardrobe.